Dress Sewing Patterns: How to Sew the Sleeveless Trench Dress
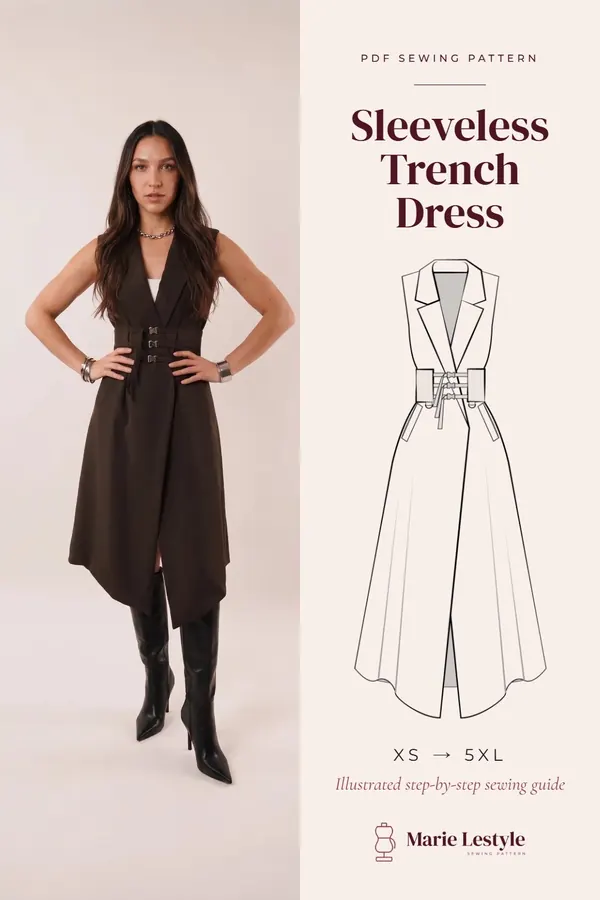
A long wrap dress with lapels, an asymmetrical hem, welt pockets and a buckle belt, to sew from XS to 5XL with our free step-by-step guide.
By Marie · Updated
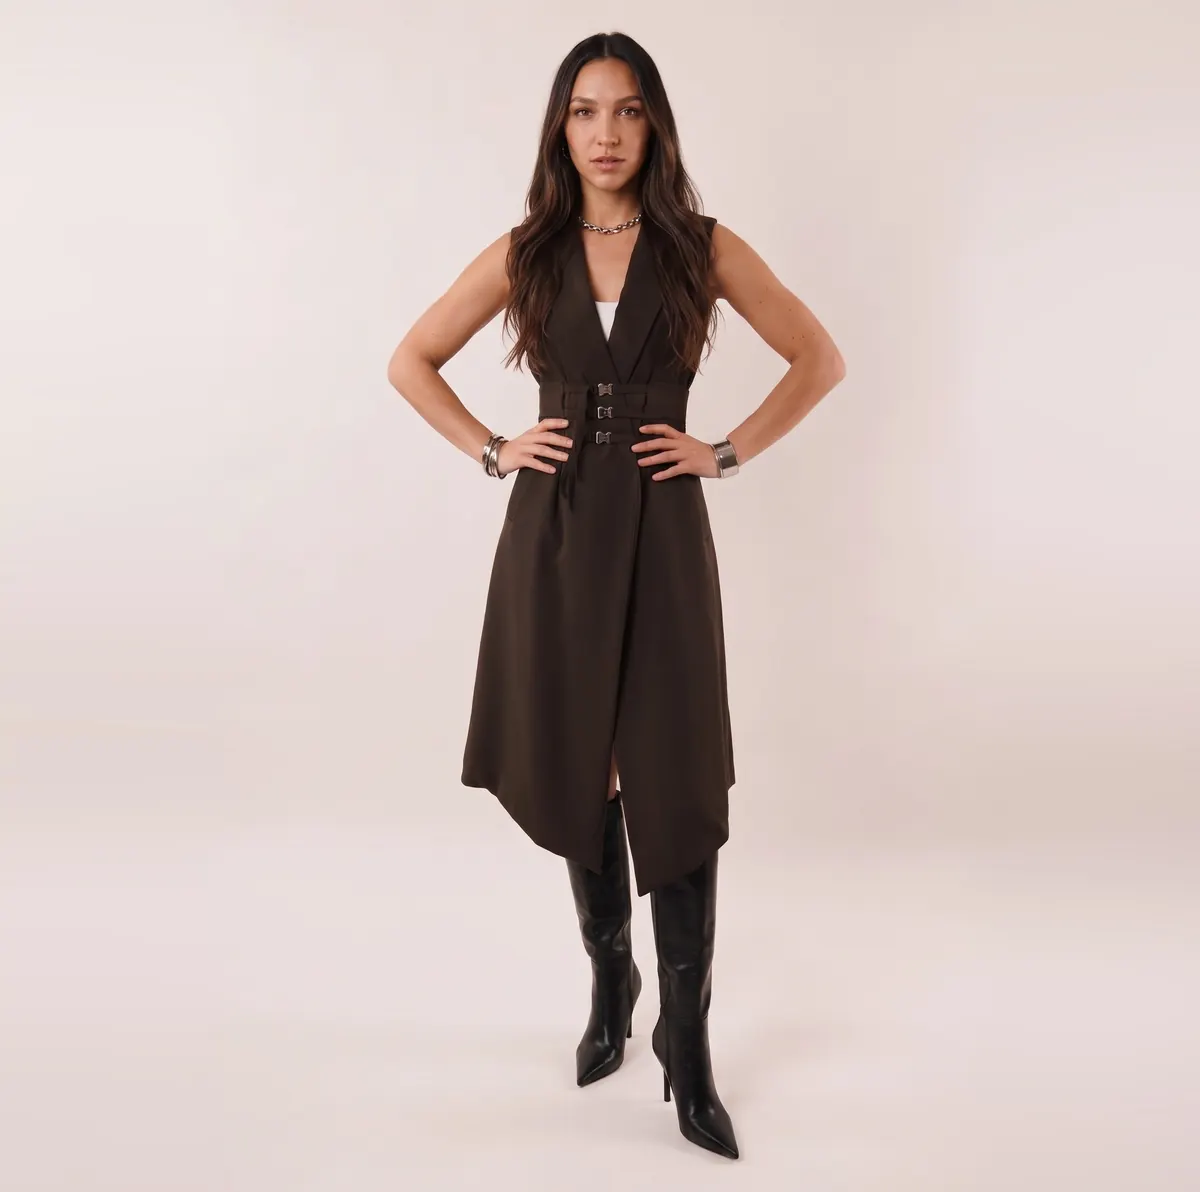
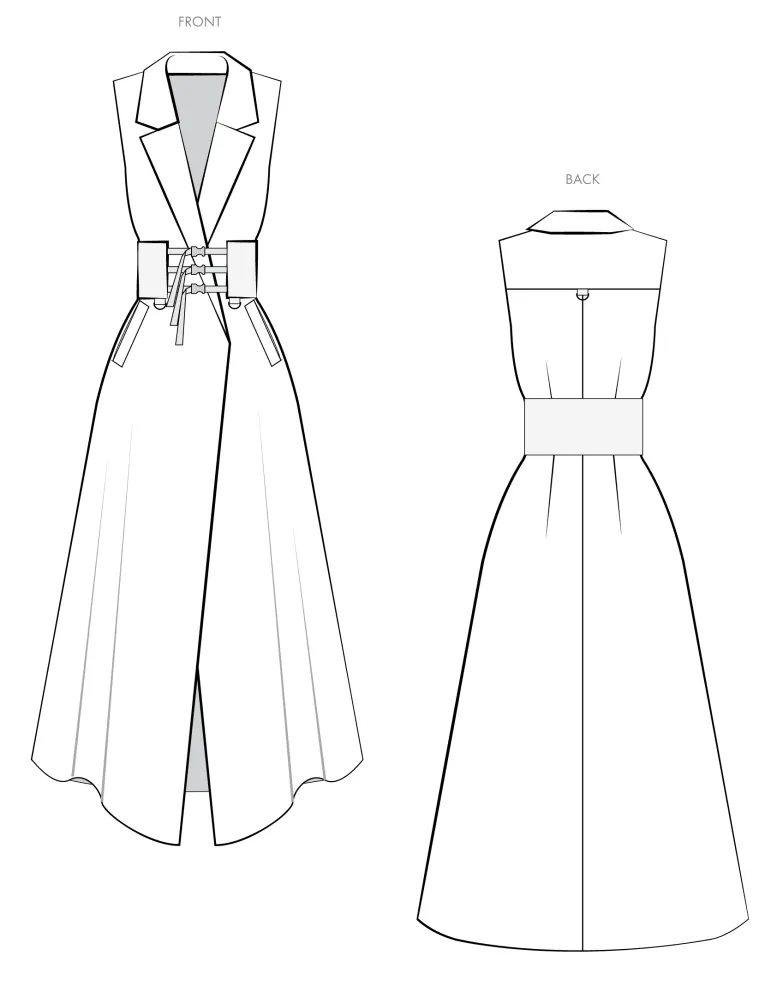
This free step-by-step tutorial shows you how to sew the sleeveless trench dress, one of our dress sewing patterns for women, in every size from XS to 5XL. It is a long, lined wrap dress with lapels, an asymmetrical hem, welt pockets and a three-buckle belt with D-rings. Below you will find the full construction guide: size charts, supplies, pattern pieces, then the 13 steps with photos.
The sleeveless trench dress: a wrap dress with lapels and a buckle belt
Lapels, a wrap front, a buckle belt: this long sleeveless trench dress takes the classic trench coat details and turns them into a dress. Every construction step is explained for free on this page, and you can find our other projects on the home page of our free sewing tutorials.
Dressing for an intergalactic mission, a costume convention or just an ordinary Tuesday? The sleeveless trench dress can go in many directions. We made ours in a lightweight polyester gabardine. It has the structure you want in a tailored garment without being too heavy, which makes it a great option for suits and summer pieces.
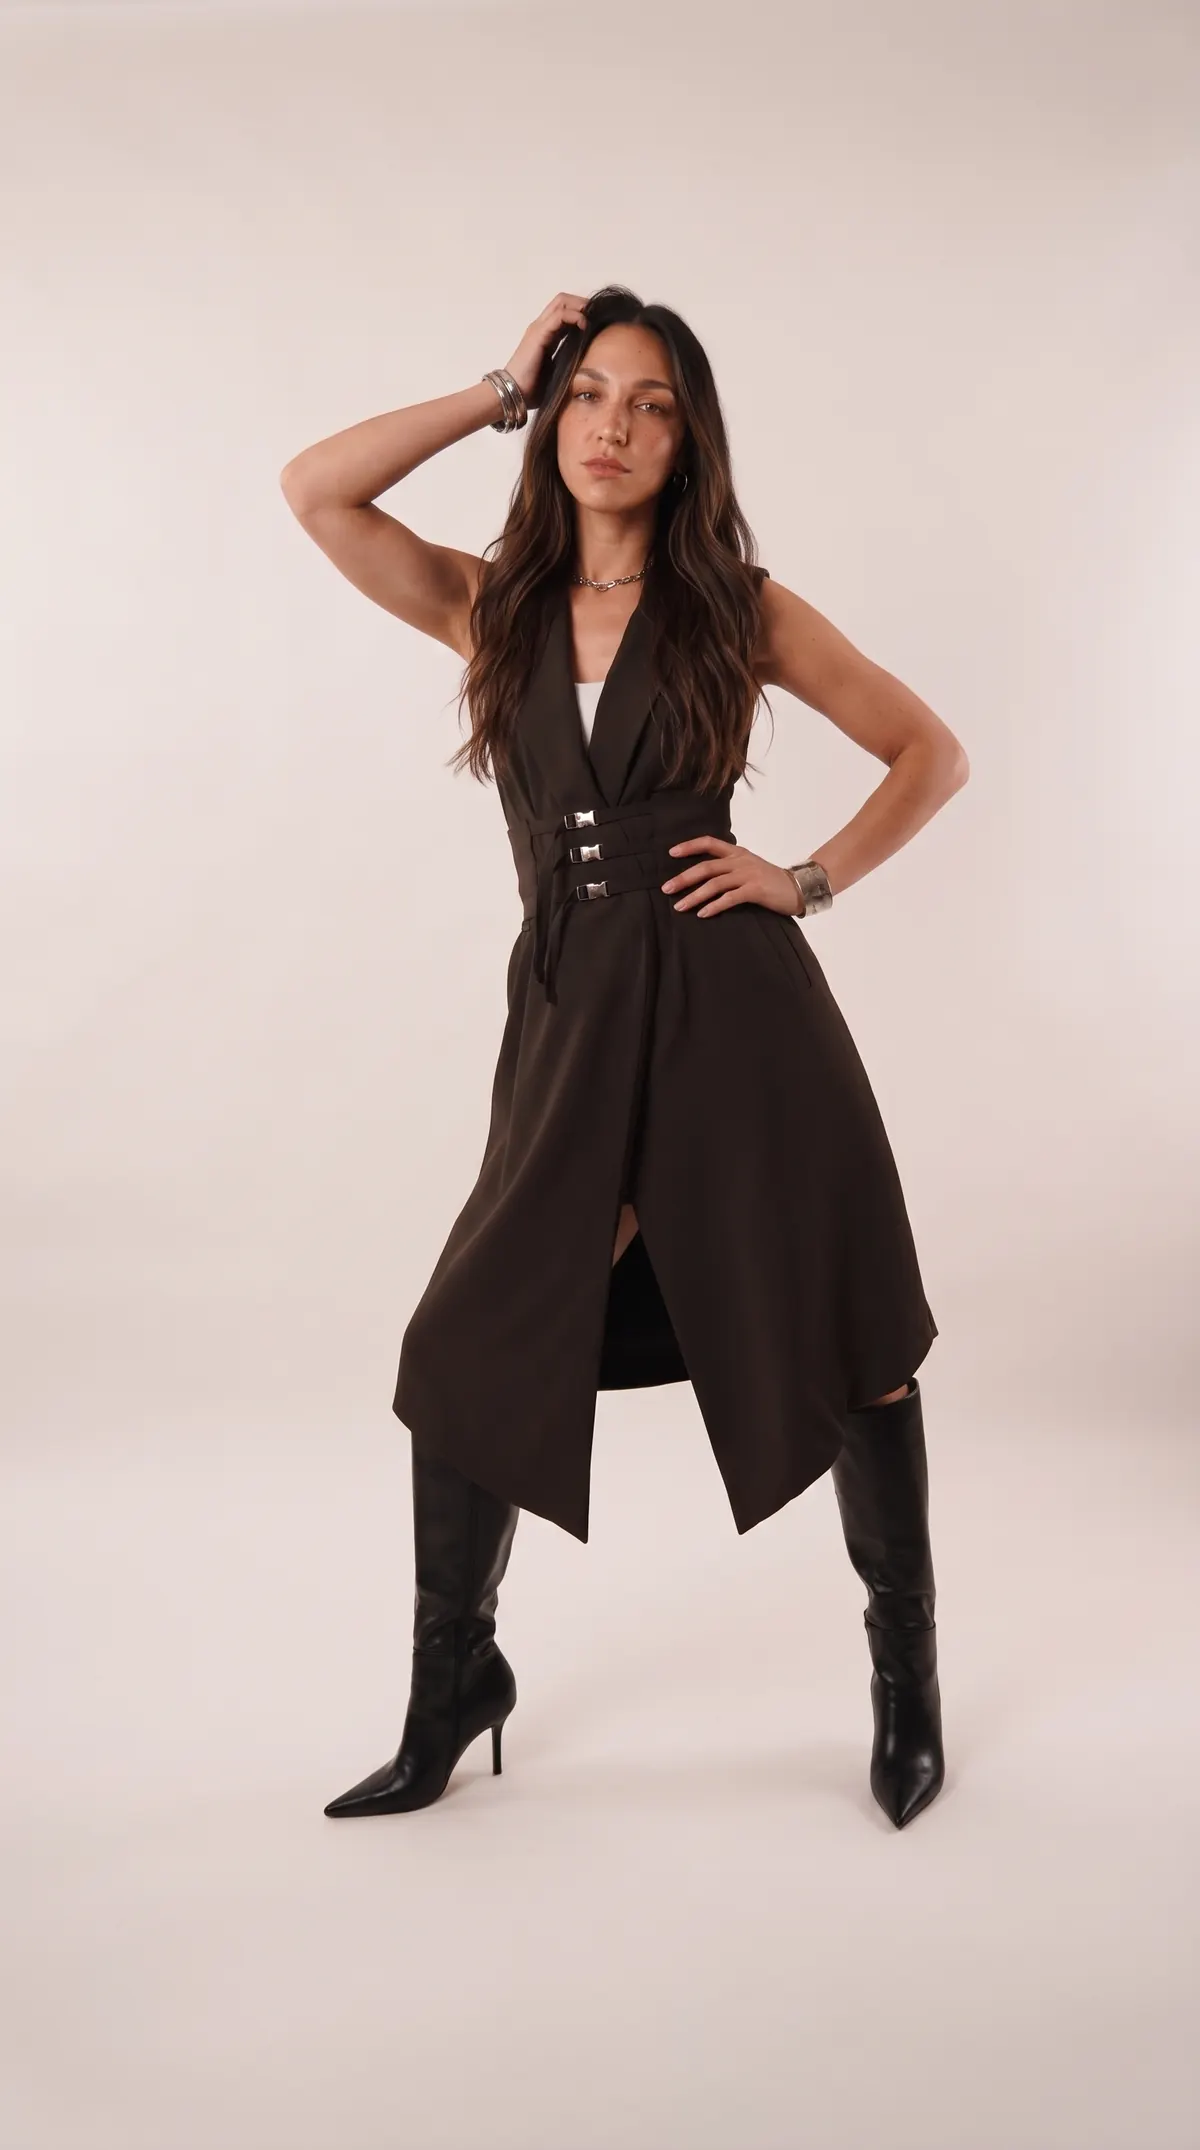
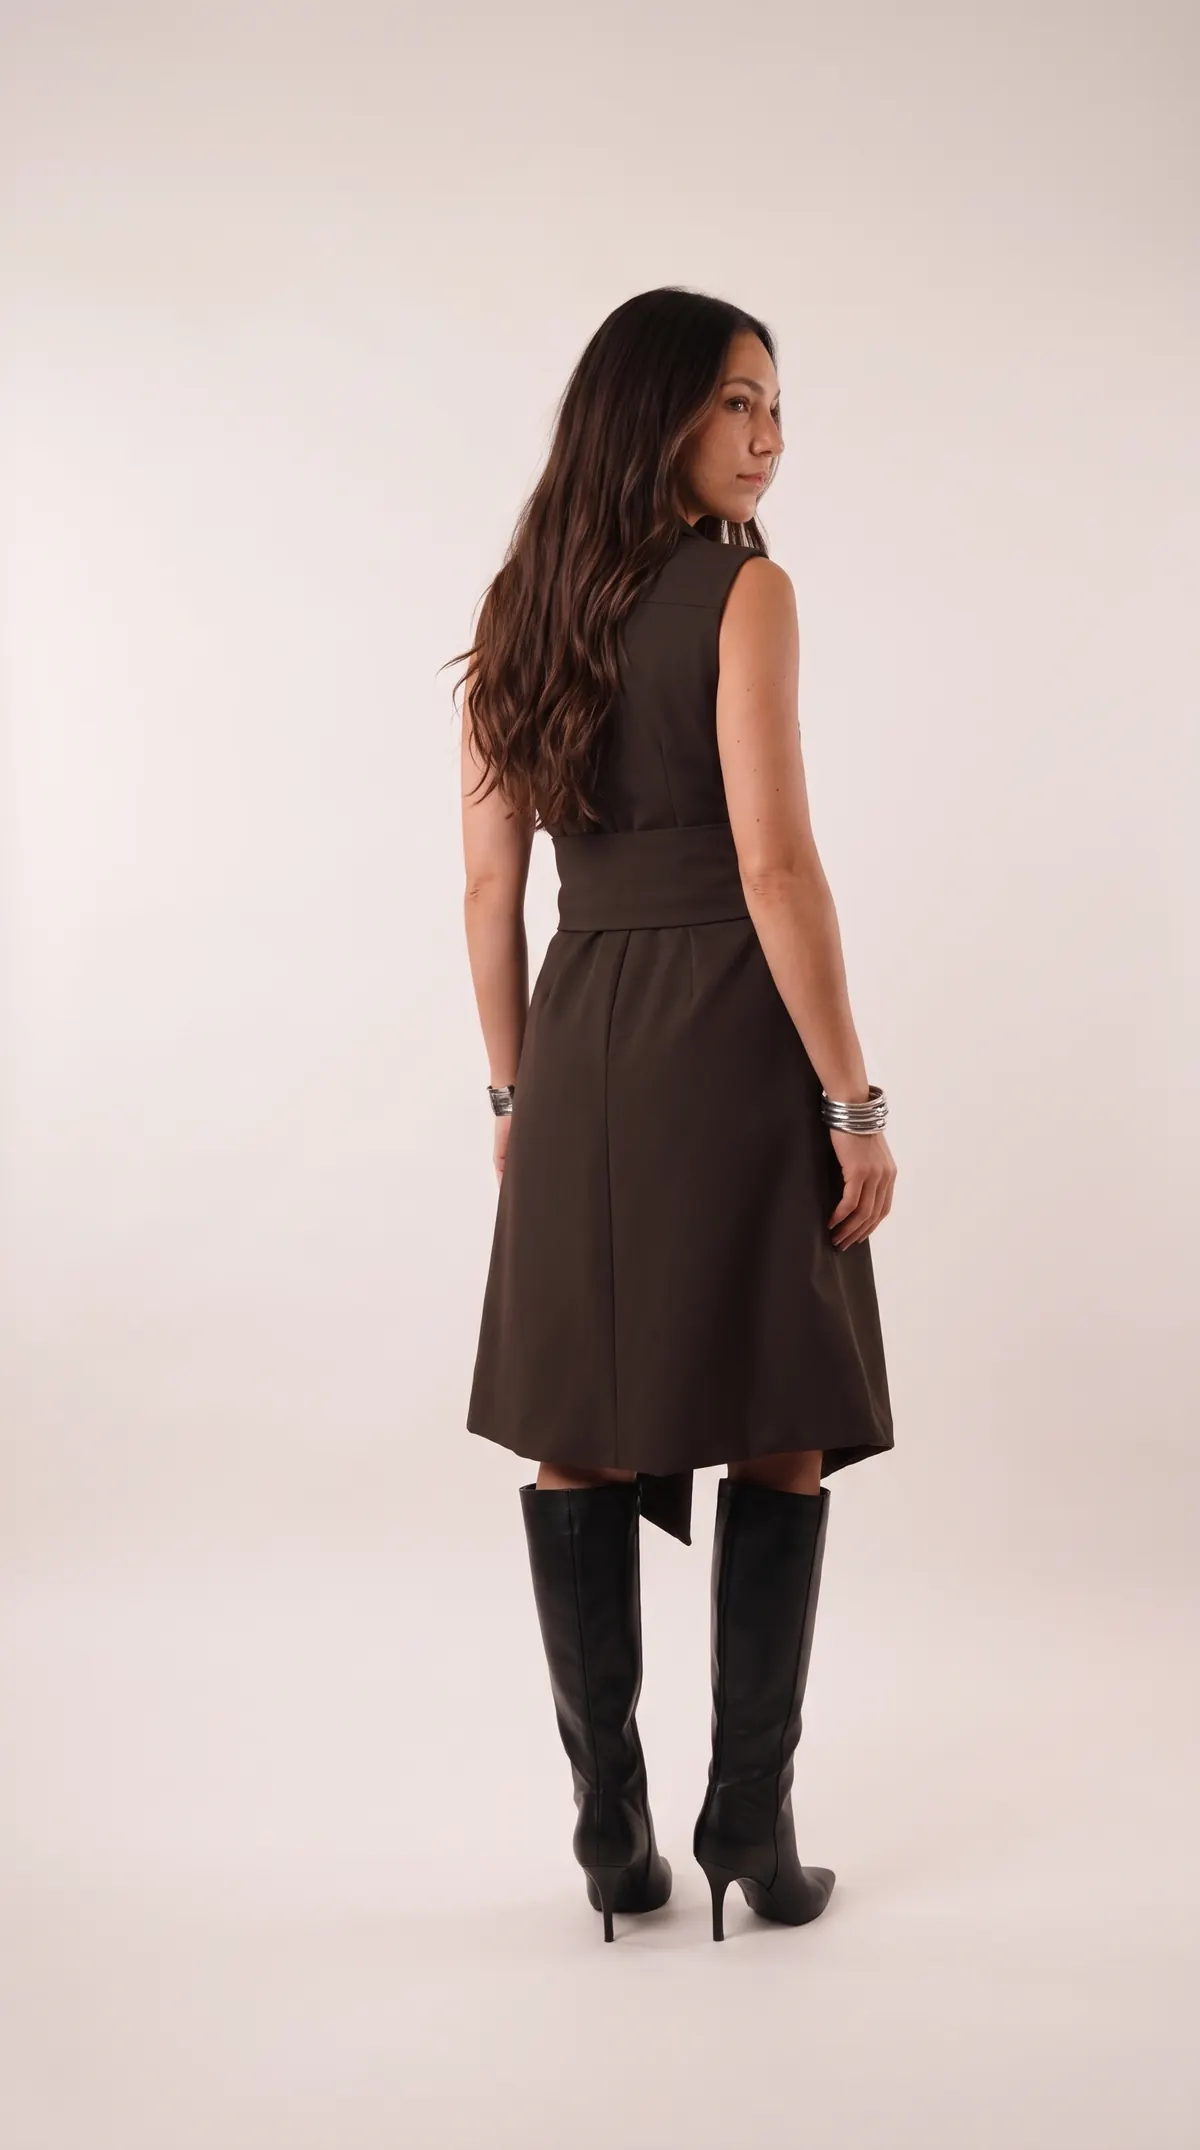
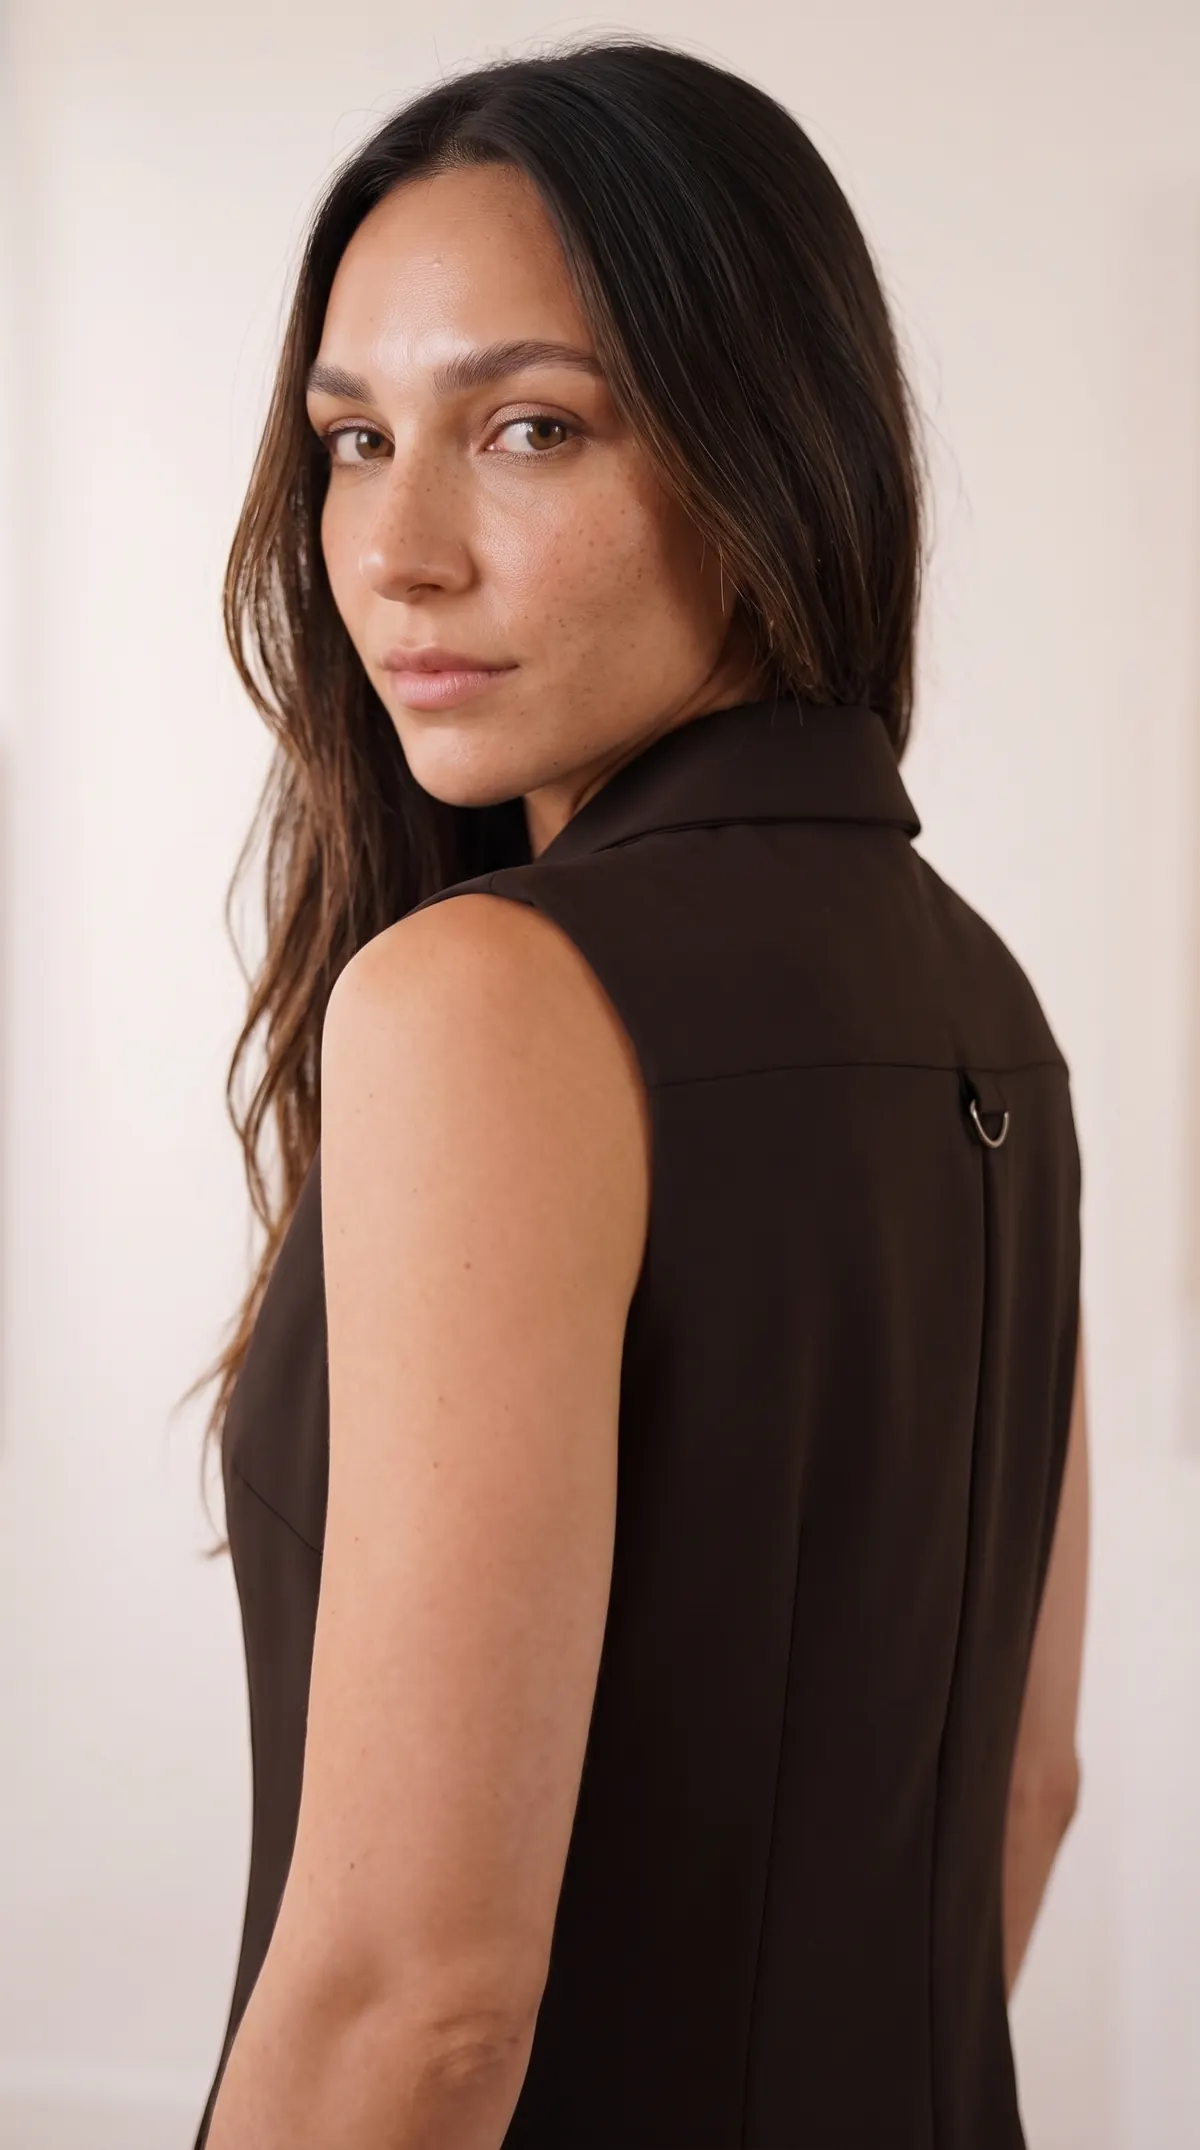
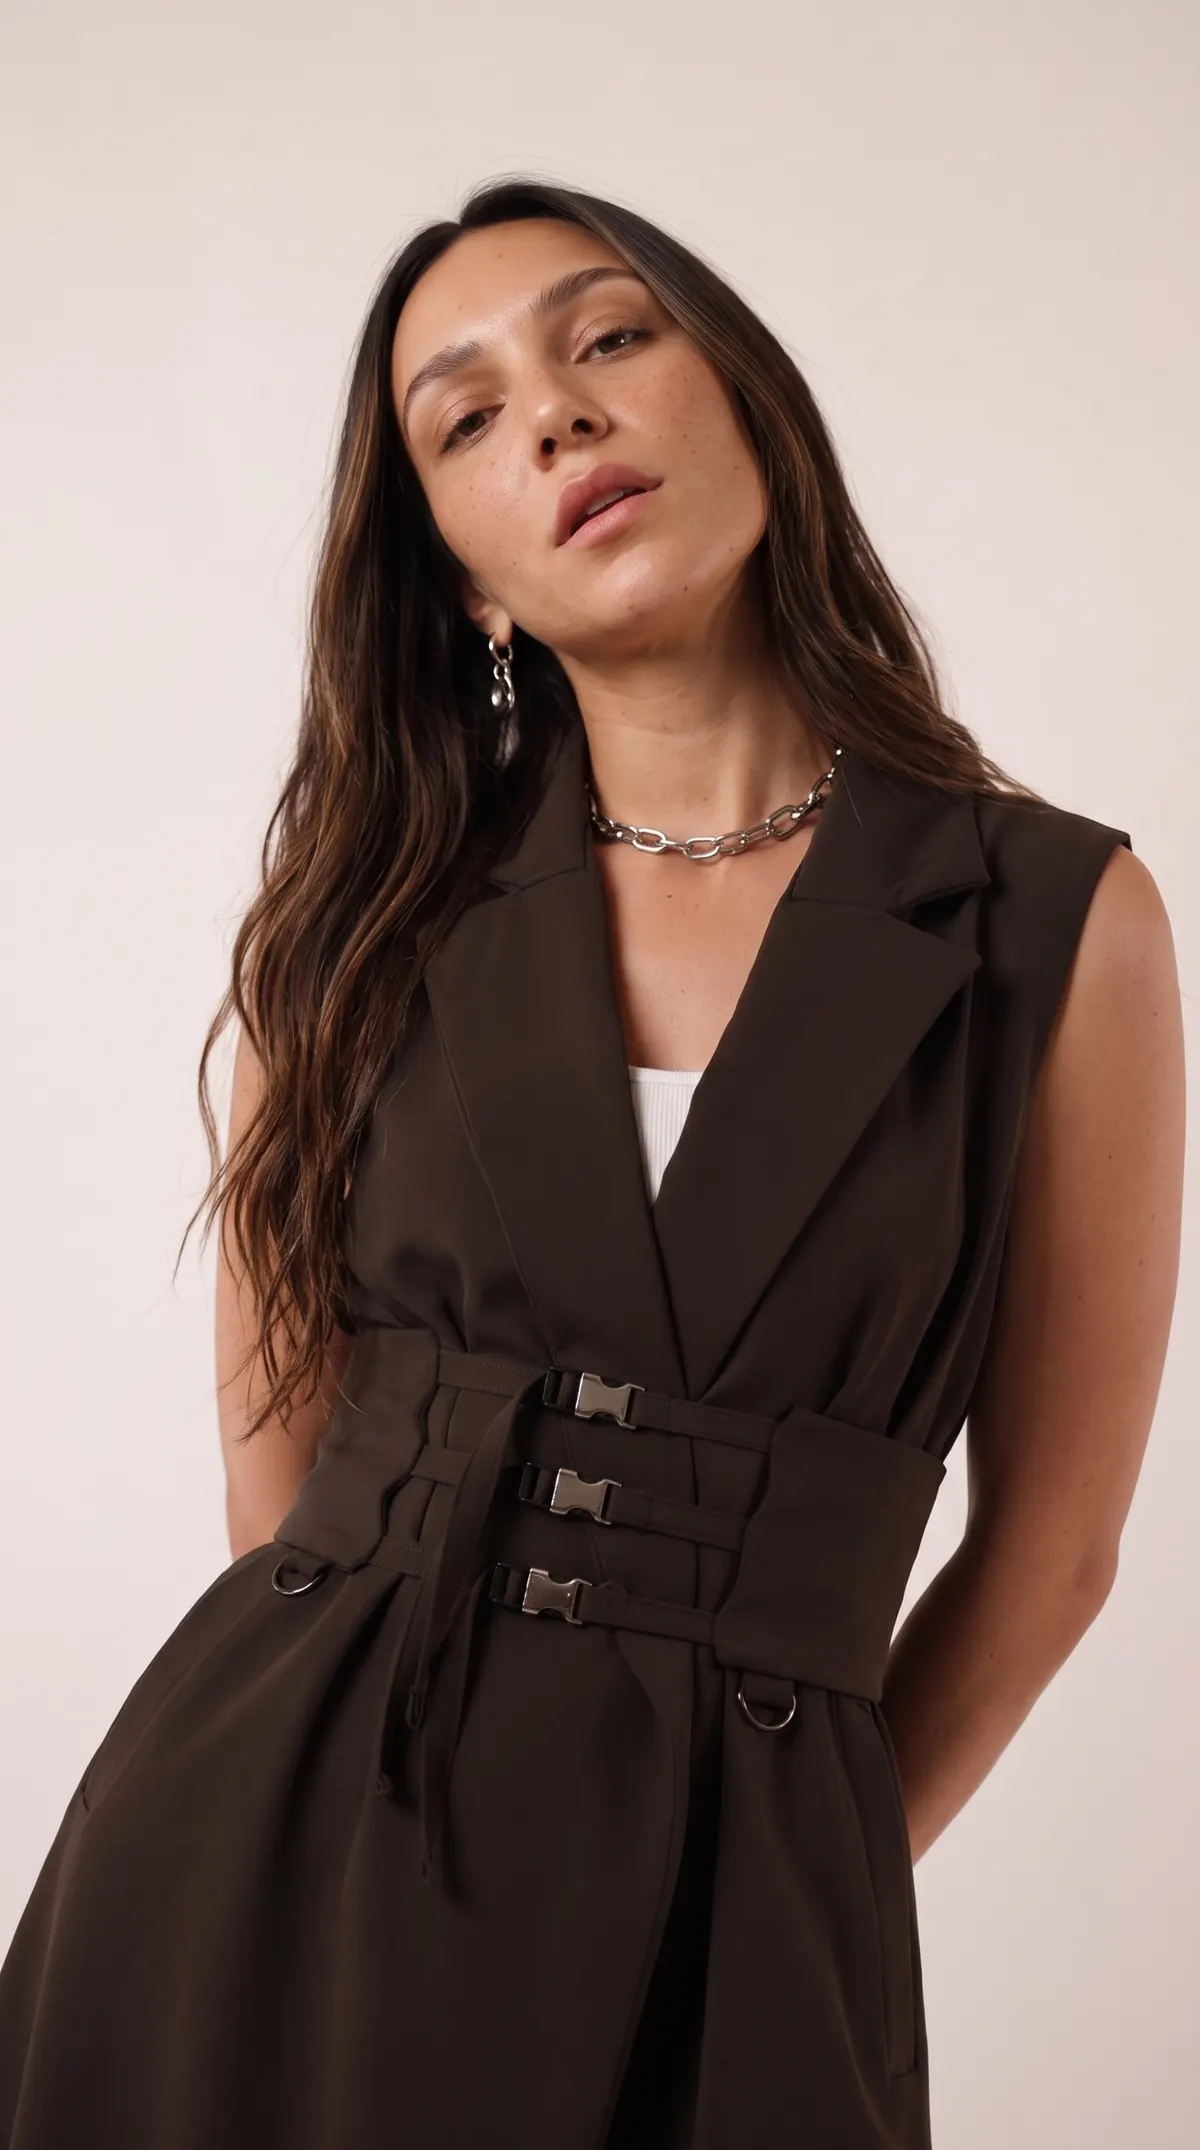
The dress starts with a classic lapel and a full wrap front, which falls into big, dramatic folds once everything is cinched at the waist. The asymmetrical hem adds even more movement. The D-rings on the back yoke bring a small metallic touch and double as a handy hanging loop.
Then there is the belt. It looks complicated, but it is surprisingly easy to sew. Adjustable buckle straps and extra D-rings give it a slightly military, workwear-inspired feel. Pulled tight at the waist, it completely transforms the silhouette.
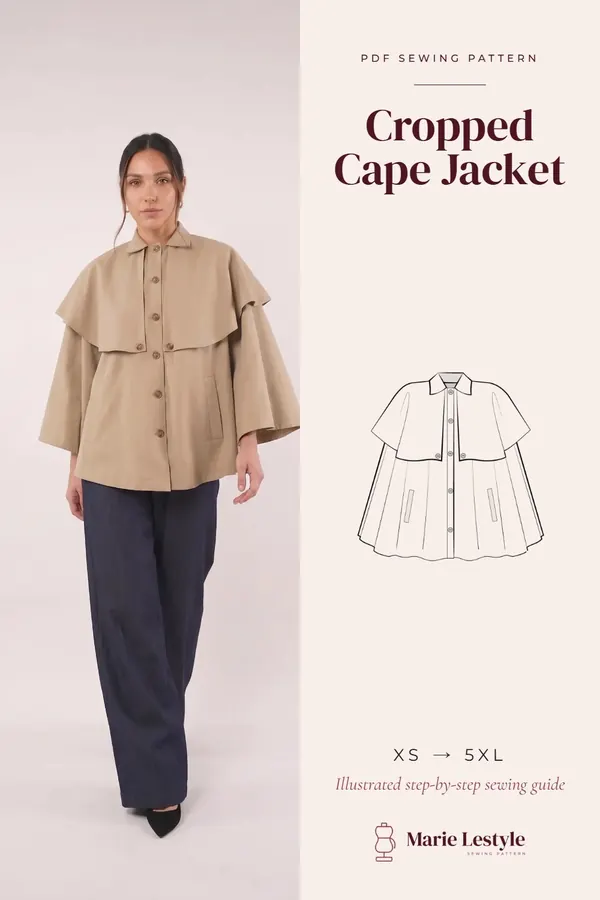
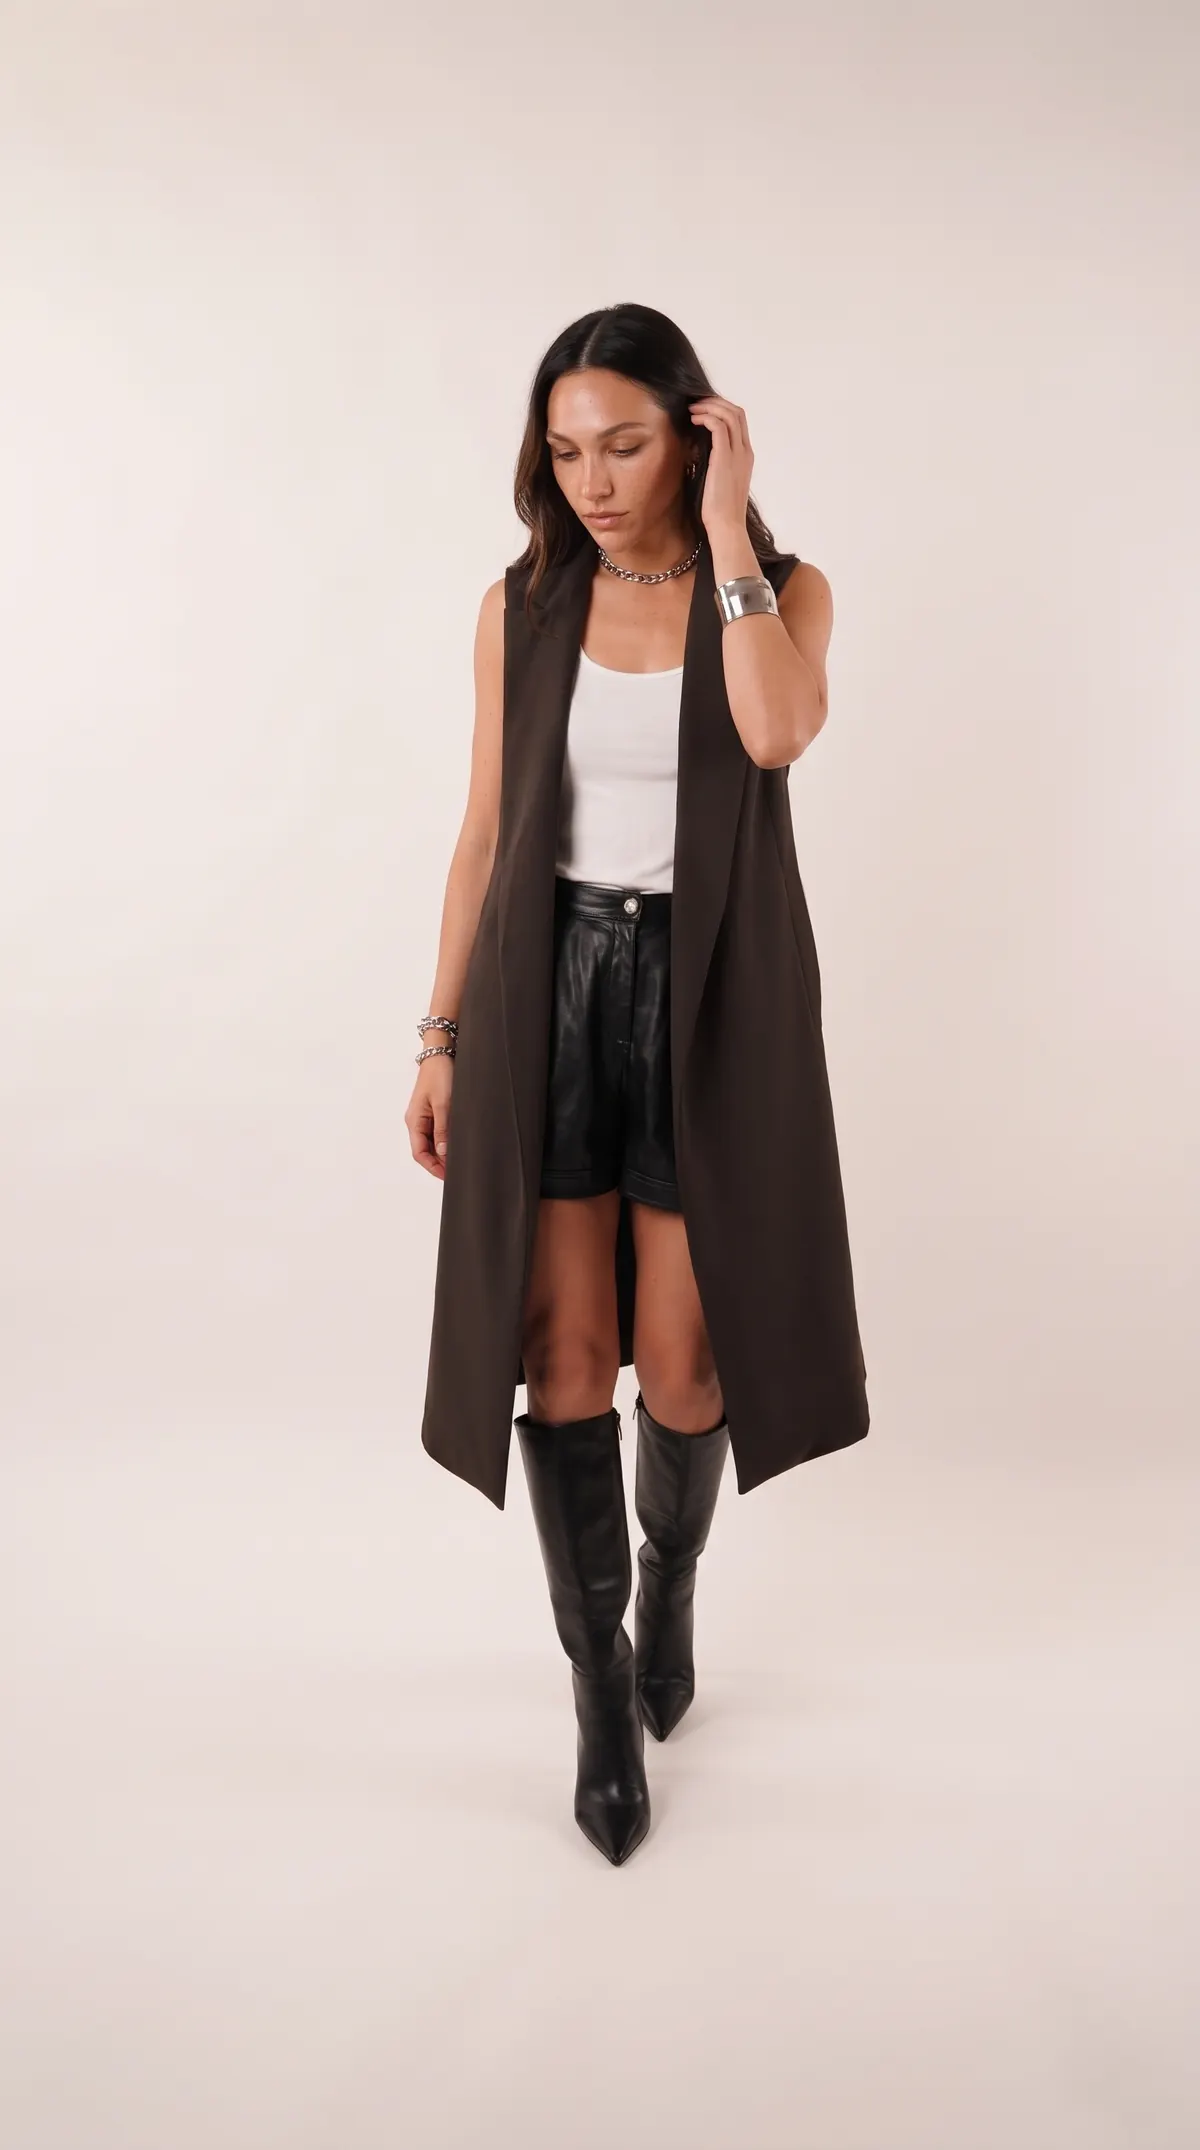
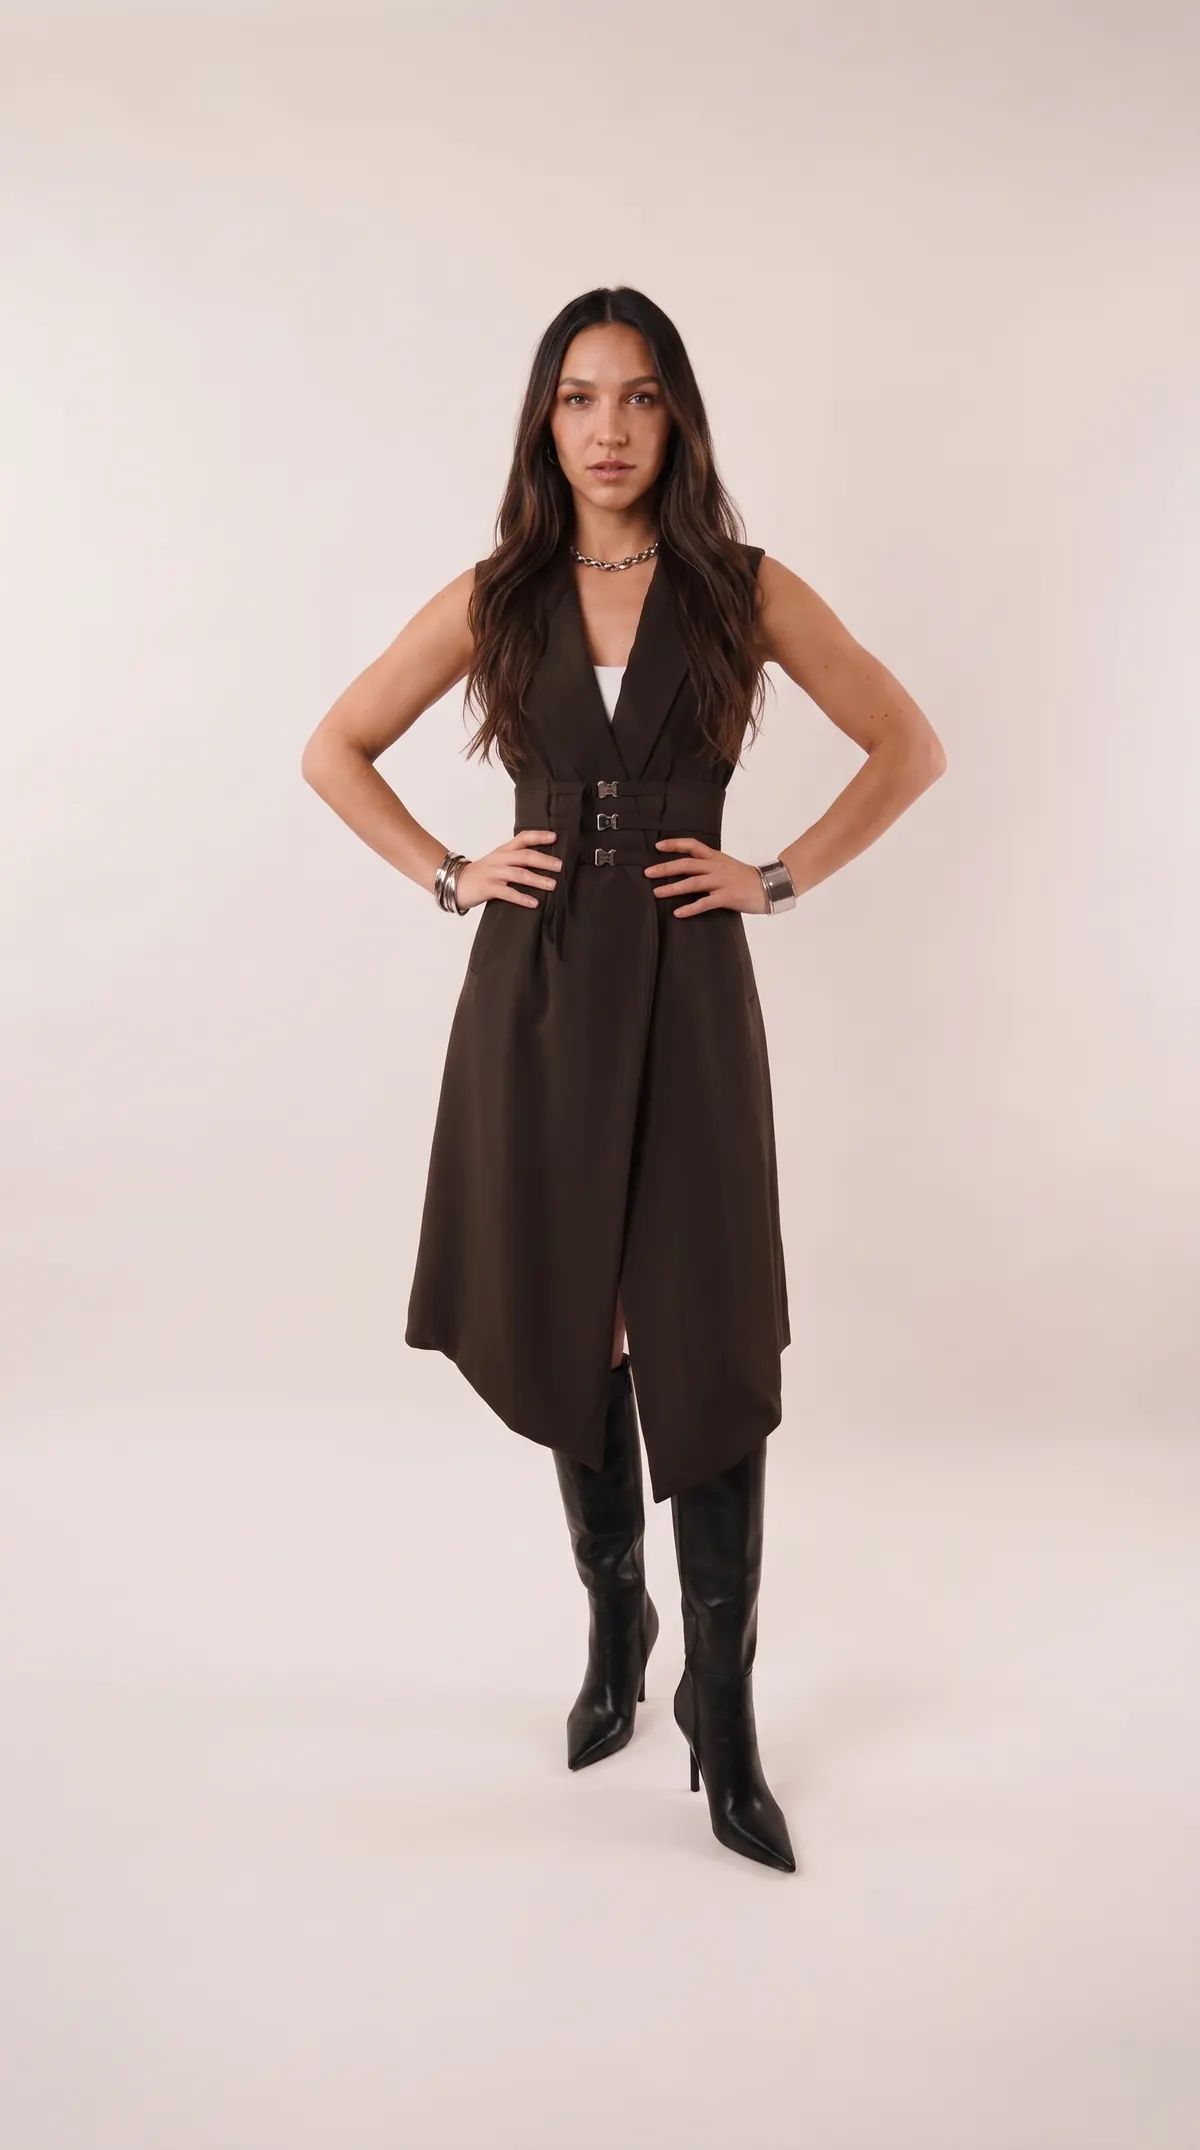
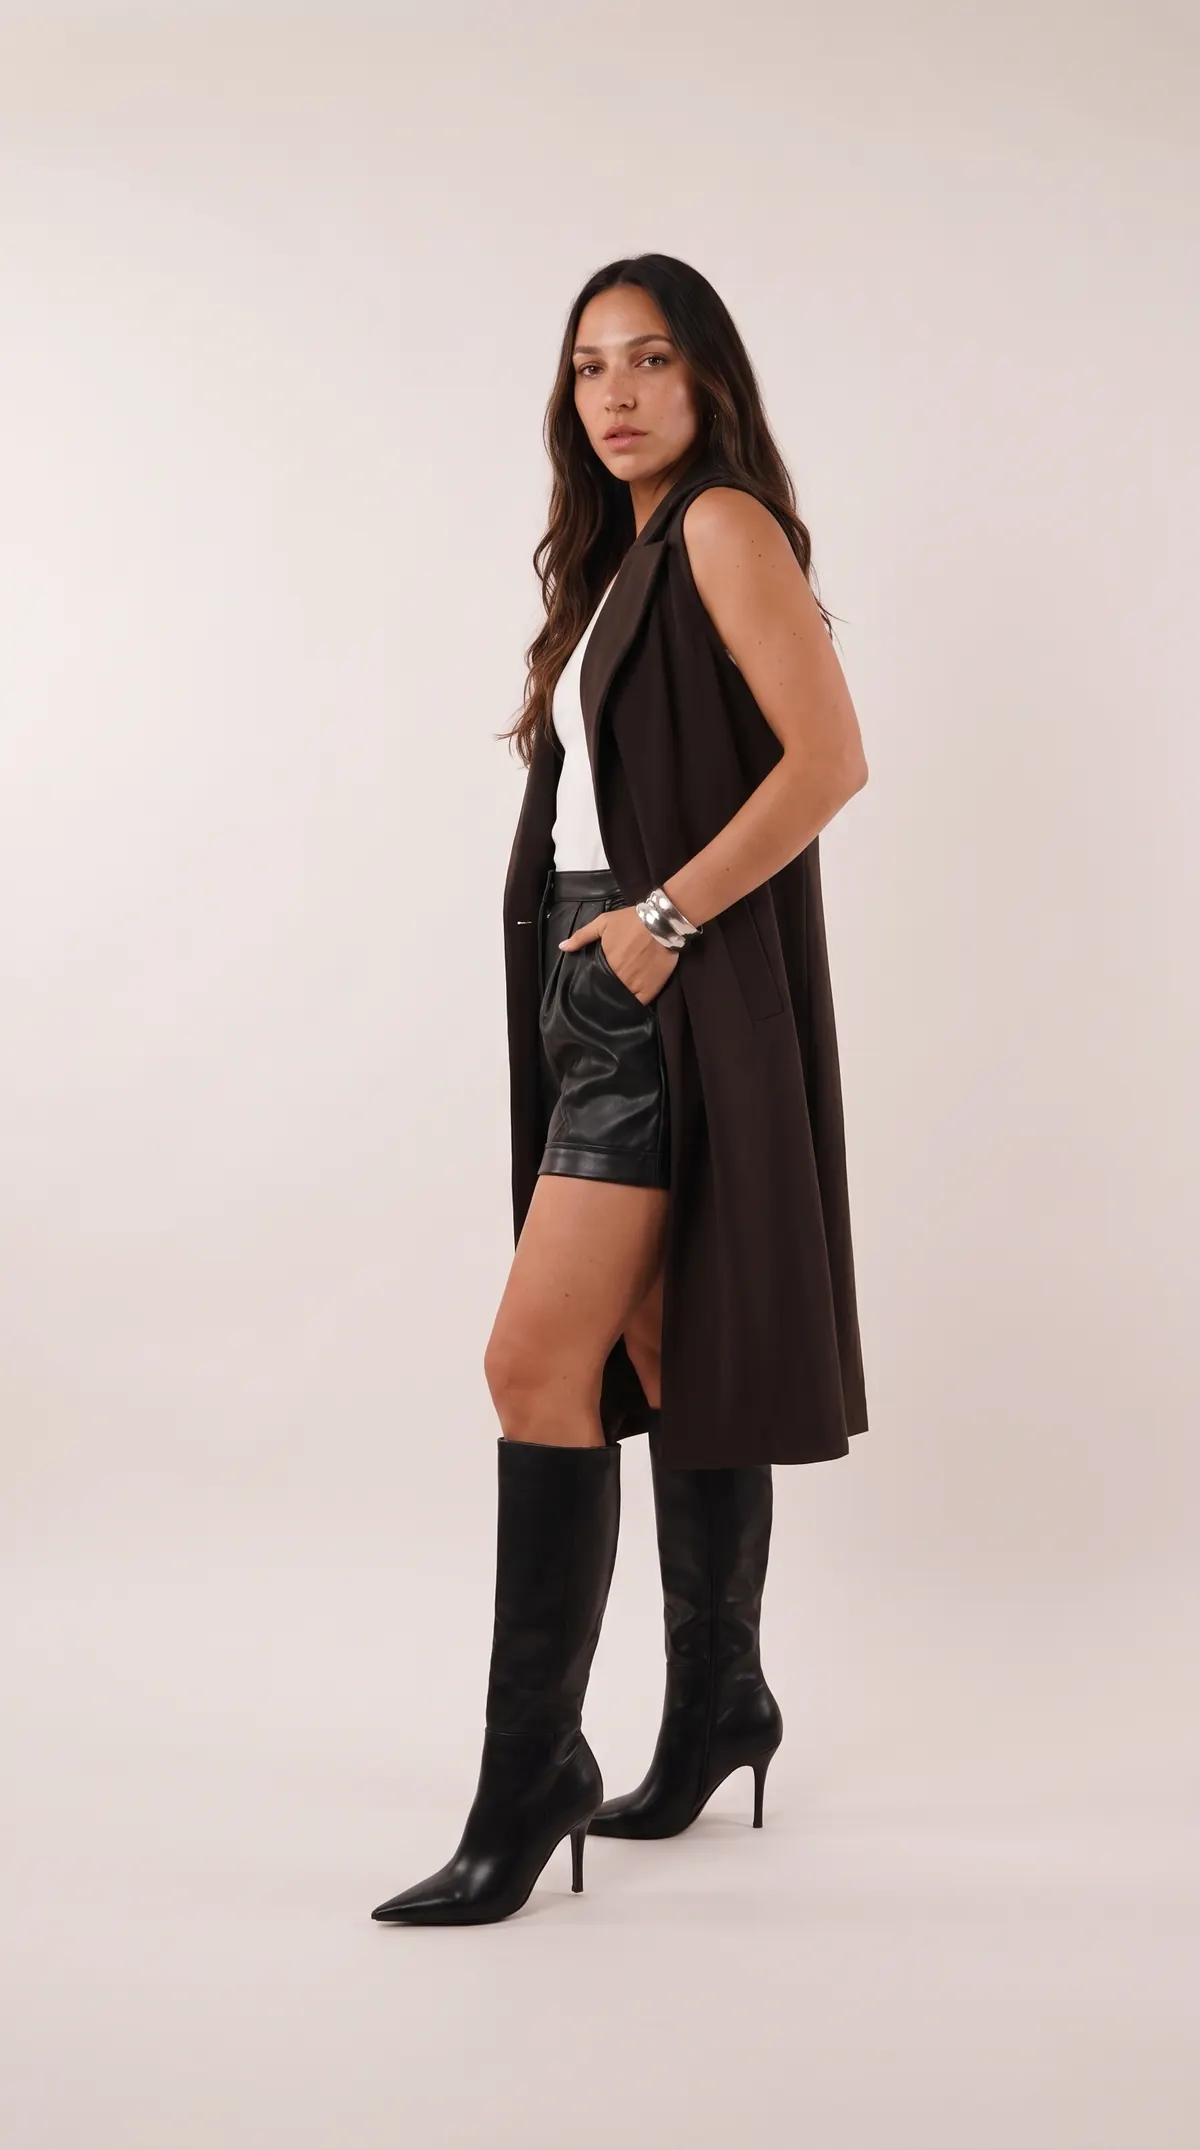
As for styling, the best accessory is a sword, of course. If fighting intergalactic crime is not on your agenda this week, wear the dress open, without the belt, for a relaxed layered look. Or buckle it up and pair it with pants, a mini skirt or your favorite boots. If you like trench details, take a look at our short cape jacket tutorial too.
The finished trench dress
Photos of the finished dress show the result to aim for from every angle.
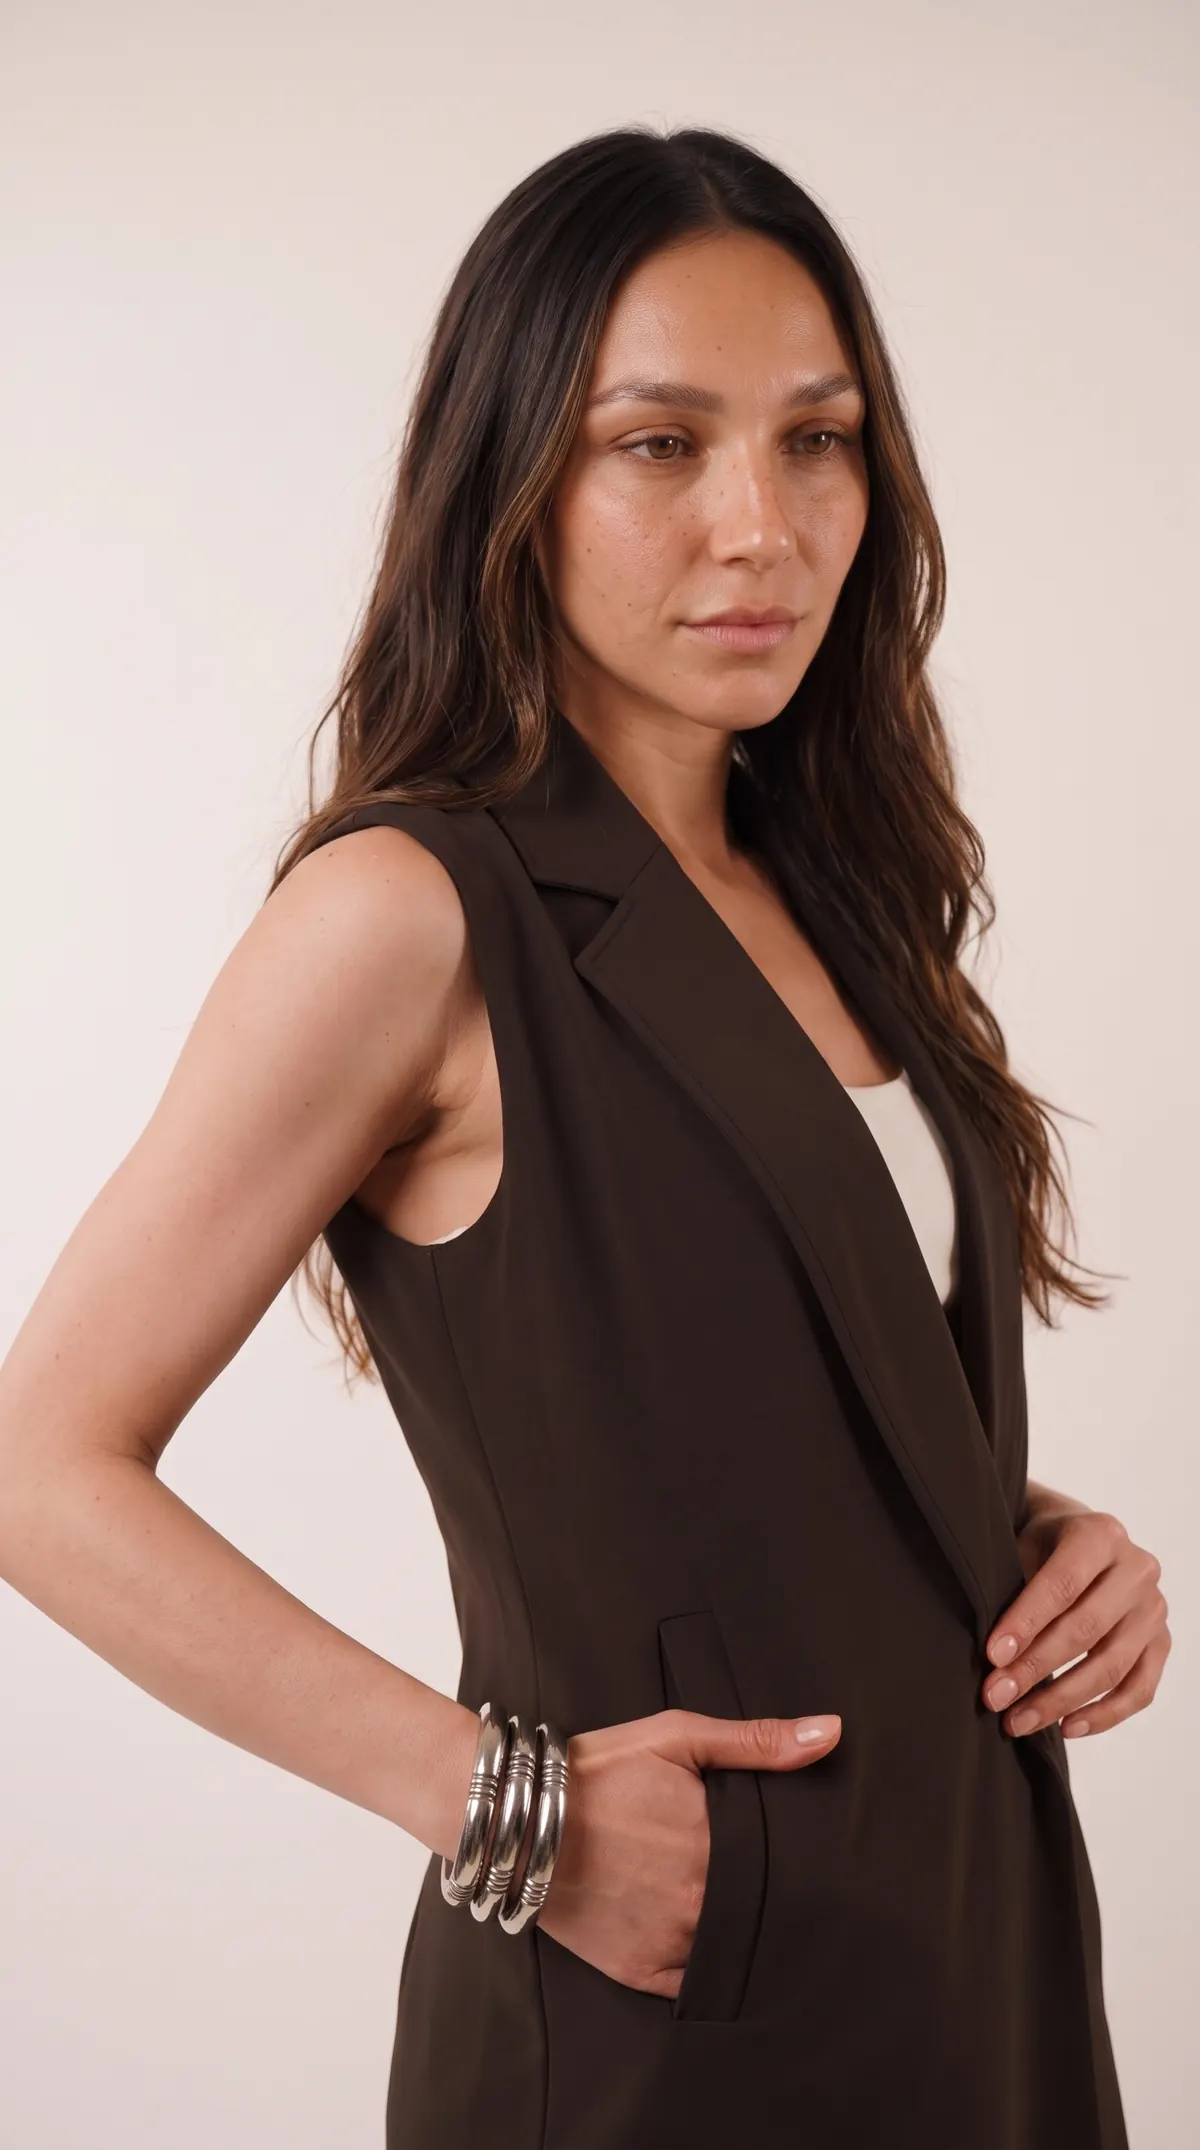
Wearing the trench dress
Belted or open, the dress takes on a completely different silhouette.
Choosing your size, from XS to 5XL (plus sizes included)
Compare your body measurements with the tables below to pick your size. The range goes from XS to 5XL, plus sizes included.
Measurements are in centimeters; inches are shown in small print under each value.
Table 1 — Body measurements (cm)
| Size | XS | S | M | L | XL | 2XL | 3XL | 4XL | 5XL |
|---|---|---|---|---|---|---|---|---|---|
| Bust | 78.7–81.3 31–32" | 83.8–86.4 33–34" | 88.9–91.4 35–36" | 94.0–99.1 37–39" | 101.6–109.2 40–43" | 111.8–119.4 44–47" | 121.9–129.5 48–51" | 132.1–139.7 52–55" | 142.2–152.4 56–60" |
| Waist | 58.4–61.0 23–24" | 63.5–66.0 25–26" | 68.6–71.1 27–28" | 73.7–78.7 29–31" | 81.3–88.9 32–35" | 91.4–99.1 36–39" | 101.6–109.2 40–43" | 111.8–119.4 44–47" | 121.9–132.1 48–52" |
| Hips | 86.4–88.9 34–35" | 91.4–94.0 36–37" | 96.5–99.1 38–39" | 101.6–106.7 40–42" | 109.2–116.8 43–46" | 119.4–127.0 47–50" | 129.5–137.2 51–54" | 139.7–147.3 55–58" | 149.9–160.0 59–63" |
Table 2 — Approximate finished garment measurements (cm)
| Size | XS | S | M | L | XL | 2XL | 3XL | 4XL | 5XL |
|---|---|---|---|---|---|---|---|---|---|
| Bust * | 86.4 34" | 91.4 36" | 96.5 38" | 104.1 41" | 114.3 45" | 124.5 49" | 134.6 53" | 144.8 57" | 154.9 61" |
| Waist * | 86.4 34" | 91.4 36" | 96.5 38" | 104.1 41" | 114.3 45" | 124.5 49" | 134.6 53" | 144.8 57" | 154.9 61" |
| Hips * | 104.1 41" | 109.2 43" | 114.3 45" | 121.9 48" | 132.1 52" | 142.2 56" | 152.4 60" | 162.6 64" | 175.3 69" |
| Length ** | 109.2 43" | 109.2 43" | 109.2 43" | 110.5 43.5" | 110.5 43.5" | 110.5 43.5" | 111.8 44" | 111.8 44" | 111.8 44" |
* Measured with the dress fully closed. ** Back length, from nape to hem.
Size guide
The size guide is based on the intended style and ease of this design. You can also choose your size from the finished measurements you want, grading between sizes if needed. Measure the printed pieces to check they match the fit you want, and adjust if needed before cutting your fabric. For best results, sew a test garment in a similar fabric to fine-tune your pattern.
Always read all the instructions before cutting your fabric!
Supplies and fabric for the trench dress
Gather your fabric and notions before you start: the list below gives the quantities used for size S.
Supplies used (quantities for size S)
| Item | Quantity |
|---|---|
| Lightweight, fluid polyester gabardine, dark brown | 4 yards = 3.66 m |
| Cupro lining, black | 4 yards = 3.66 m |
| Weft-insertion fusible interfacing, black | 2 yards = 1.83 m |
| Silver metal and black plastic release buckles | 3 |
| Black 1.9 cm (¾") D-rings, pack of 4 | 1 pack |
| All-purpose sewing thread 100 m, dark brown | 2 spools |
| The PDF pattern (print sheets) | — |
Other supplies used
- Hand-sewing needles
- Loop turner
- Point turner (tool for pushing out corners)
- Tailor's chalk
Which fabric should you choose?
This pattern works best with lightweight to medium-weight apparel fabrics. Other recommended fabrics:
- Cashmere
- Corduroy
- Denim
- Suiting
3 tips for sewing gabardine
- It looks stiff in photos, but this fabric shifts a lot and easily goes off grain. Cut your pieces with a rotary cutter on a self-healing mat: your curves stay accurate and the grainline stays in place.
- Do not skip the interfacing steps, however tempting. Interfacing the belt and collar helps the dress hold its shape.
- Use a size 80/12 chrome microtex machine needle to avoid thread pulls (snags) in the loose weave of gabardine.
The pieces of the dress sewing pattern
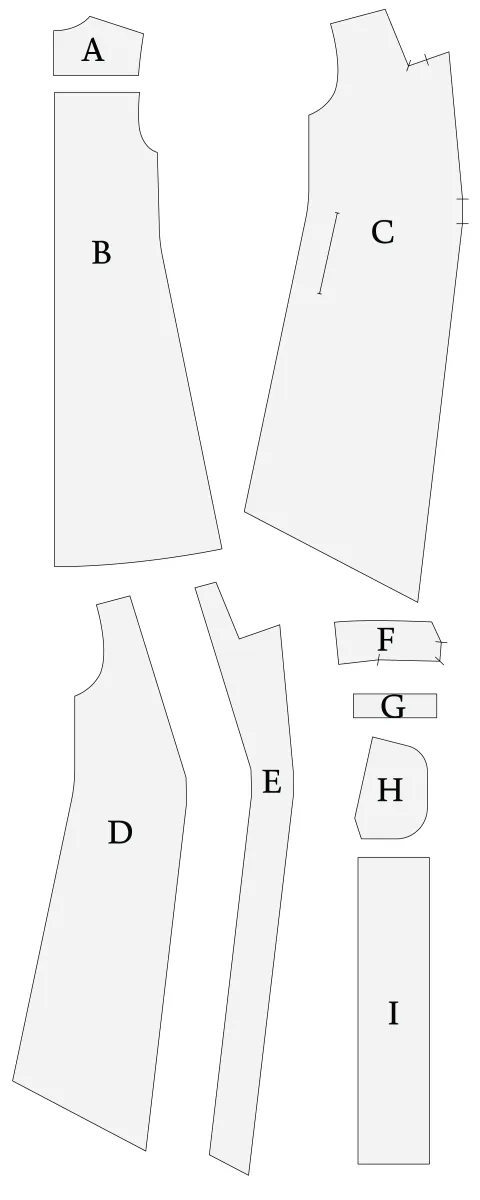
Cut pieces A to I from the fabric and the lining, following the table and the grainline.
| Piece | Name | Cut |
|---|---|---|
| A | Back yoke | Fabric — 1 on the fold Lining — 1 on the fold |
| B | Back | Fabric — 2 mirrored Lining — 2 mirrored |
| C | Front | Fabric — 2 mirrored |
| D | Front lining | Lining — 2 mirrored |
| E | Front facing | Fabric — 2 mirrored |
| F | Collar | Fabric — 2 on the fold |
| G | Welt | Fabric — 4 |
| H | Pocket bag | Lining — 2 mirrored pairs |
| I | Belt | Fabric — 2 |
1.27 cm (½") seam allowances are included in the pattern. Sew with a 1.27 cm (½") seam allowance for all seams, unless otherwise stated.
Pieces G and H have only 3 cutting lines: XS-M, L-2XL, 3XL-5XL.
Place each piece with its "GRAINLINE" arrow parallel to the selvage.
The PDF pattern to print
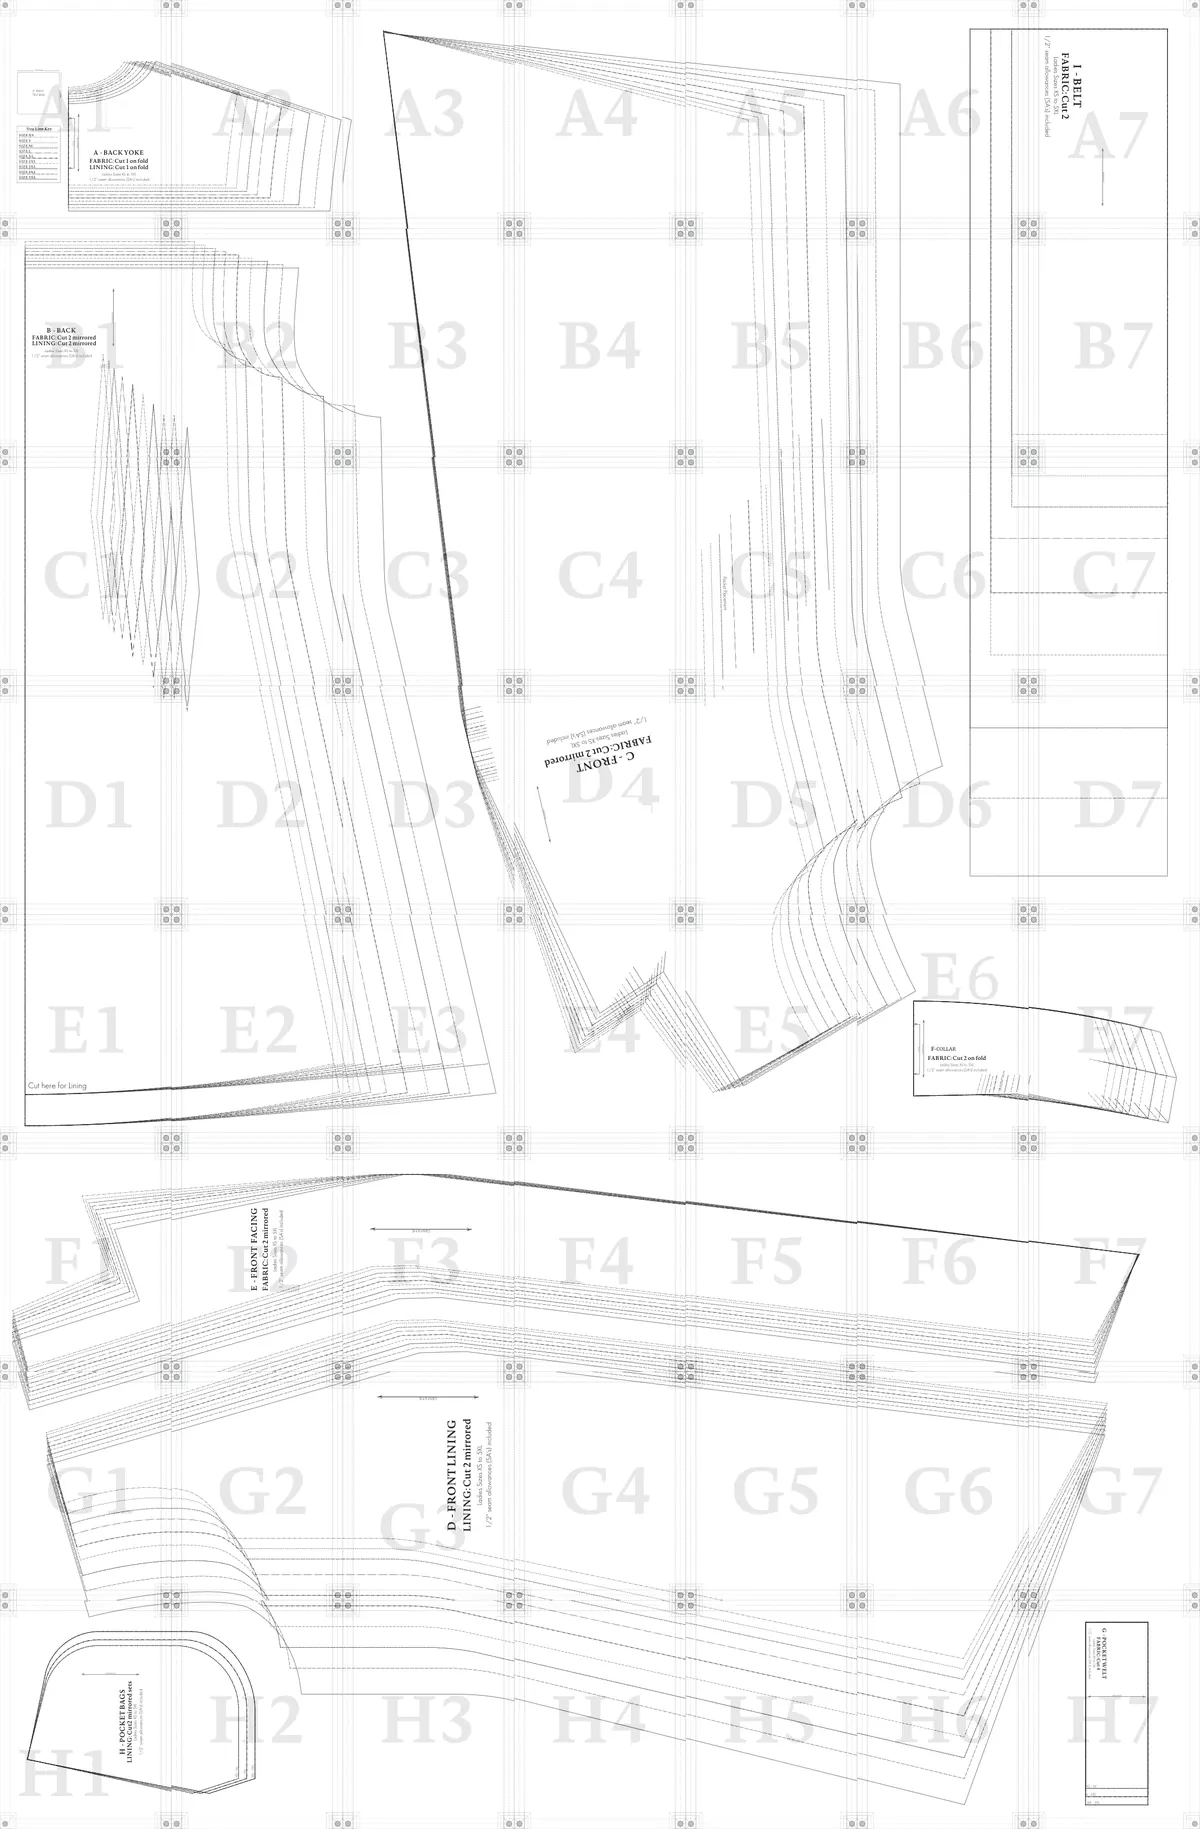 I · BeltA · Back yokeB · BackC · FrontF · CollarE · FacingD · Front liningH · Pocket bagsG · Welt
The pieces of the sleeveless trench dress come in the PDF pattern: you print it at home at actual size, then assemble the sheets. It covers every size from XS to 5XL, with a test square to check the scale before printing everything. The construction tutorial stays free on this page.
Download the PDF patternHow to sew the trench dress, step by step
The construction starts with the back darts and ends with the belt. Each step gives the instructions first, then the sewing photos.
Sew with a 1.27 cm (½") seam allowance for all seams, unless otherwise stated.
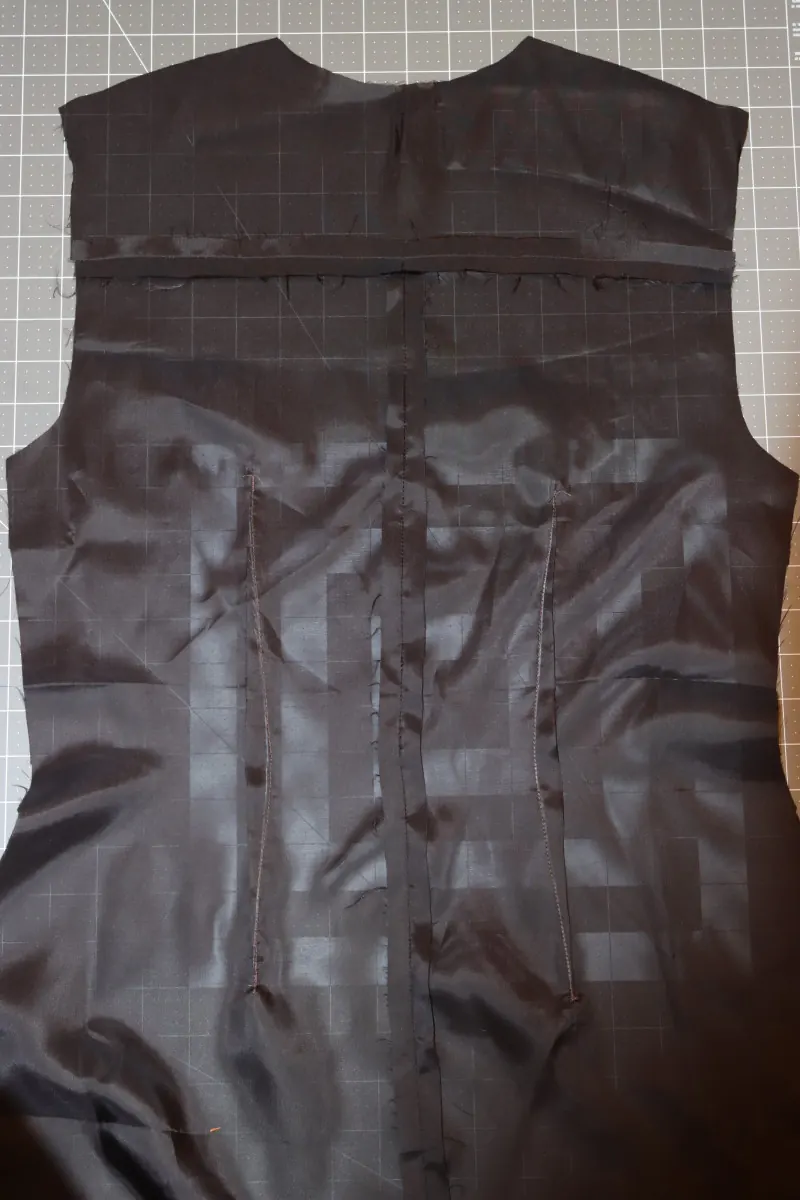
Step 1 — Back darts
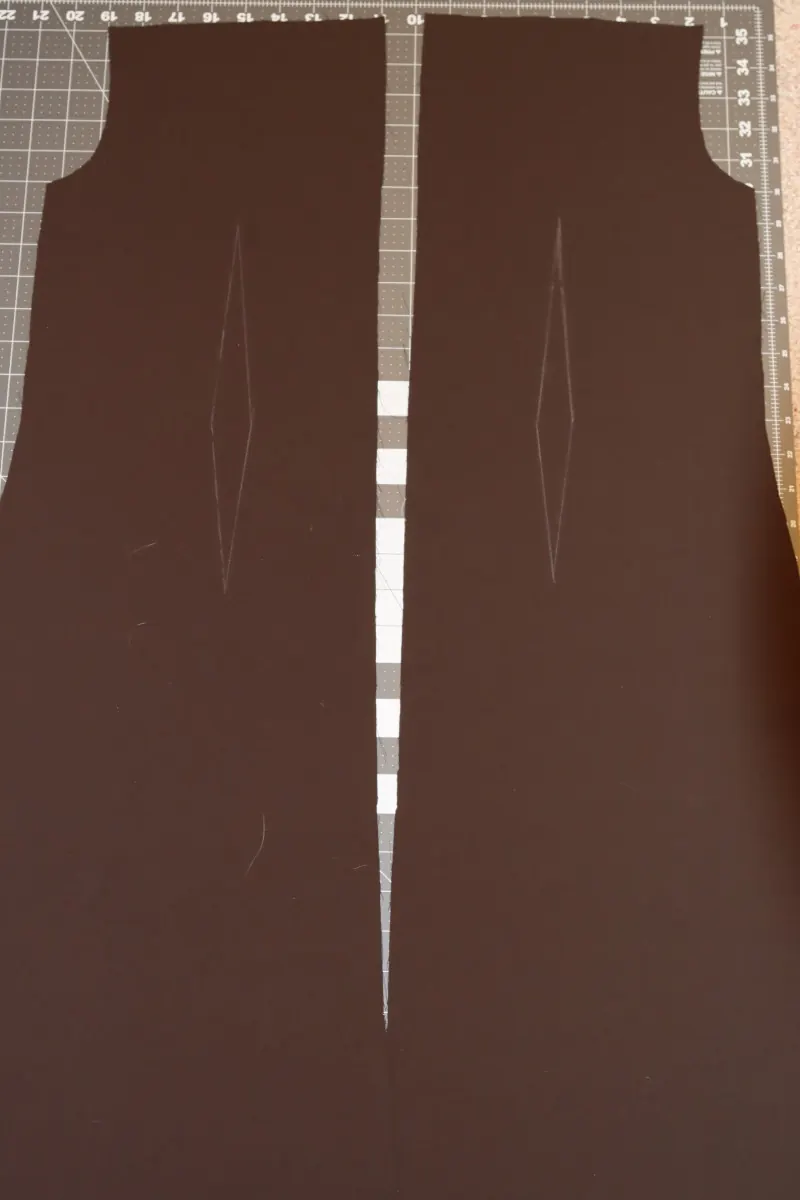
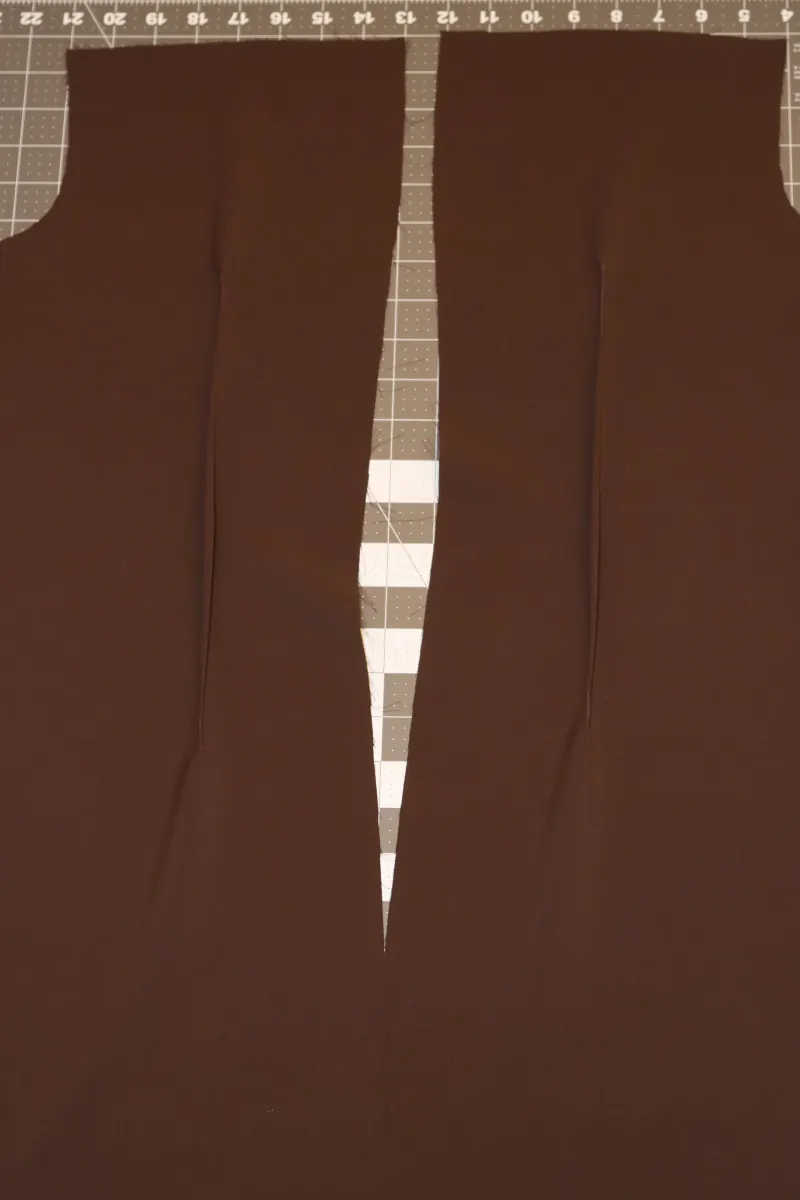
- Mark the back darts with tailor's chalk, tracing the dart outlines on the wrong side of the fabric.
- Fold the back pieces in half, right sides together, with the fold centered on the top and bottom dart points.
- Pin the two opposite sides of the chalk outlines together.
- Stitch along the chalk lines.
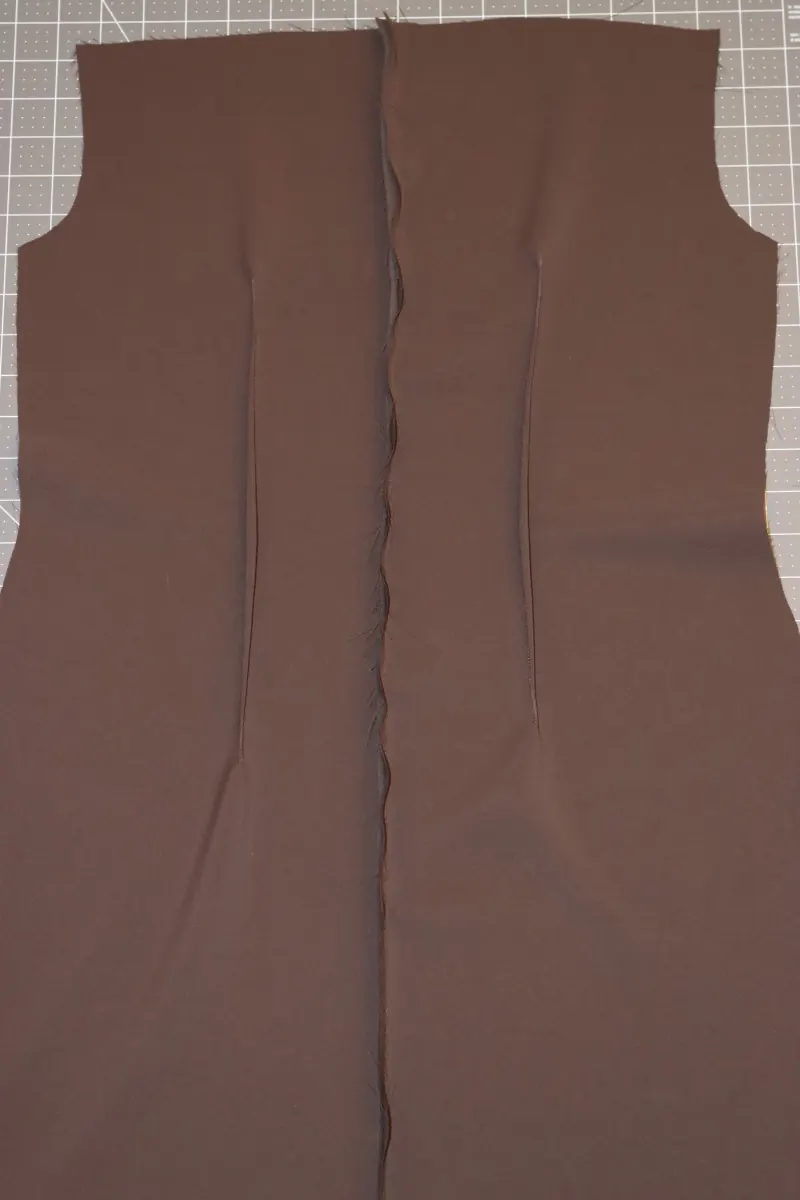
- Unfold the fabric and press the darts toward the side seams of the dress.
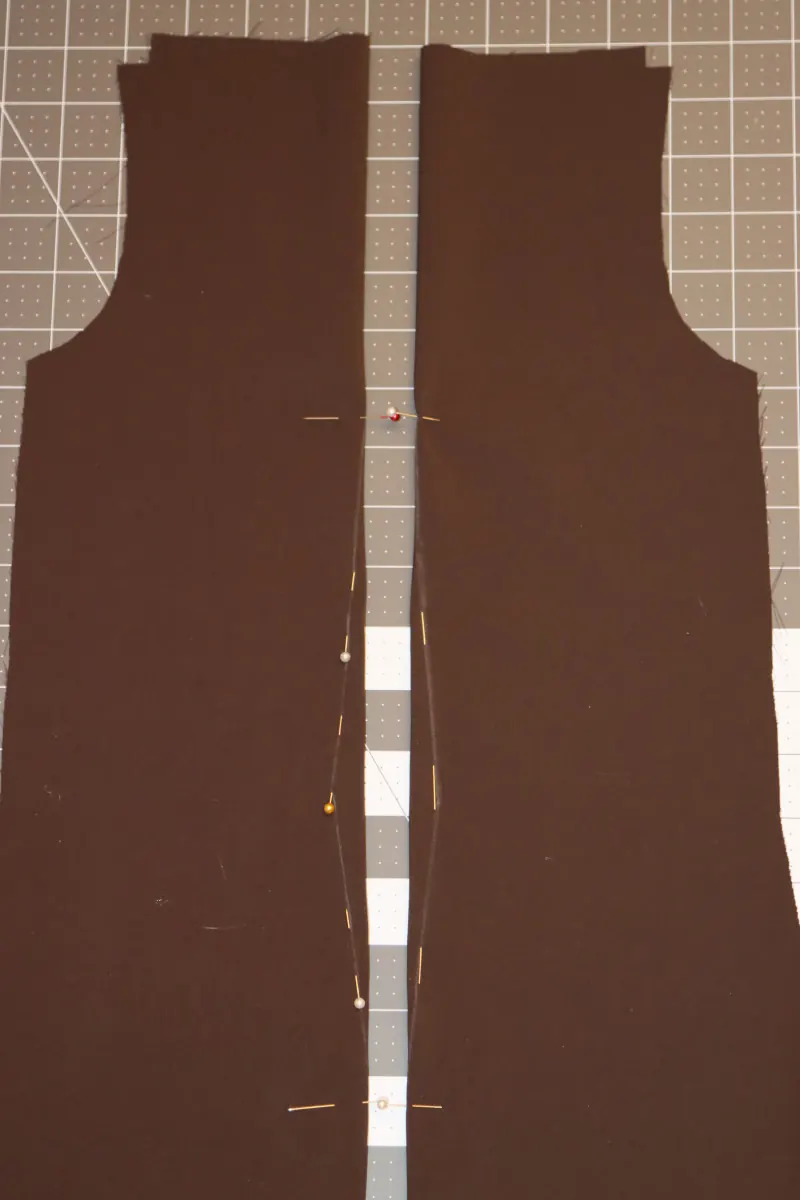
- With the darts sewn, place the two back pieces right sides together.
- Pin and sew the center back seam of the dress.
- Press the center back seam open and flat.
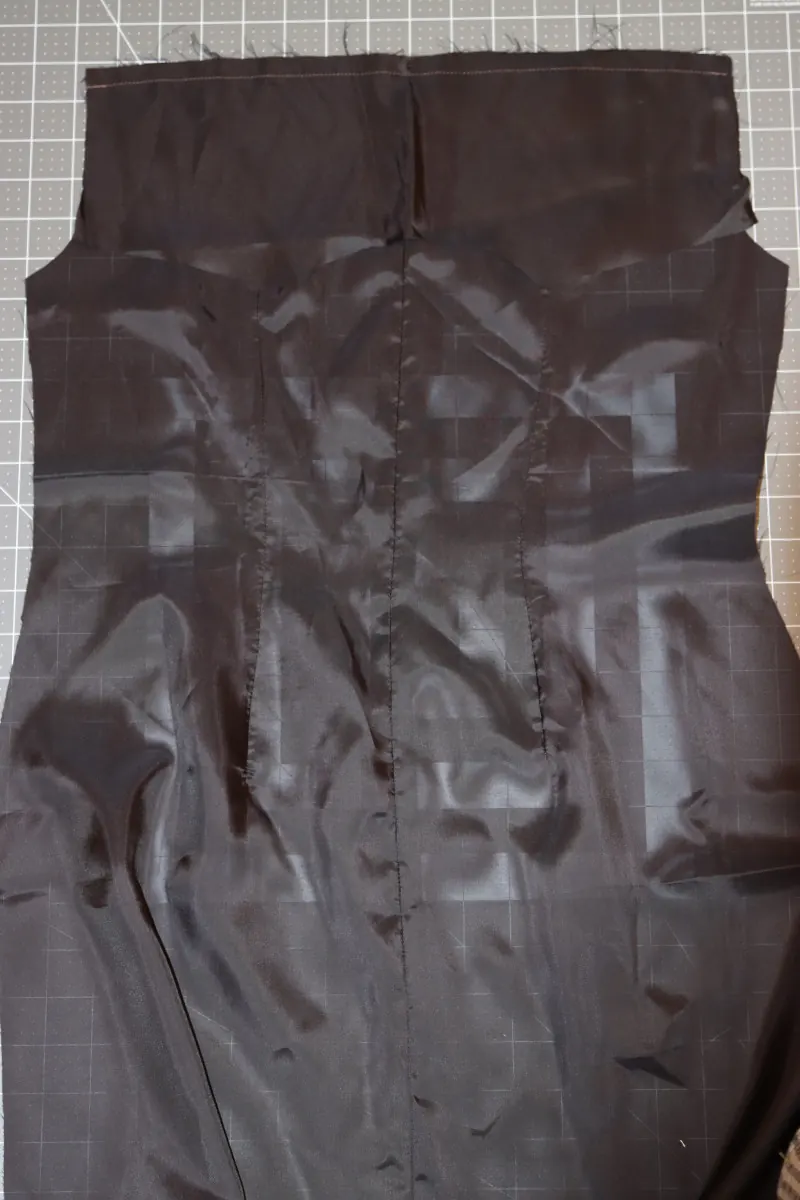
- Repeat all of this for the back lining of the dress.
Step 2 — Back loop
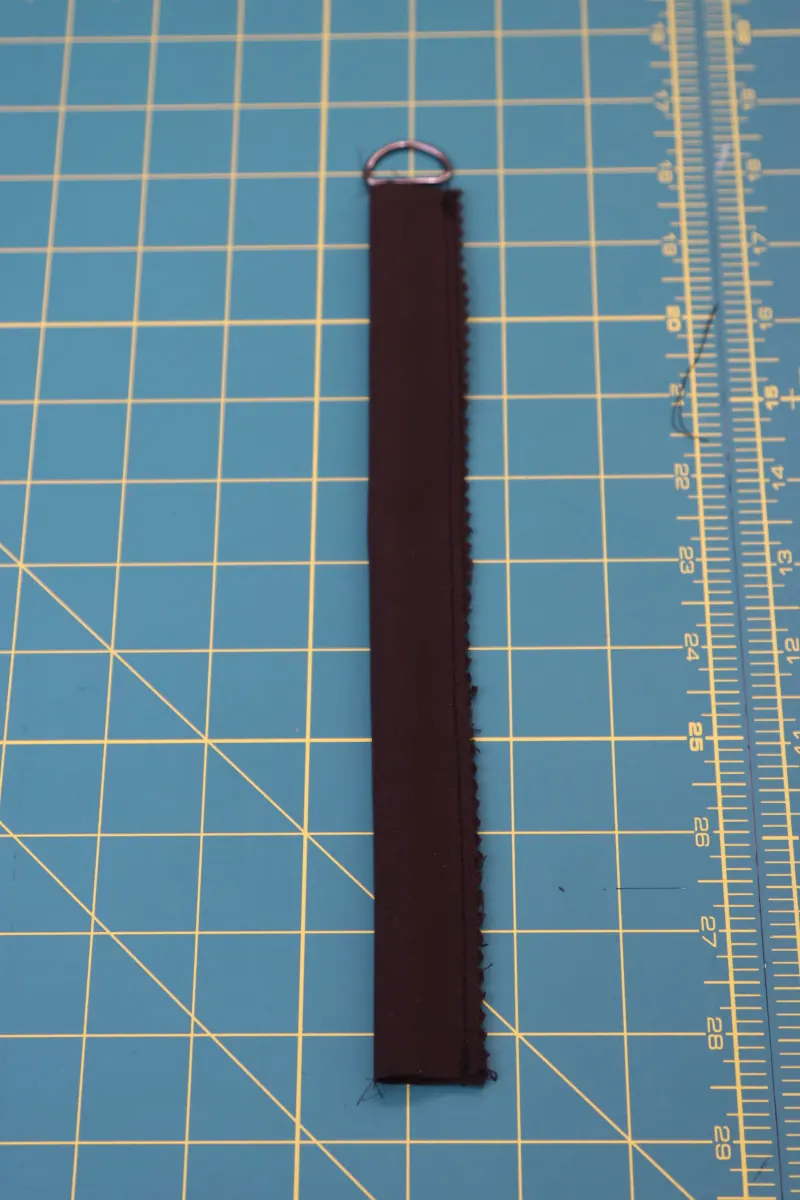
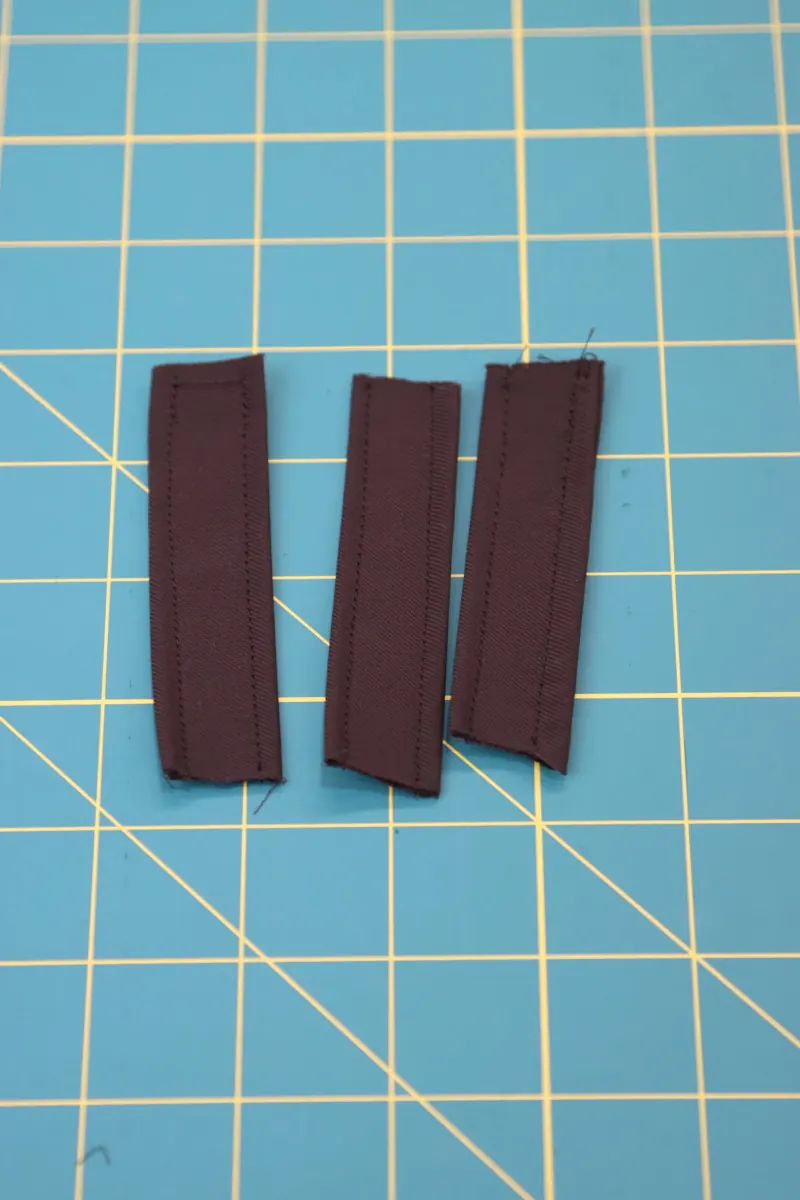
- Cut a strip of fabric 5.1 cm (2") wide and at least 25.4 cm (10") long.
- Fold the strip in half lengthwise, right sides together.
- Pin and sew the raw edge of the strip with a 1.0 cm (⅜") seam allowance. You can also trim the seam allowance with pinking shears to reduce it further. The size of this strip depends on the size of the D-ring you use. These D-rings are 1.9 cm (¾"), so the finished strip must be just under 1.9 cm (¾").
- Turn the strip right side out with a loop turner, then press it flat.
- Sew two parallel rows of topstitching on the strip, 0.3 cm (⅛") from the edge.
- Cut the strip into 3 equal pieces.
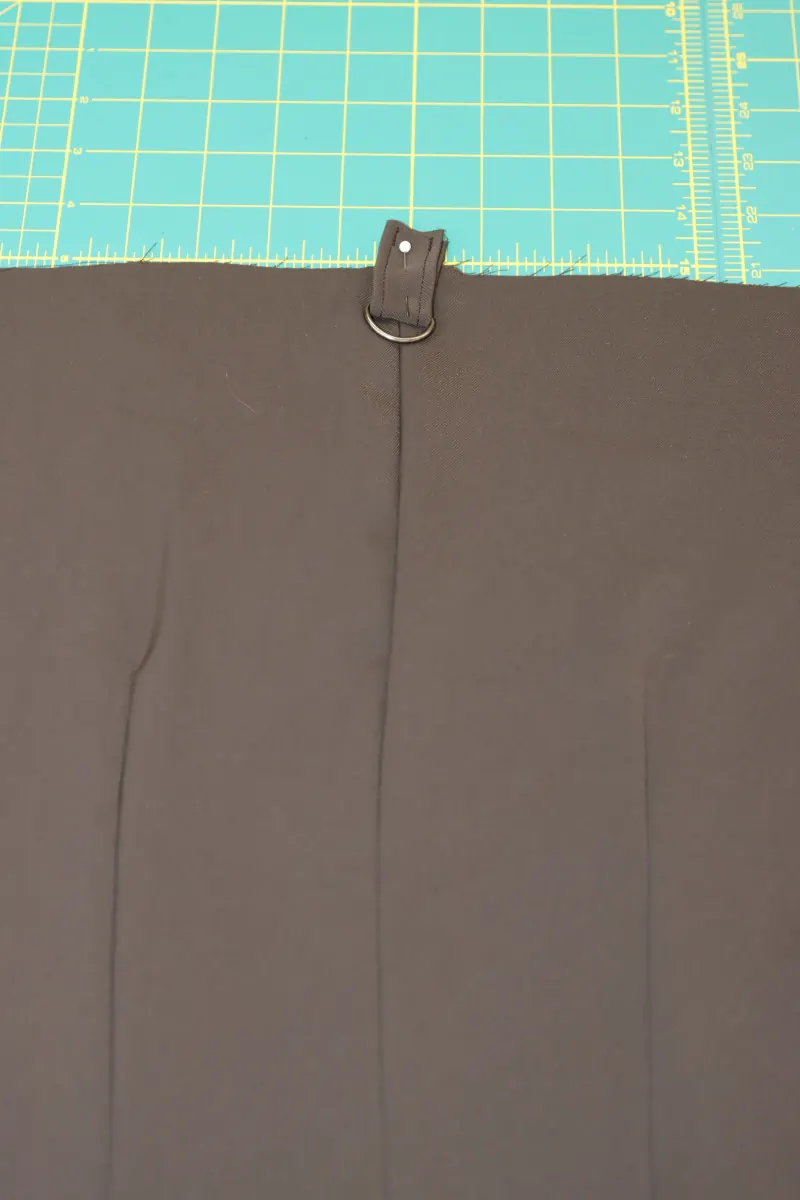
- Take one piece and thread it through the D-ring.
- Fold the strip in half around the D-ring and pin its raw edges at the top of the center back seam.
- Stitch over the strip to attach it to the back of the dress.
Step 3 — Back yoke
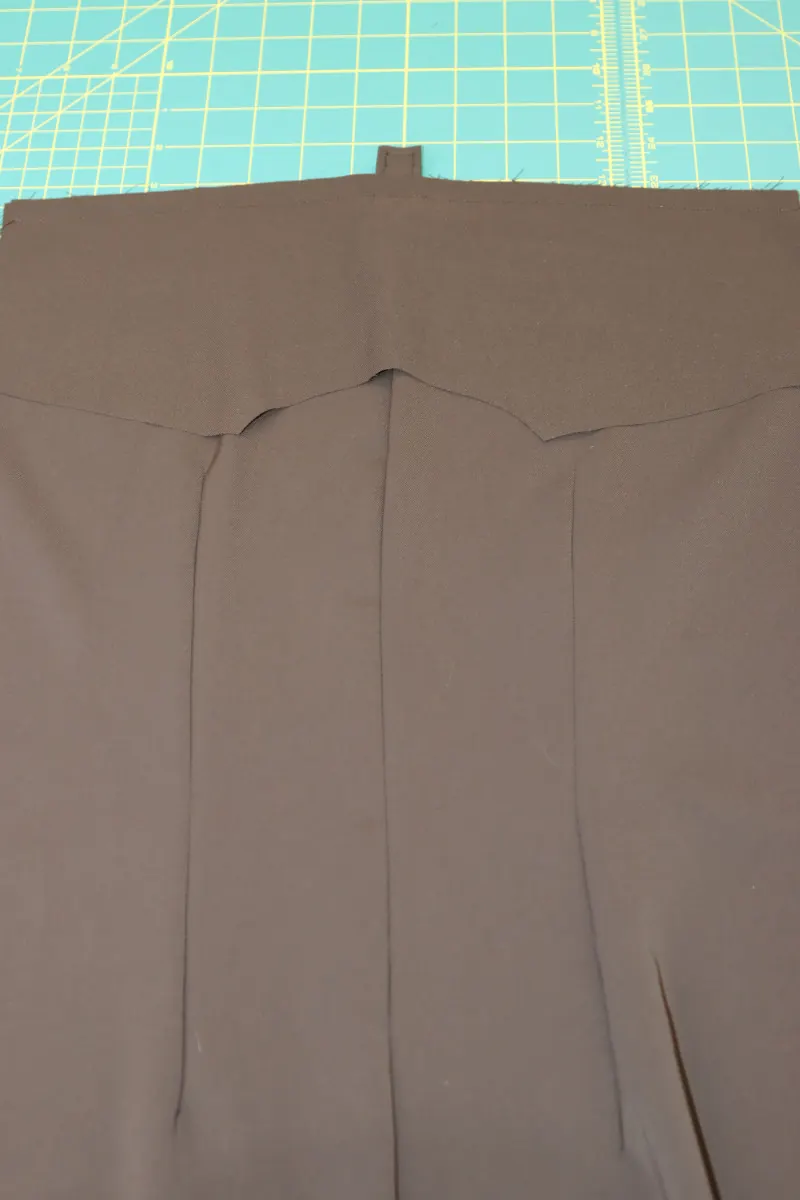
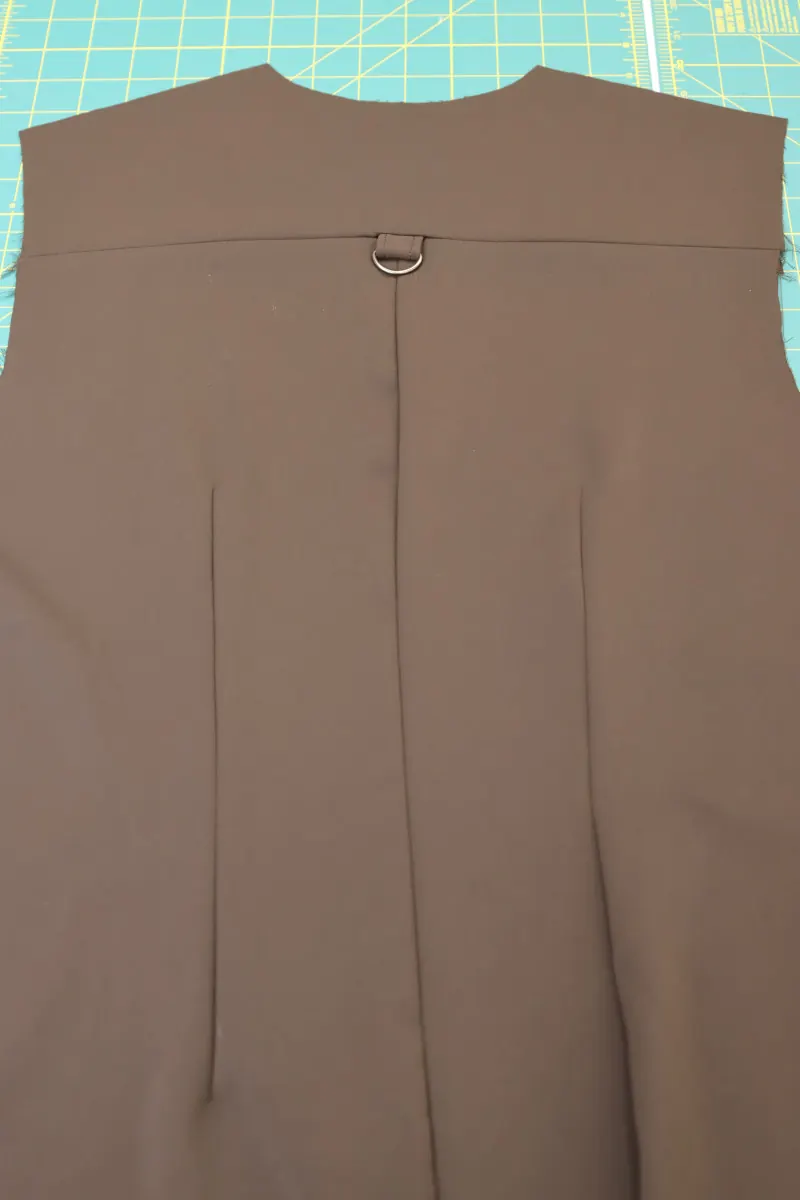
- Place the yoke right sides together on the top edge of the dress back.
- Pin and sew the yoke to the dress back, directly over the strip with the D-ring.
- Press the yoke seam open and flat, and fold the D-ring down.
- Repeat with the back lining, except the lining has no D-ring in the yoke.
Step 4 — Front facings
- Before starting this step, press fusible interfacing onto the wrong side of the front facing pieces.
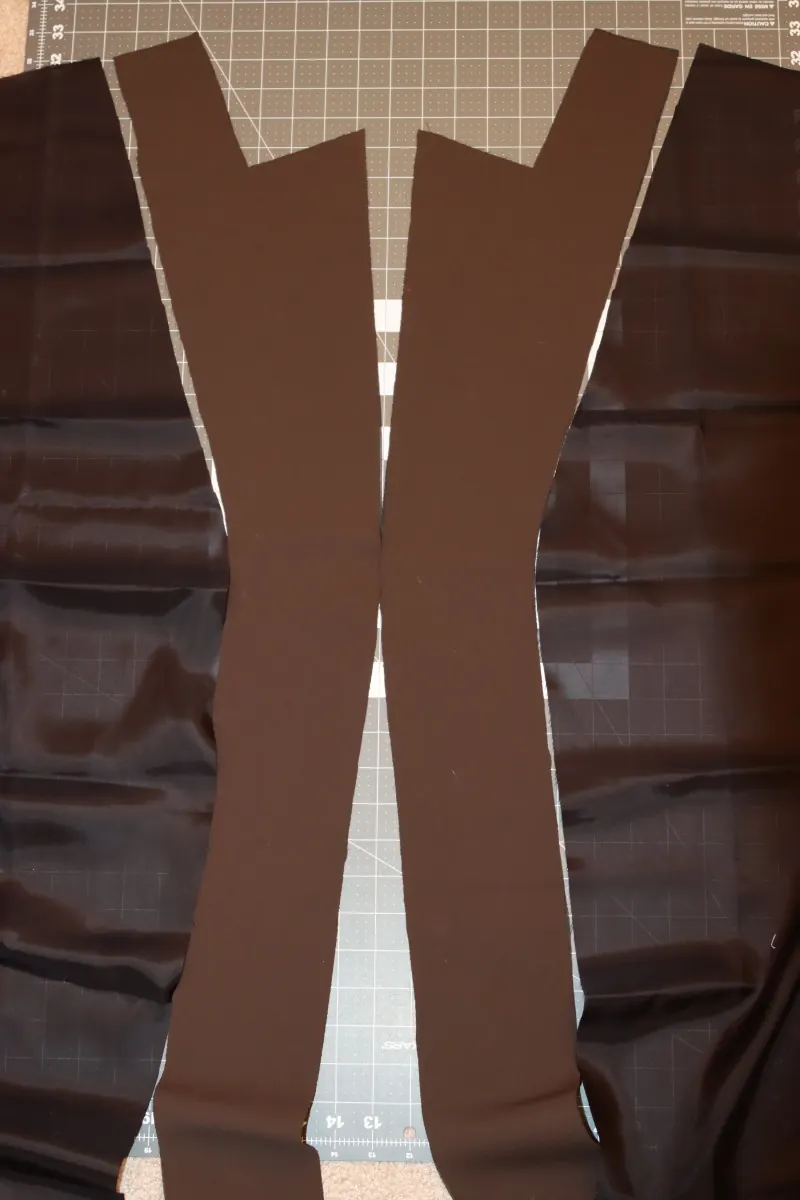
- Lay the front facings right next to the front lining pieces, as shown in photo 4.1.
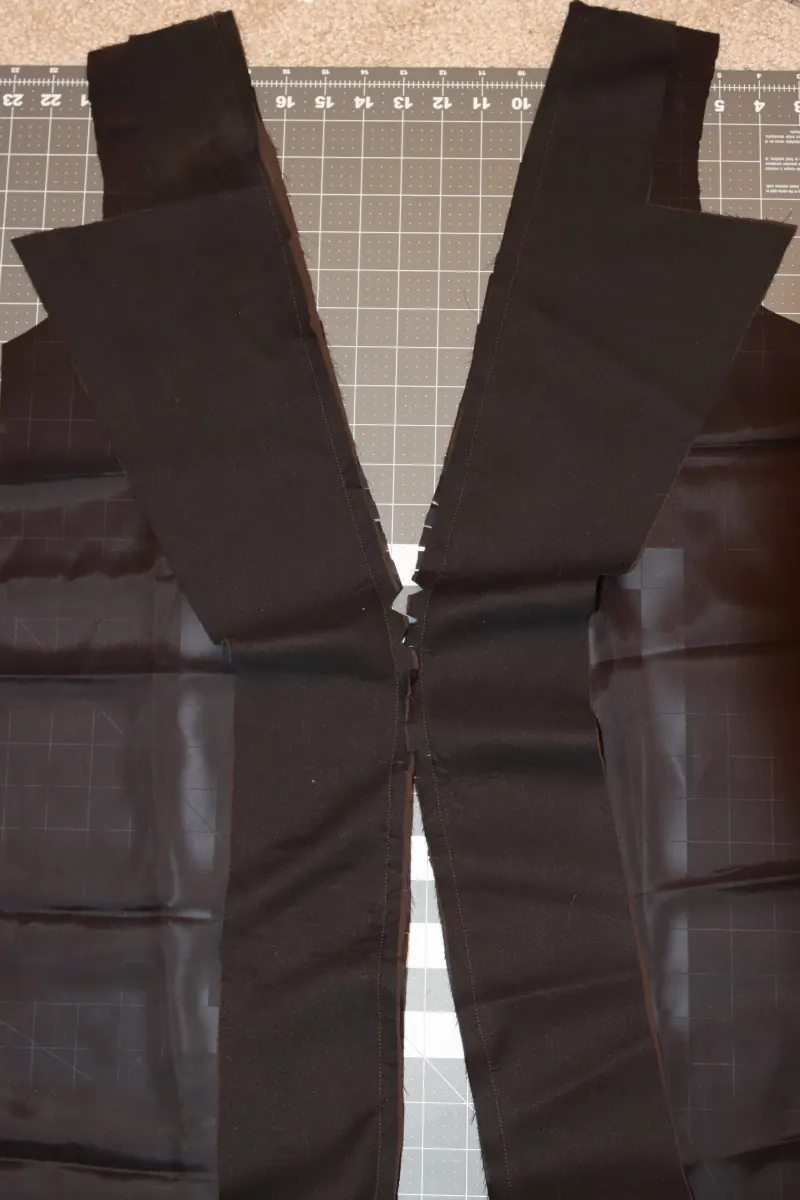
- Place the front facings right sides together on the front lining pieces.
- Pin and sew the front facings to the front linings.
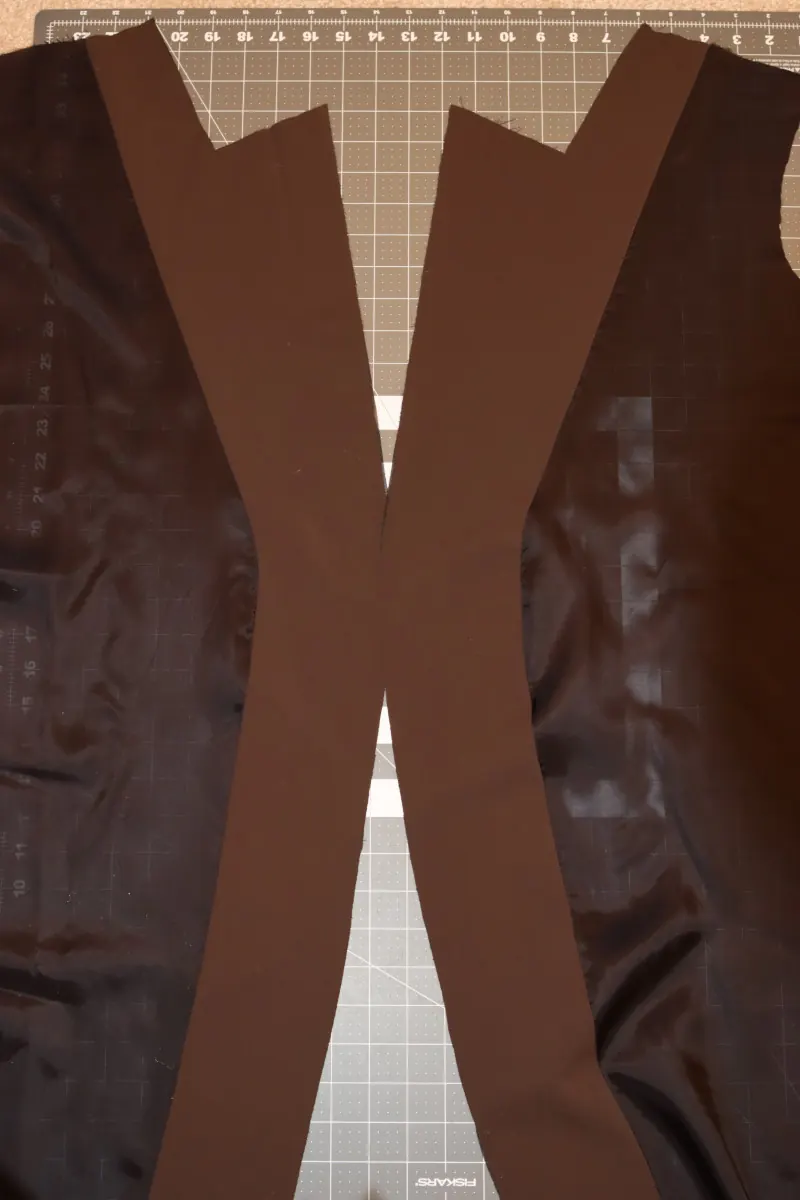
- Clip the curved edges in the facing seam allowance.
- Press the facing seams open and flat.
Step 5 — Welt pockets
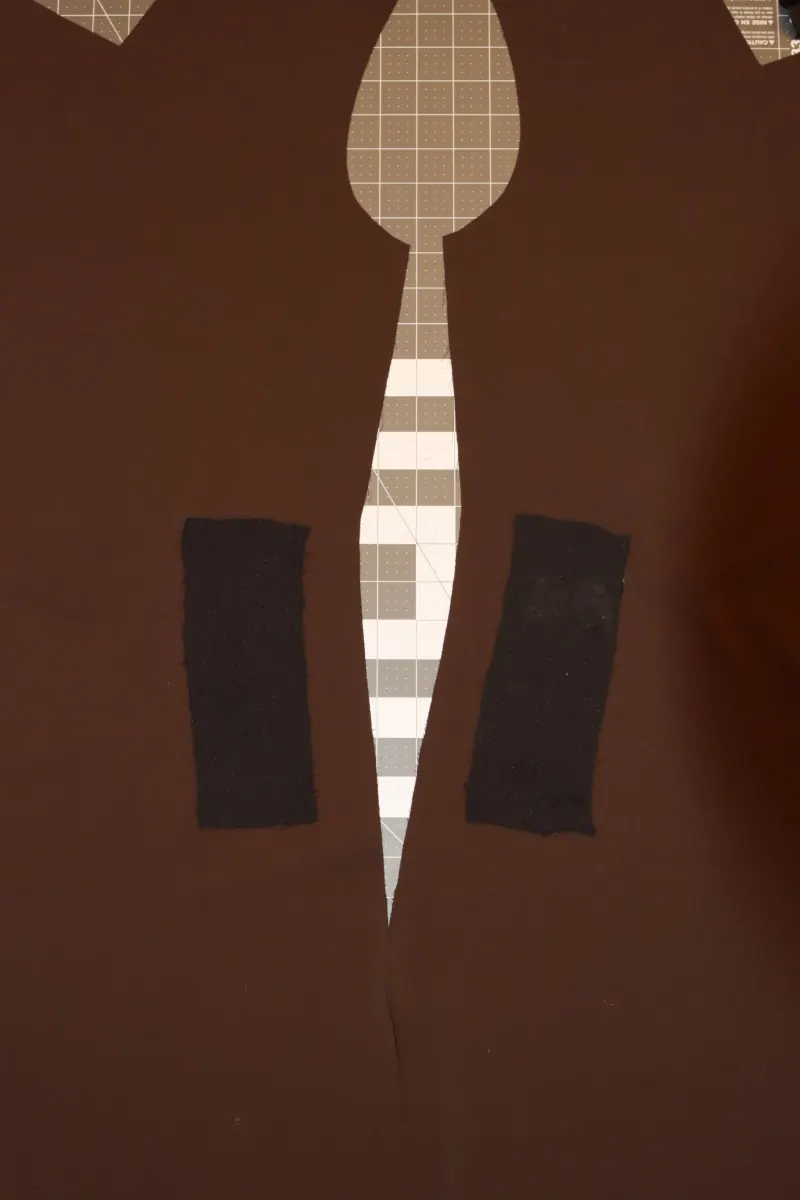
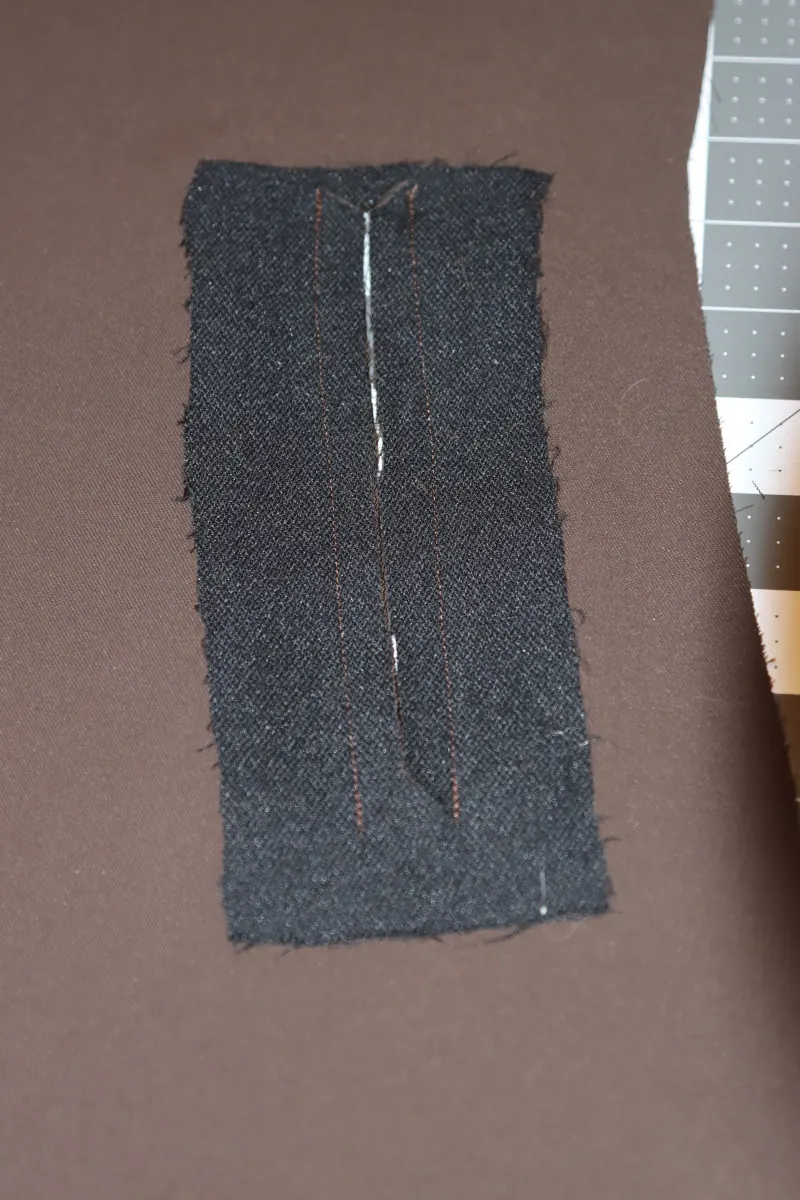
- Press fusible interfacing onto the wrong side of the dress fronts, over the welt pocket markings. The interfacing should be the same size as one of your welts.
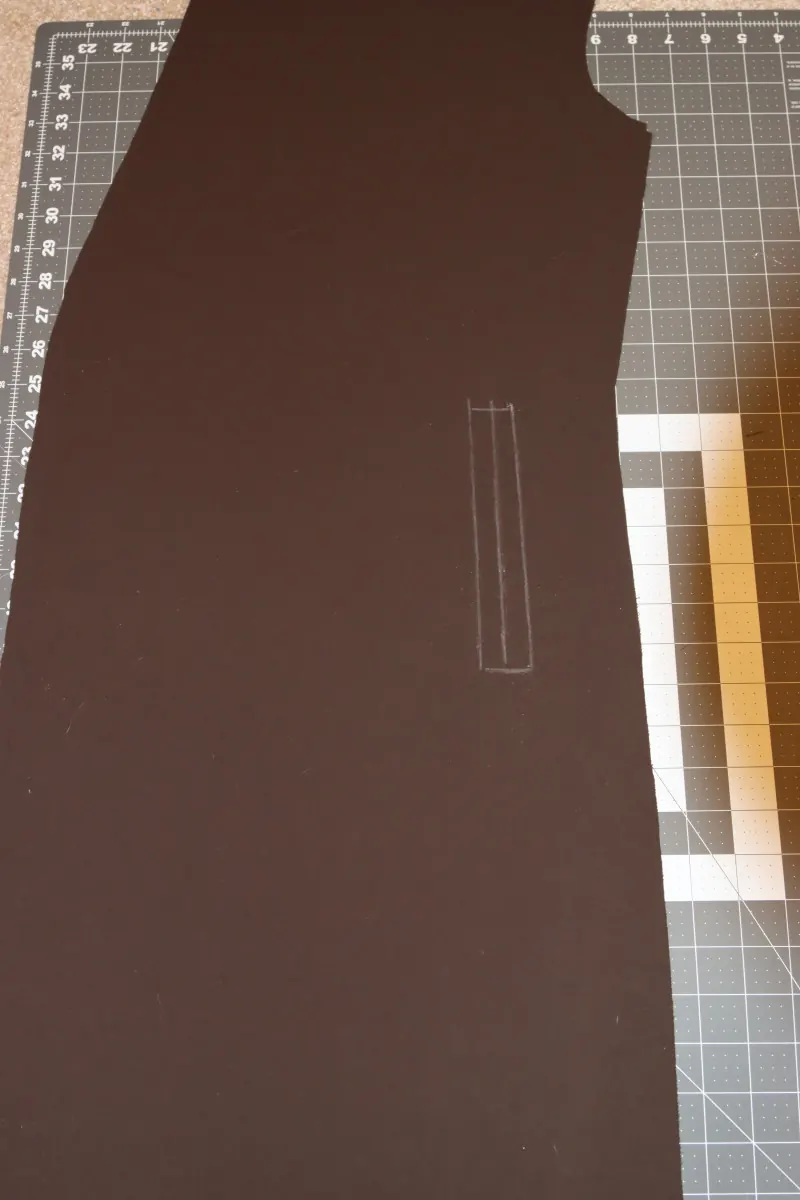
- Mark the pocket placement on the right side of the fabric with tailor's chalk.
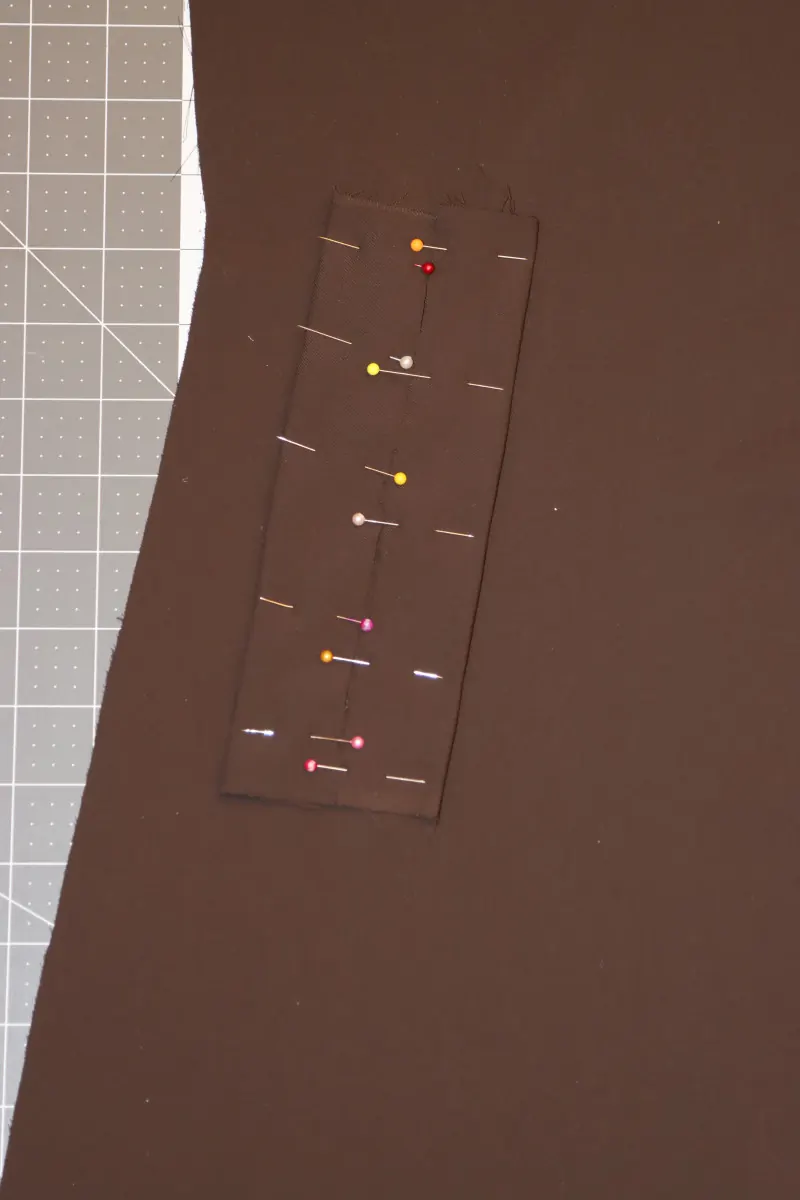
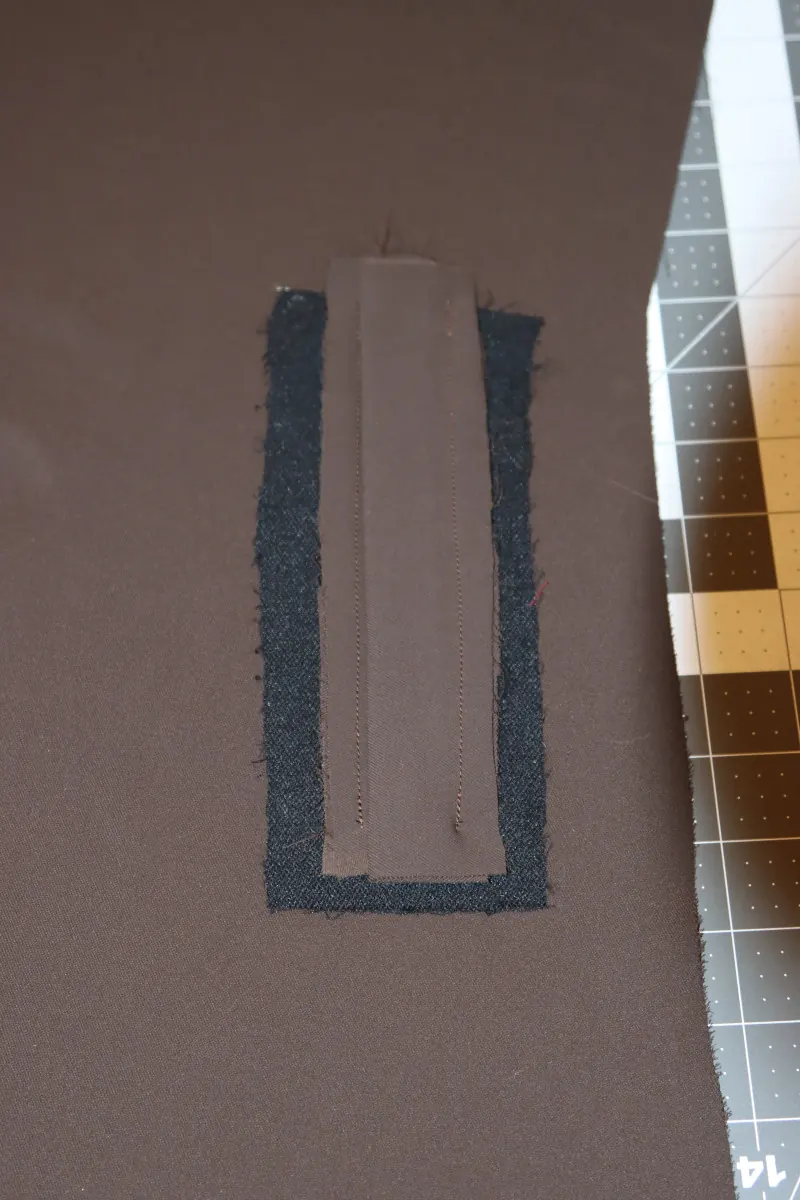
- Pin the welt right sides together along the top and bottom lines of the marking. The height of the welt should equal the distance between the bottom and top chalk lines.
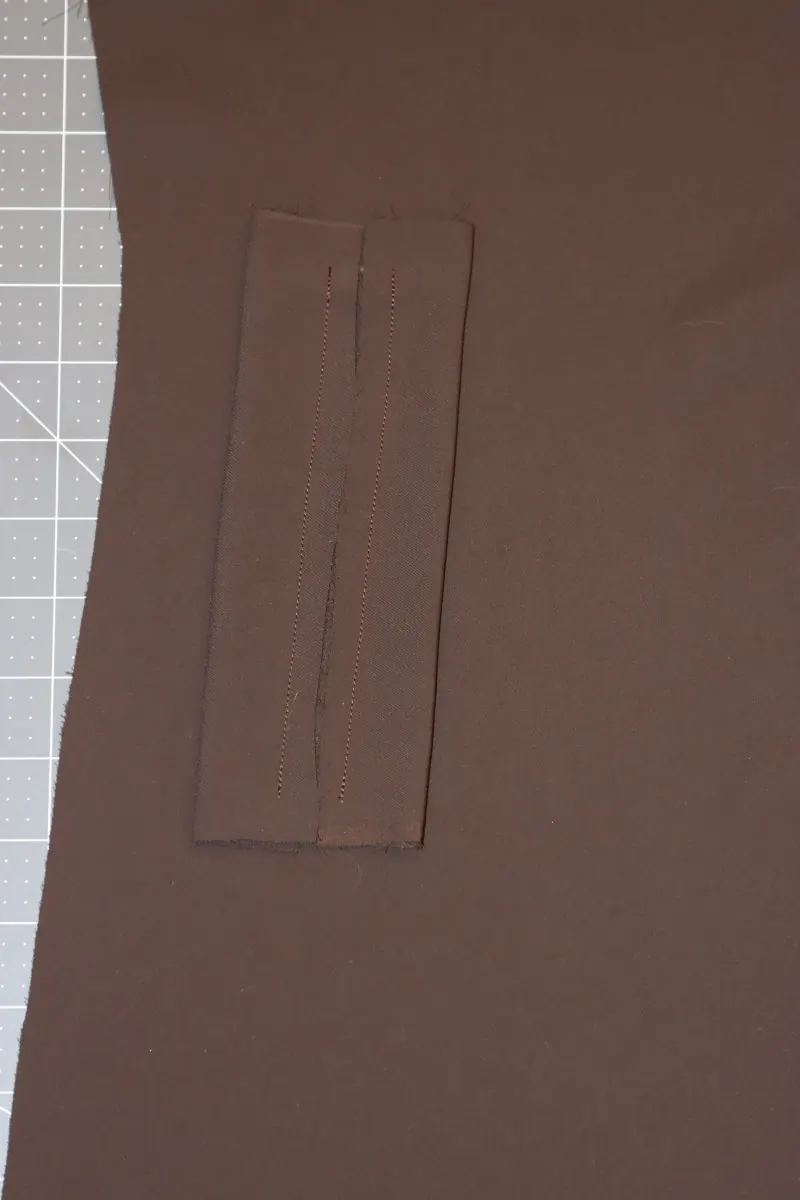
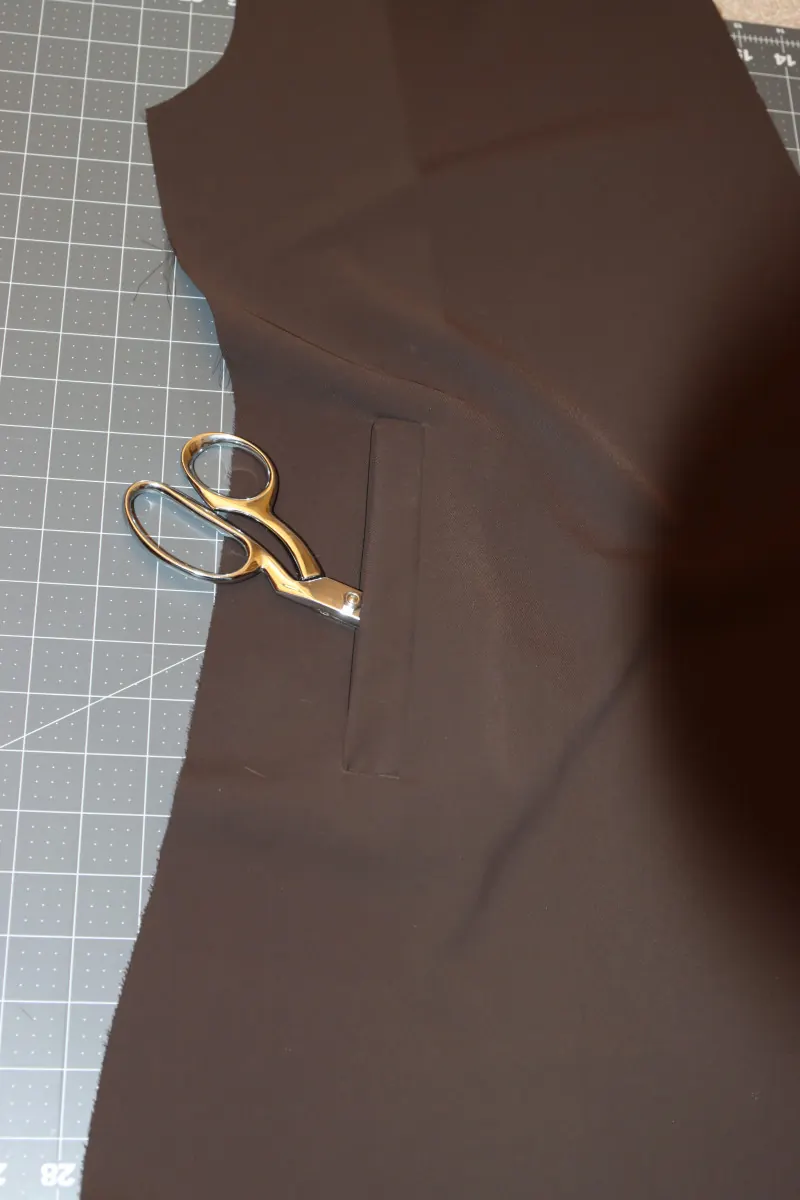
- Sew the welts along the top and bottom chalk lines.
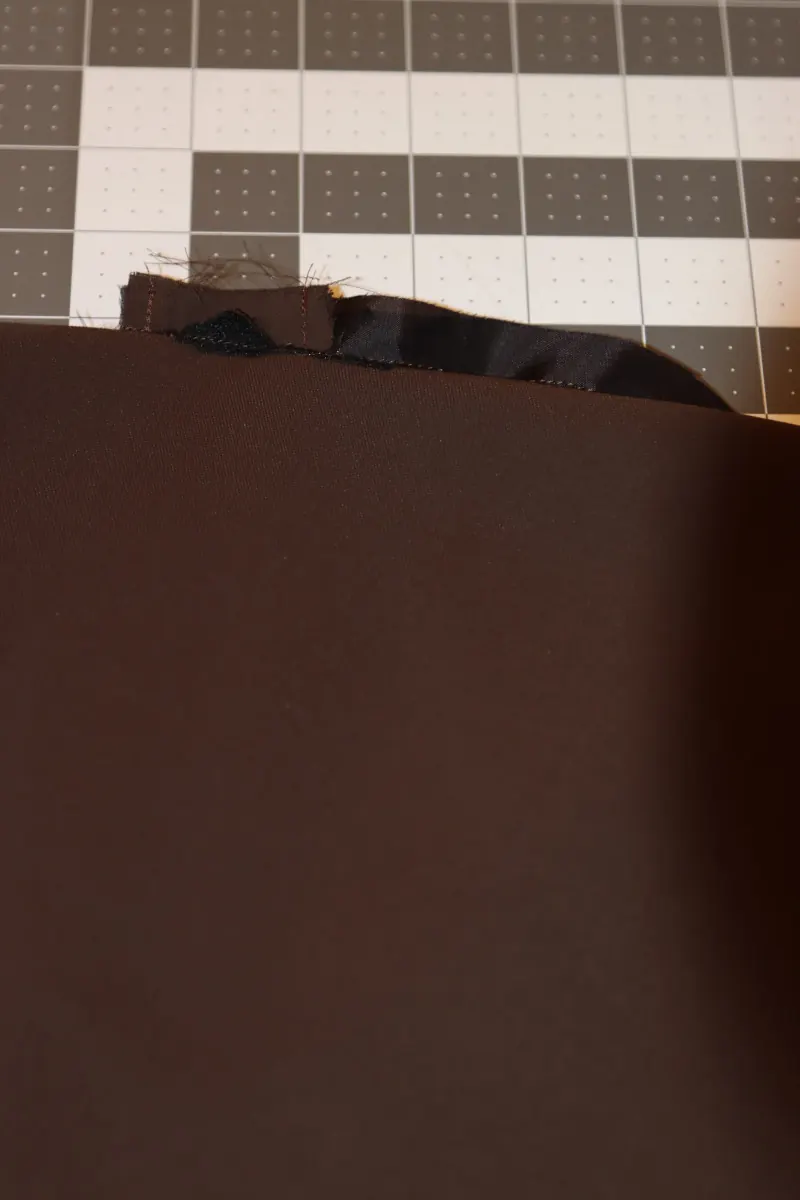
- Cut a slit along the center line of the welt, with triangles at the ends, as shown in photo 5.5.
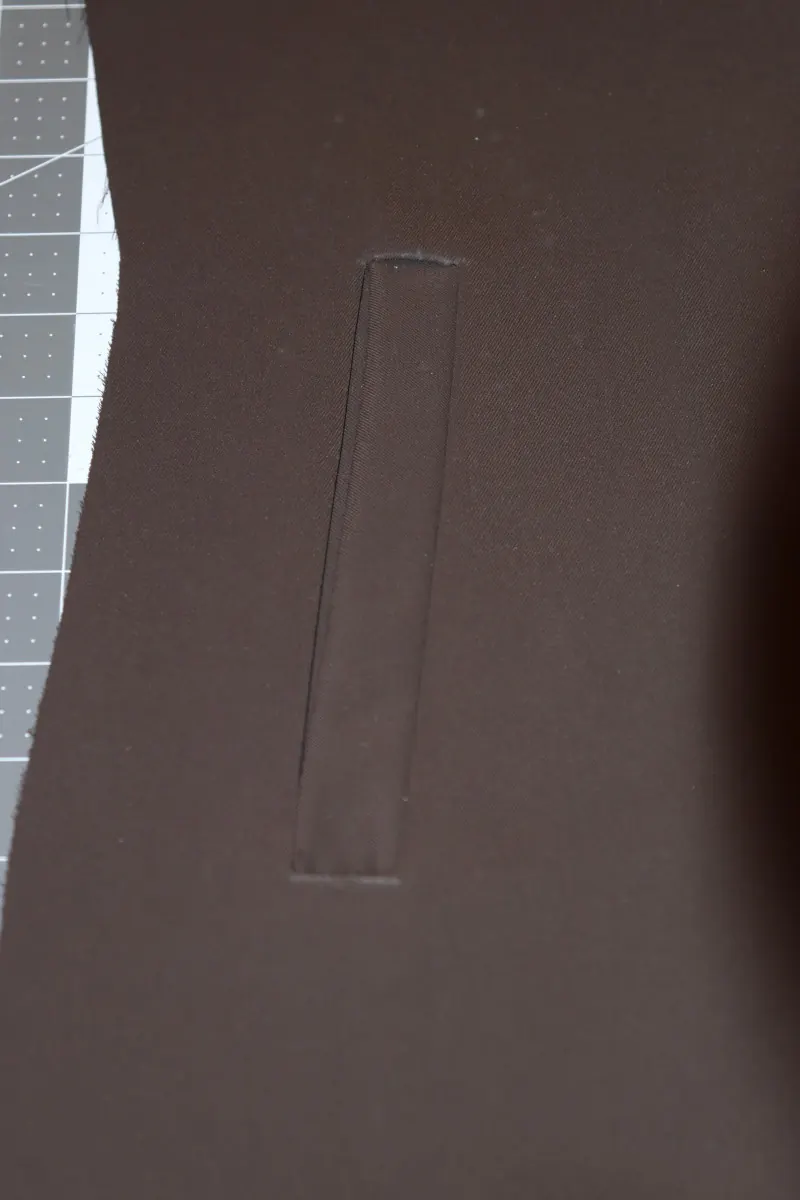
- Turn the welt to the inside of the dress and press the pocket as flat as possible.
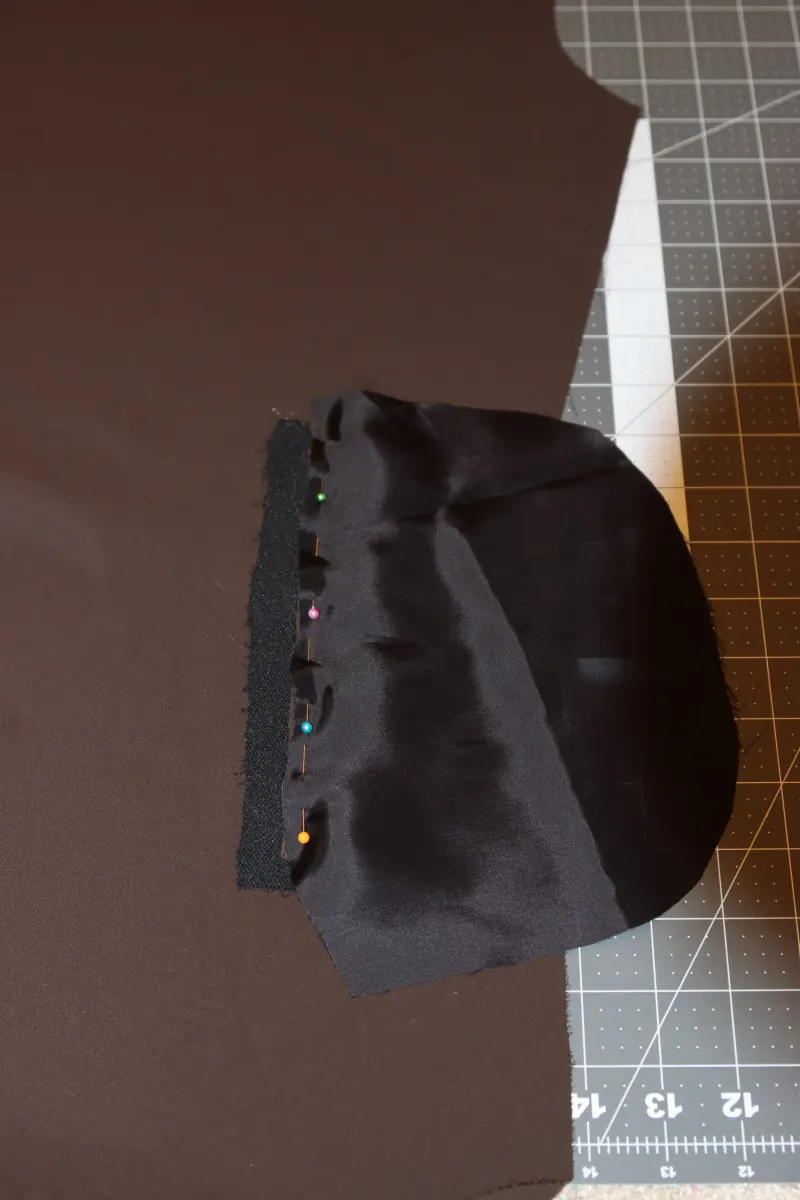
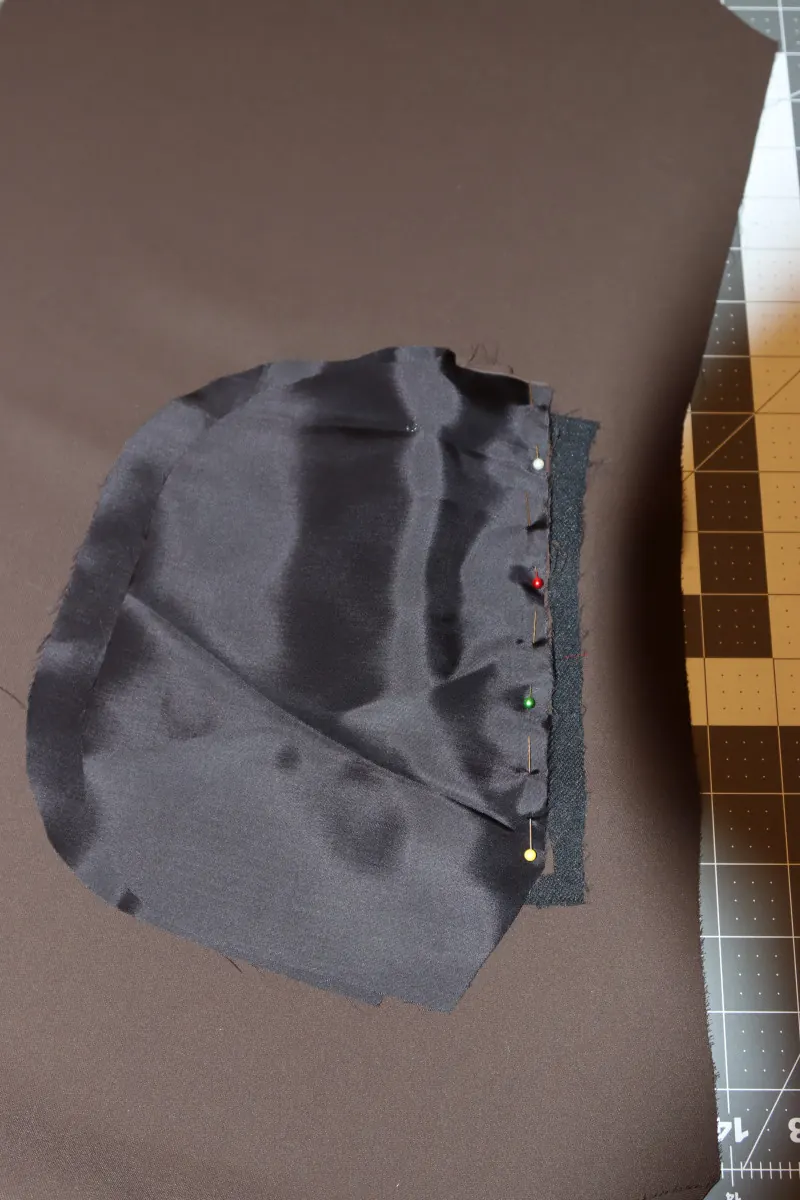
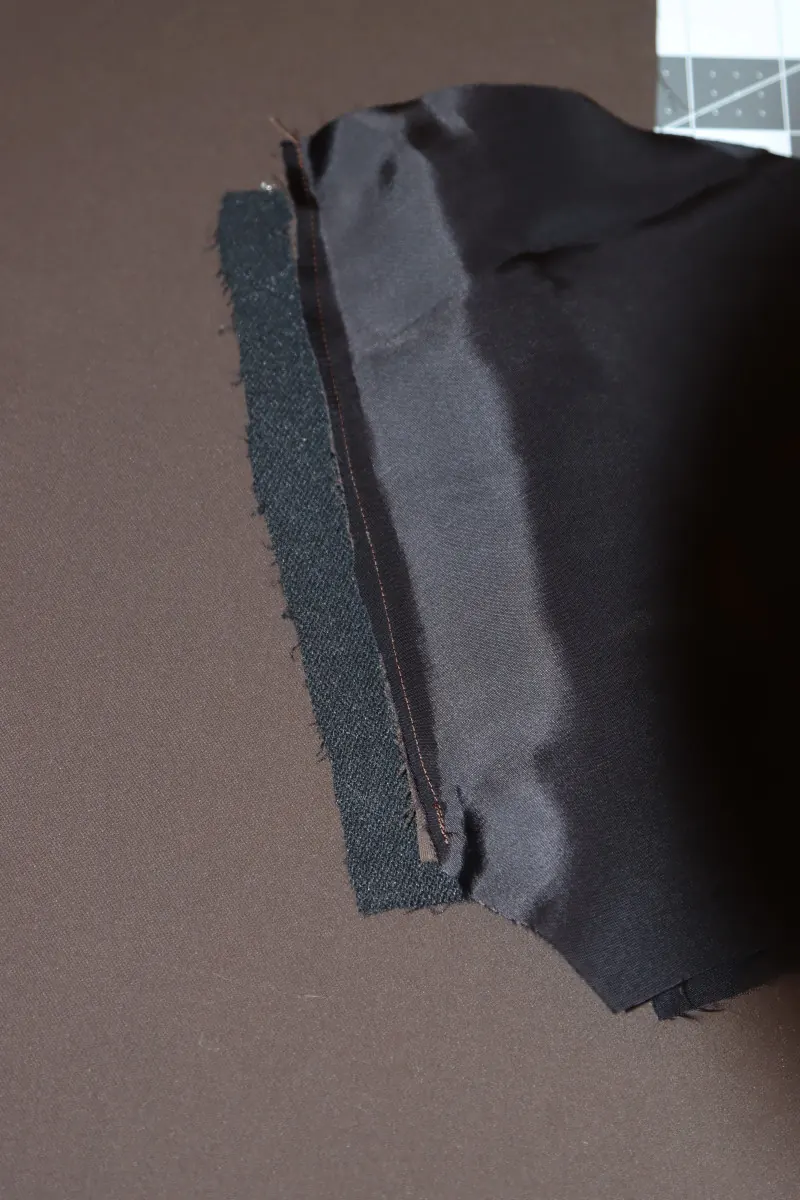
- Pin and sew the straight edges of the pocket bags to the welt seam allowances, with a 0.3 cm (⅛") seam allowance.
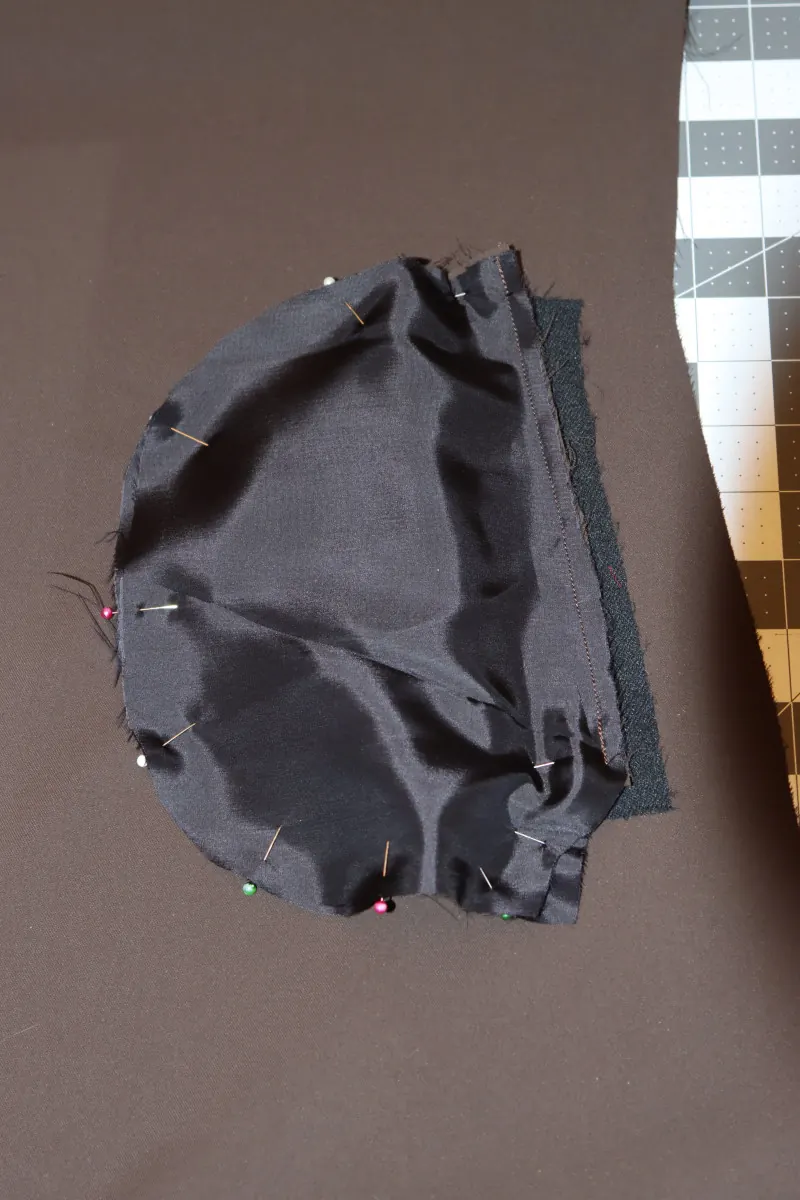
- Pin the curved raw edges of the pocket bags together.
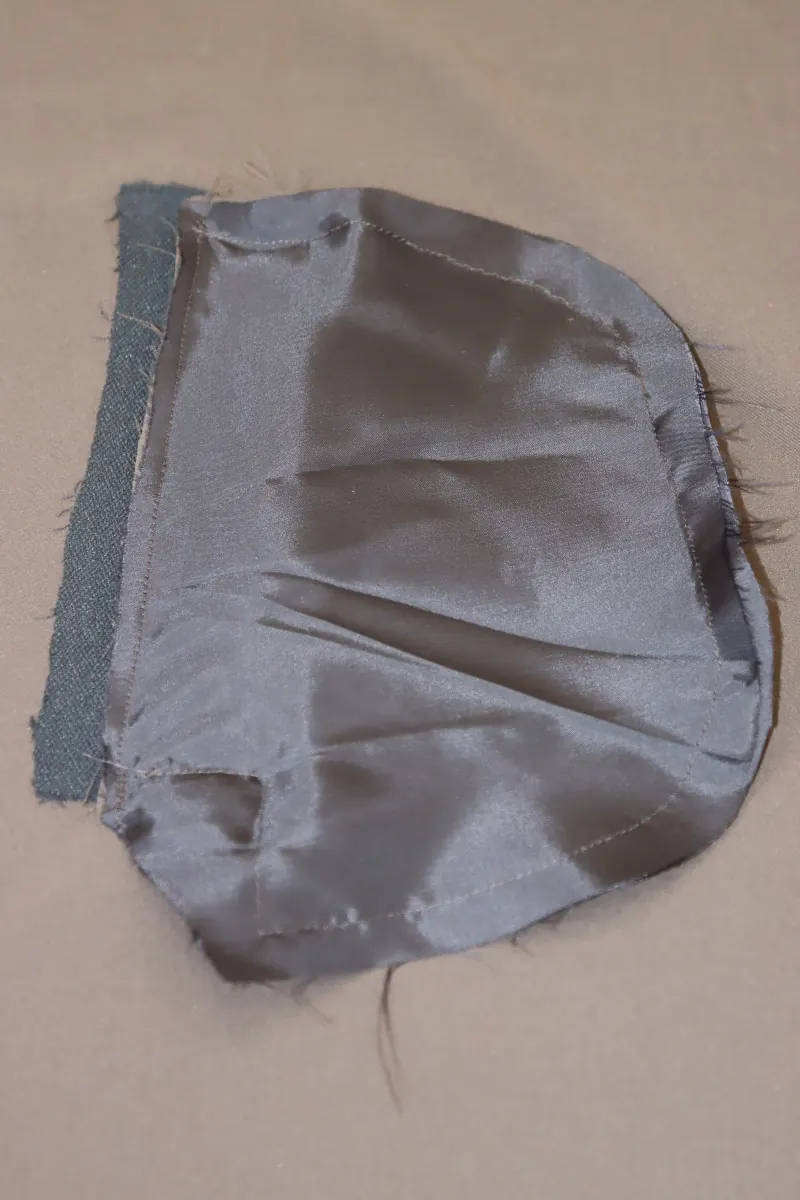
- Sew all around the pocket bags, also catching the triangles at both short ends of the welt opening in the seam.
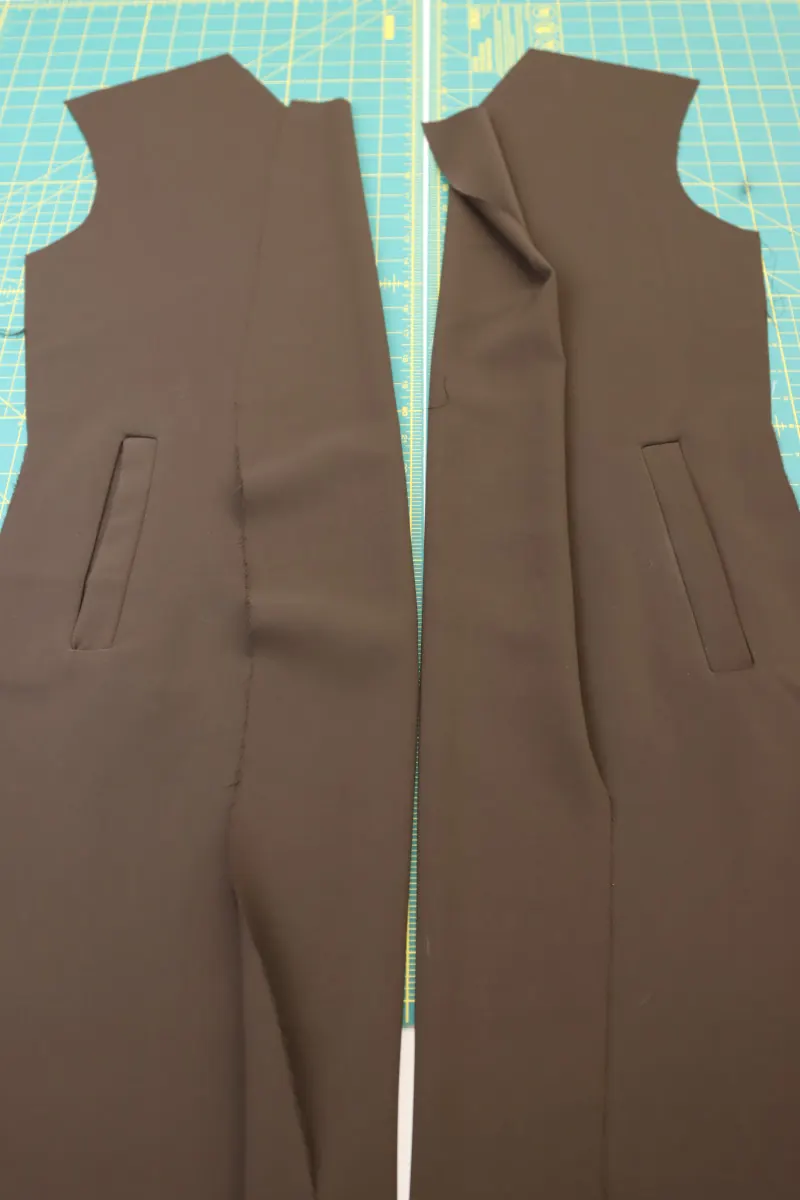
- Repeat on both sides of the dress front.
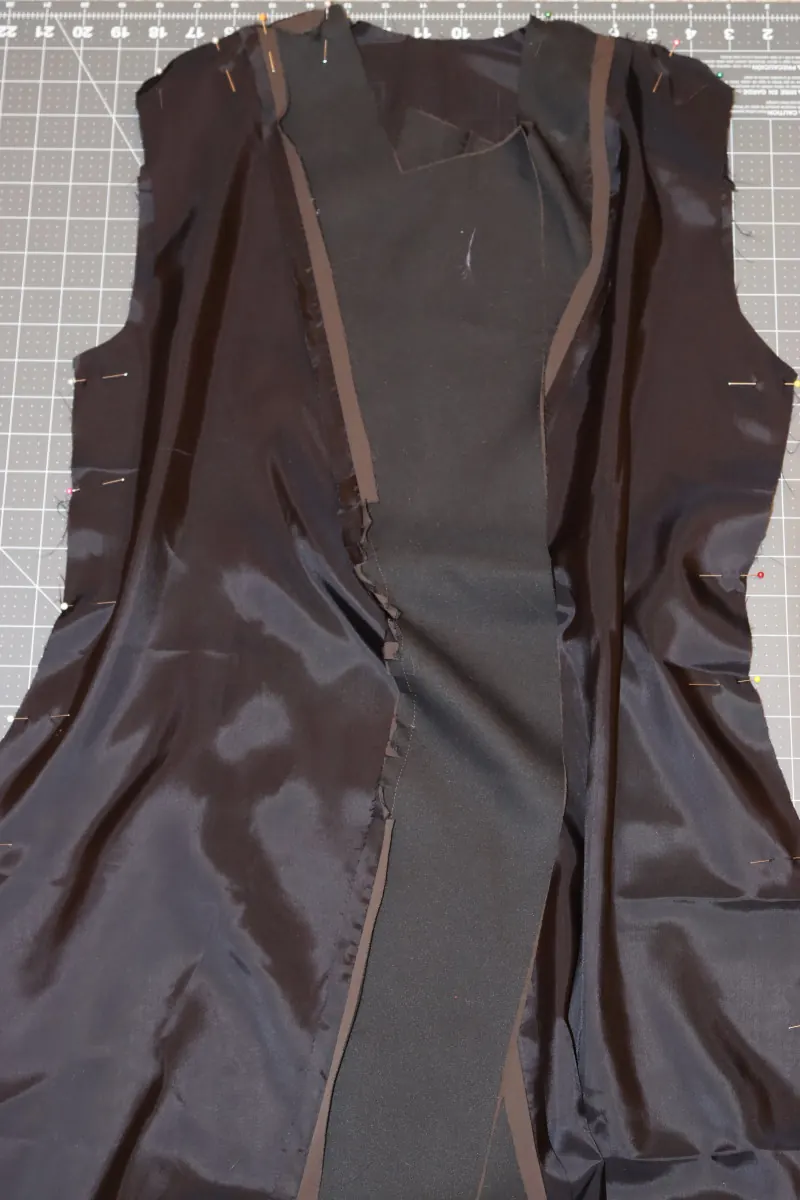
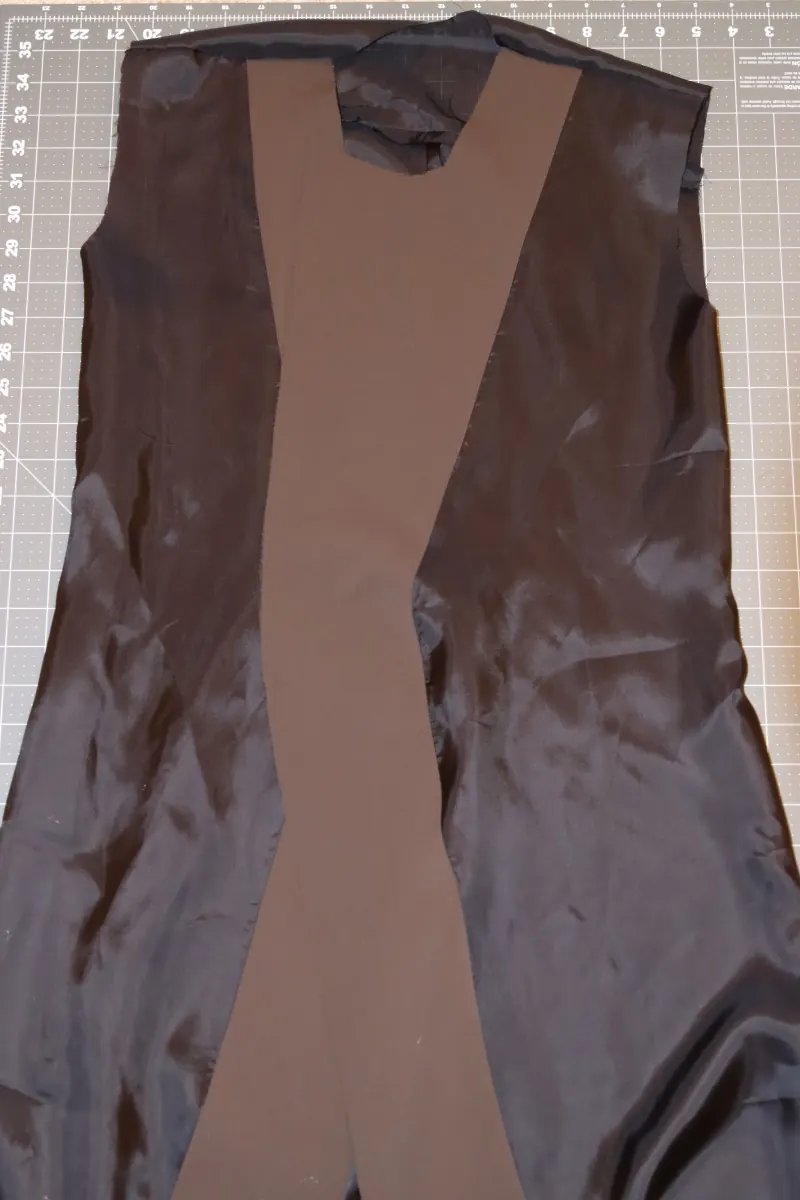
Step 6 — Shoulder and side seams
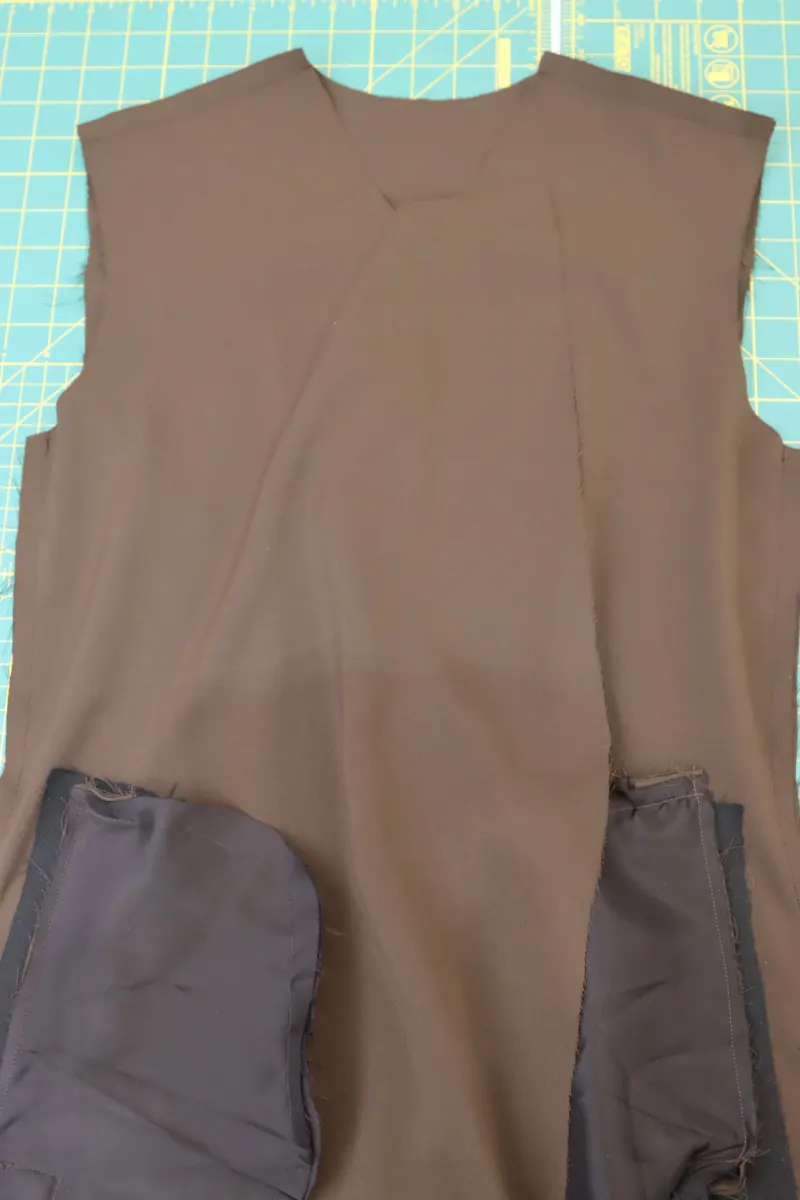
- Place the dress fronts right sides together on the back pieces.
- Pin and sew the front to the back of the dress at the shoulder and side seams.
- Repeat for the dress lining.
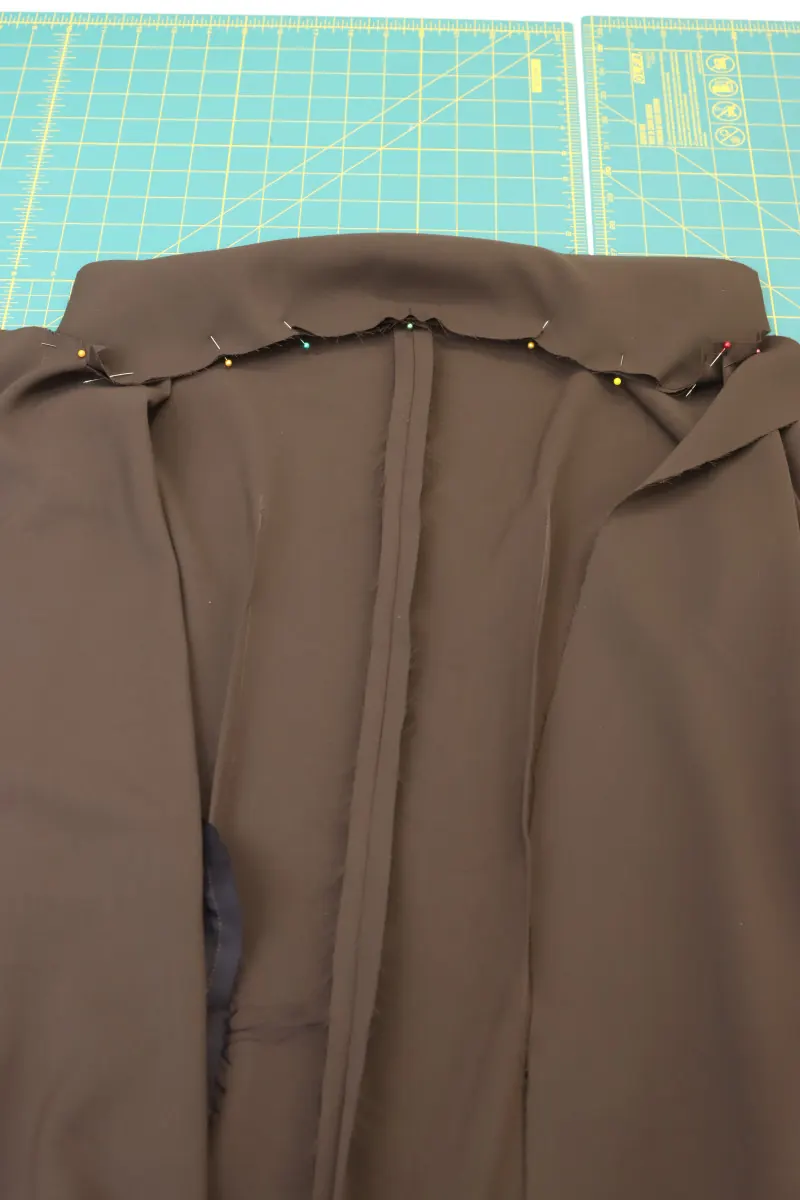
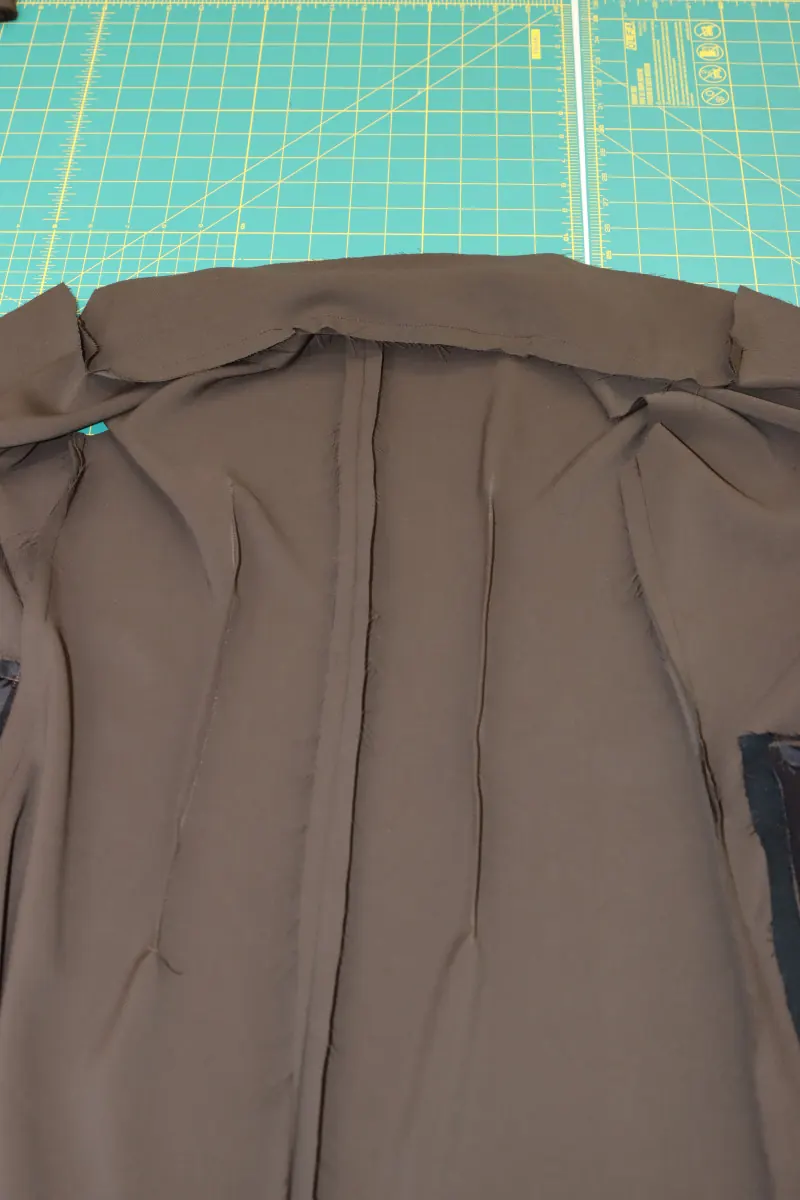
Step 7 — Collars
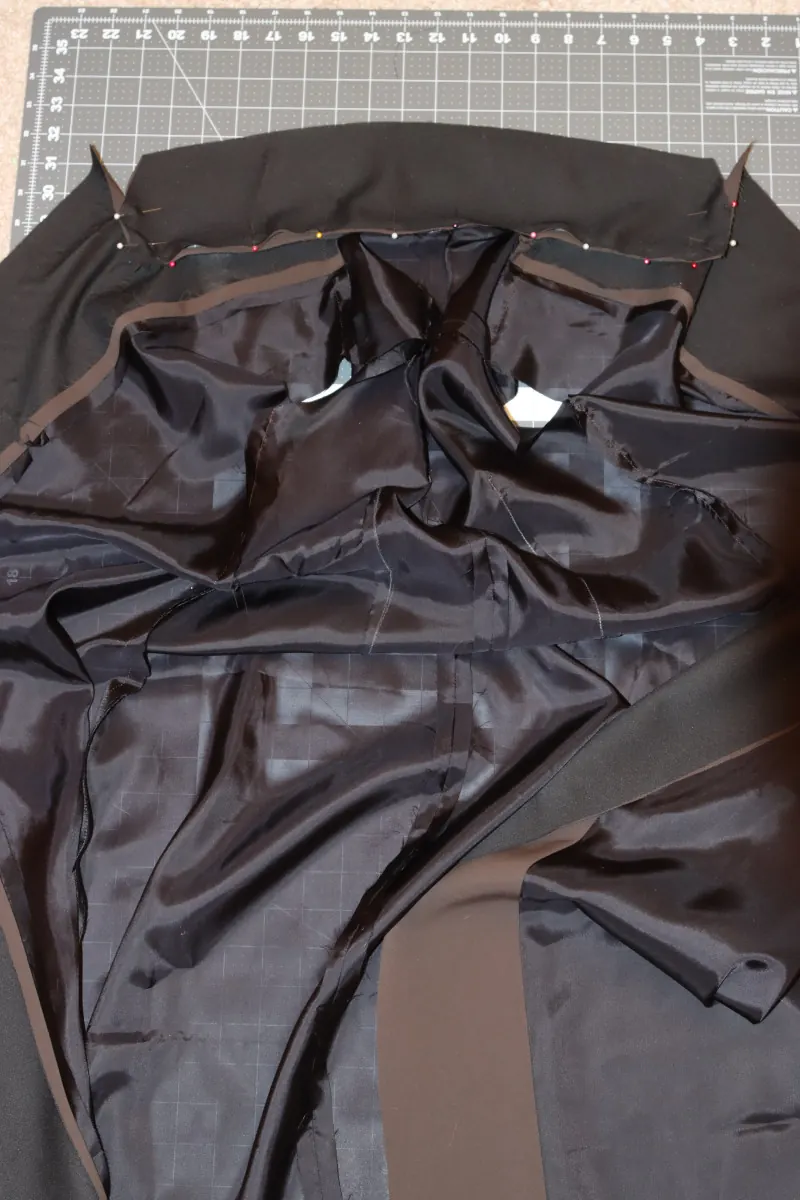
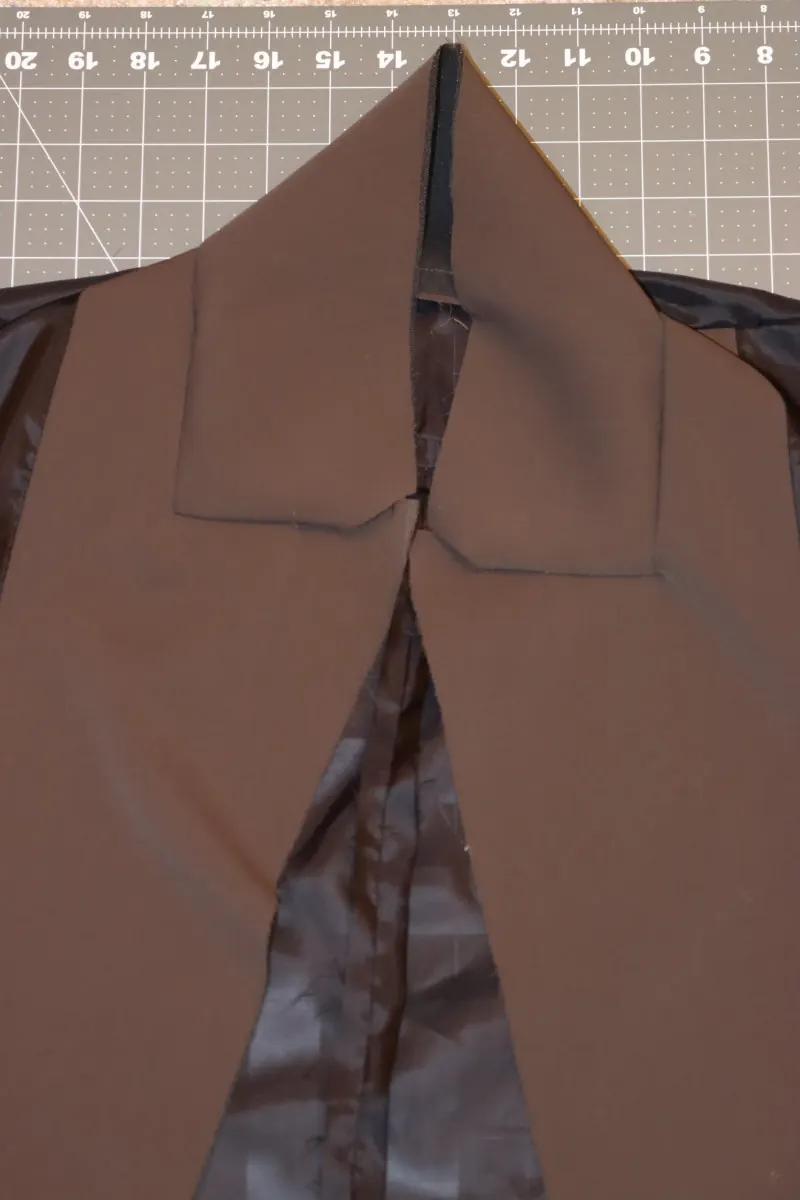
- Before starting this step, press fusible interfacing onto the wrong side of the collar that will be sewn to the lining.
- Match the collar notches to those on the lining neckline, and pin the bottom of the collar to the neckline.
- Sew from notch to notch to join the collar to the neckline.
- Clip the collar corners so it lies flat.
- Repeat for both the lining and the main fabric.
Step 8 — Finishing the neckline
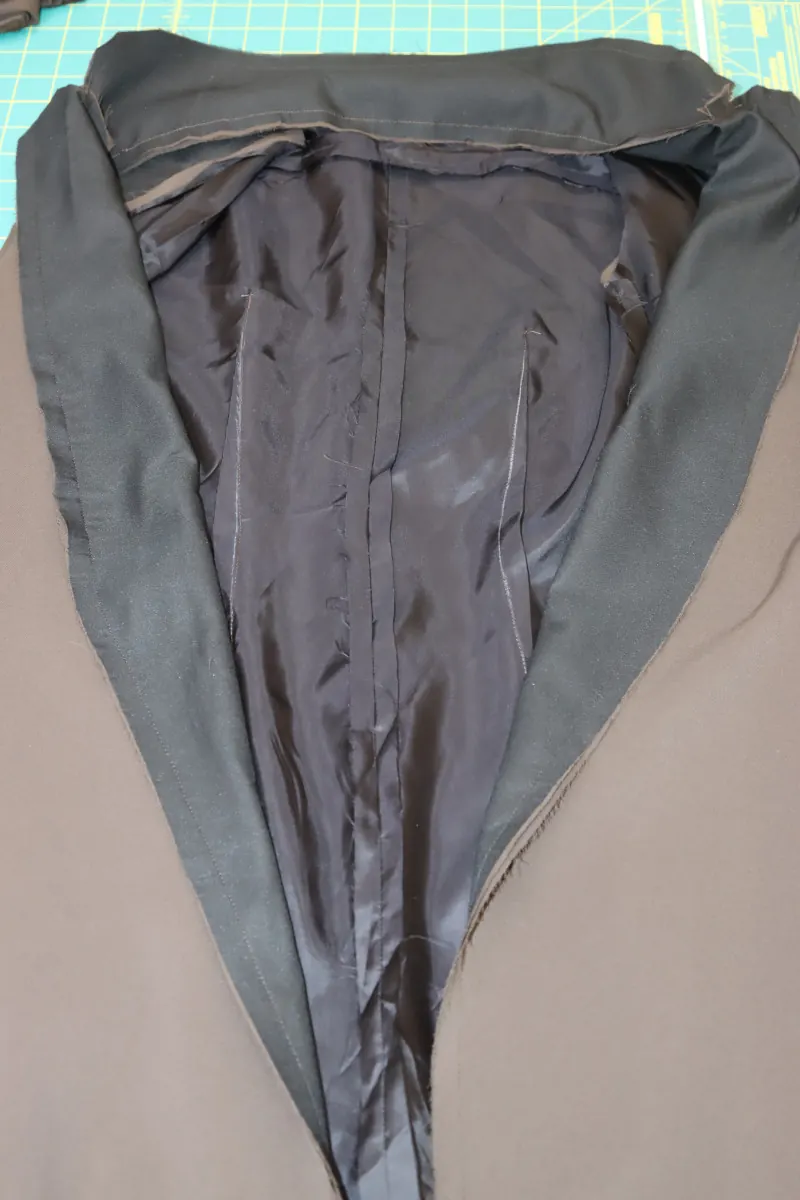
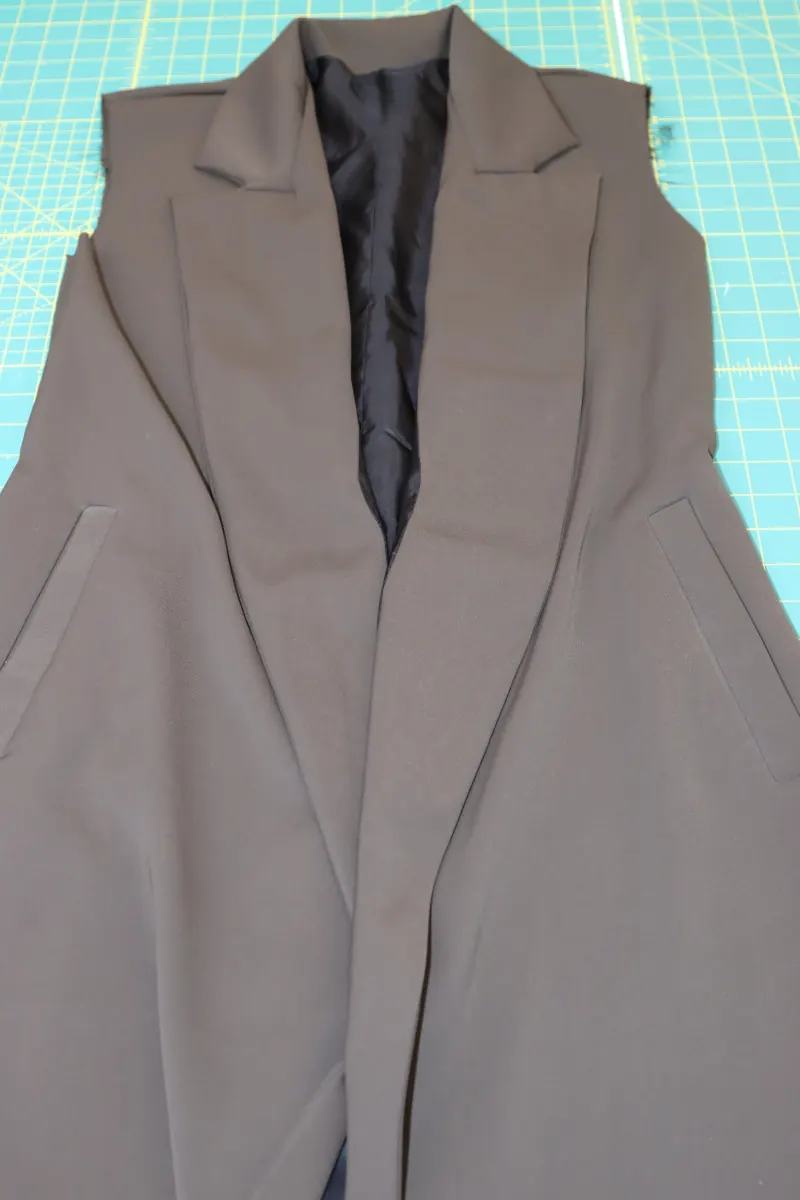
- Place the lining dress inside the main fabric dress, right sides together.
- Pin, then sew together the outer edges of the lining and main fabric collars, along with the full length of the center front openings.
- Trim the corners around the collar.
- Turn the dress right side out and press the collar and center front opening flat.
Step 9 — Finishing the armholes
- Turn the dress right side out.
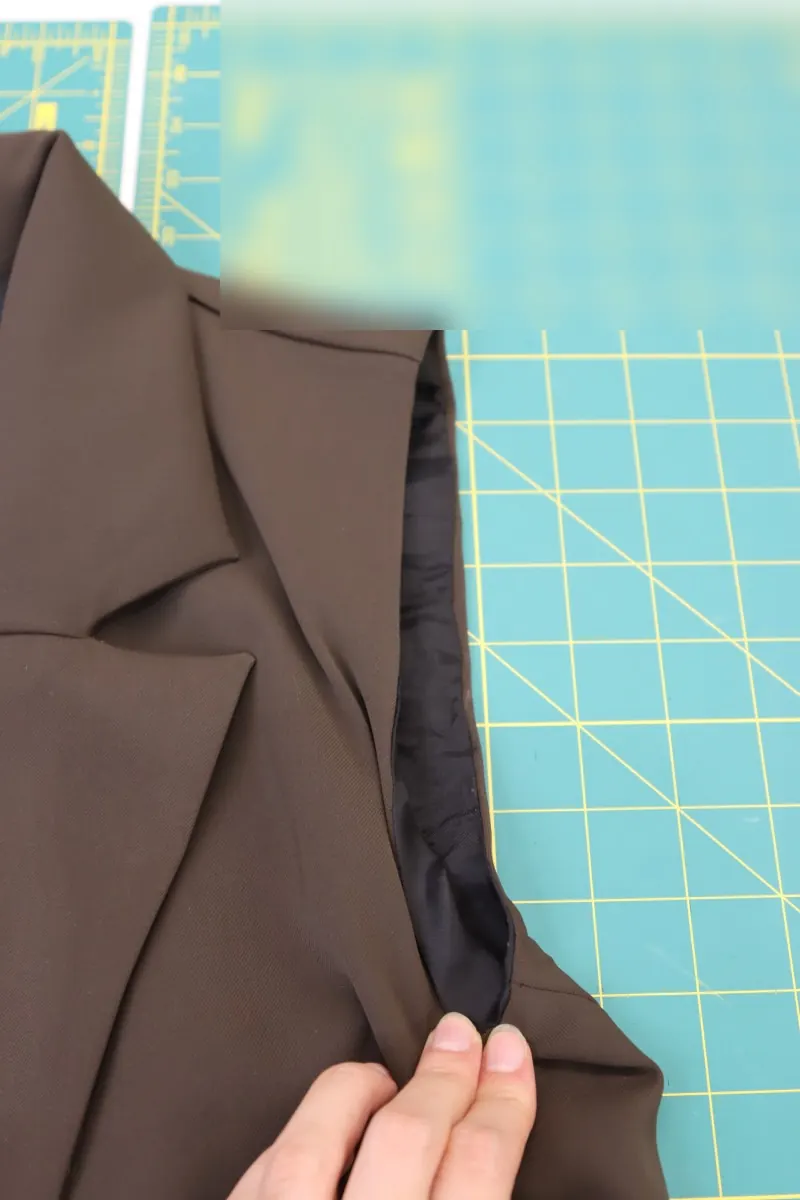
- Reach up through the bottom of the dress, between the lining and the outer layer, and grab the underarm seams of one armhole.
- Pinch the two seams between your fingers and fold just this part of the armhole right sides together, as shown in the photo below.
- Keeping both seams pinched, pull the armholes out through the hem opening at the bottom of the dress. Pin the two pinched seams to each other, right sides together.
- Pin all around the armhole, keeping the outer layer and lining right sides together. Note: you will need to pull and manipulate the fabric a little, since you are actually sewing two holes together from inside the dress. Go slowly and trust the process: all the raw edges will be hidden in the end.
- Sew all around the pinned armhole.
- Clip the underarm area so the fabric lies flat when pressed.
- Turn the whole dress right side out again and press the armhole flat, so the lining does not show on the outside of the dress.
- Repeat the previous 8 actions for the other armhole.
Step 10 — Finishing the hem
- Turn the dress wrong side out again.
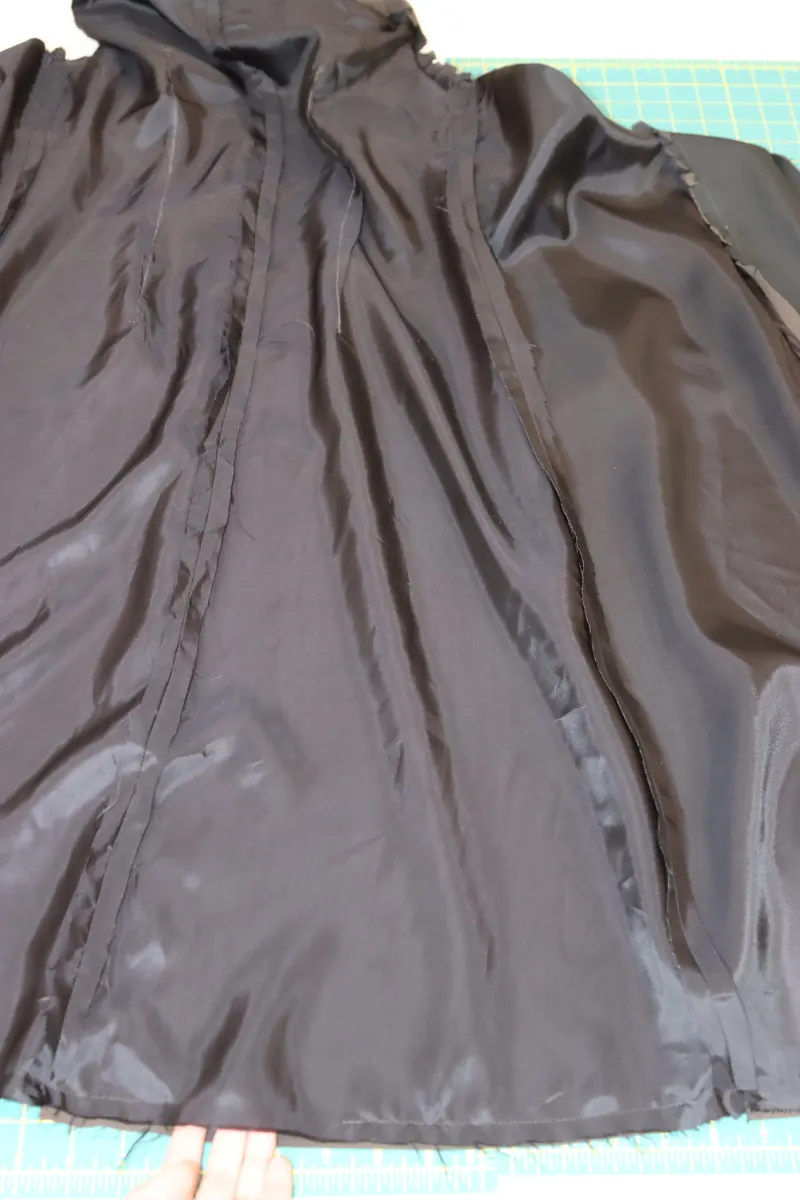
- Pin the lining to the outer layer at the bottom of the dress. Leave a small opening at the back for turning the dress right side out.
- Sew along the pins, making sure to leave the opening in the middle.
- Trim the corners of the dress at the ends of the hem.
- Turn the dress right side out through the opening, pushing out the corners of the front closure well.
- Press the bottom hem flat, turning under 1.27 cm (½") along the opening.
- Close the folded opening by hand with a ladder stitch, for an invisible finish.
Step 11 — Belt straps
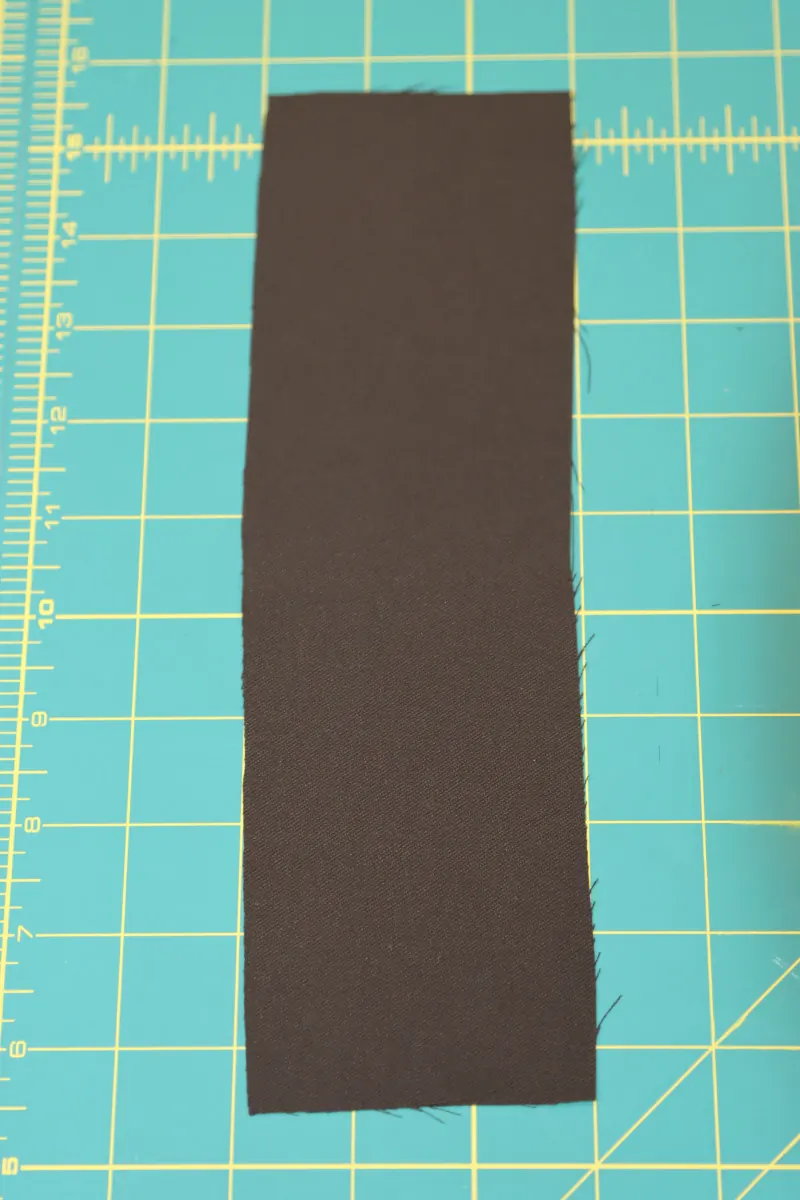
- Cut a strip of fabric 7.6 cm (3") wide and at least 25.4 cm (10") long. These measurements match the width of the buckle on the belt front. If you use a different size closure on the front, cut the strip as wide or as narrow as needed to fit your closure.
- Fold the long edges of the strip in to the center and press.
- Fold the strip in half lengthwise, right at the center, to enclose the raw long edges. Press the folds again.
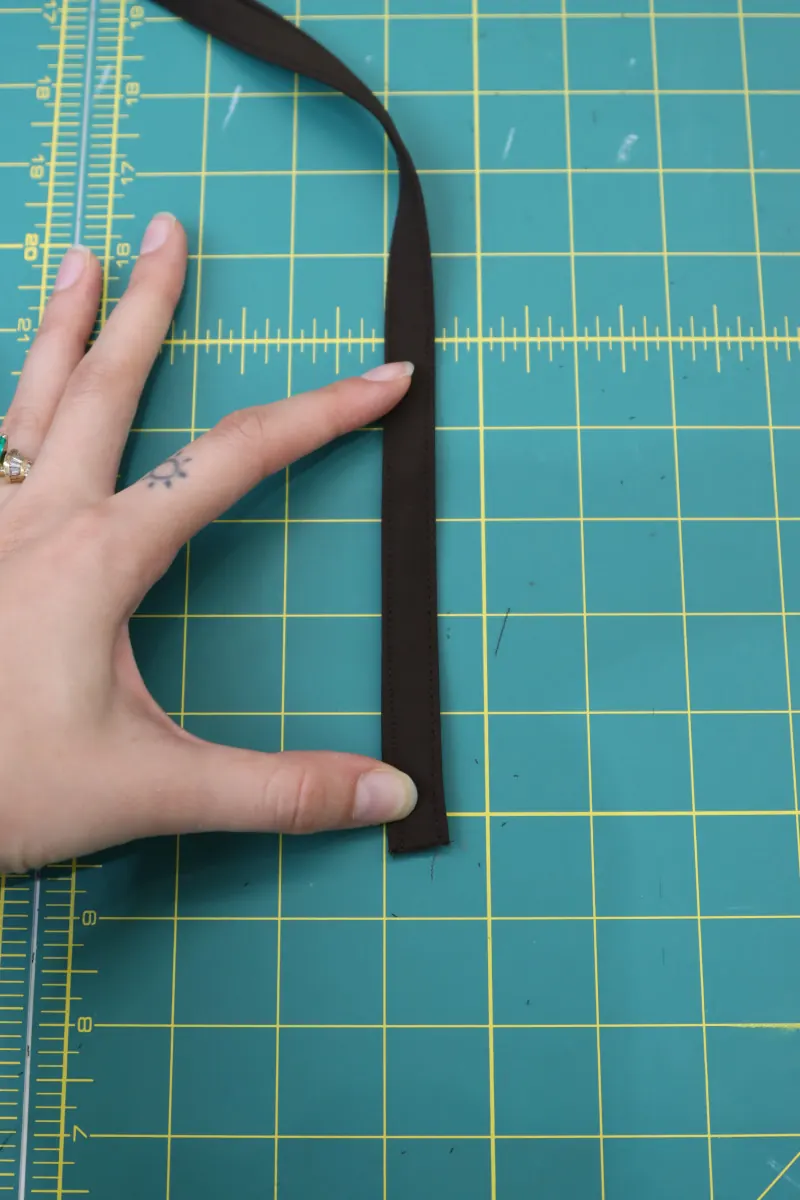
- Topstitch two parallel lines along the folded strip to hold the folds.
- Cut the strip into two pieces, one twice as long as the other (in other words: one piece is ⅓ of the length and the other ⅔).
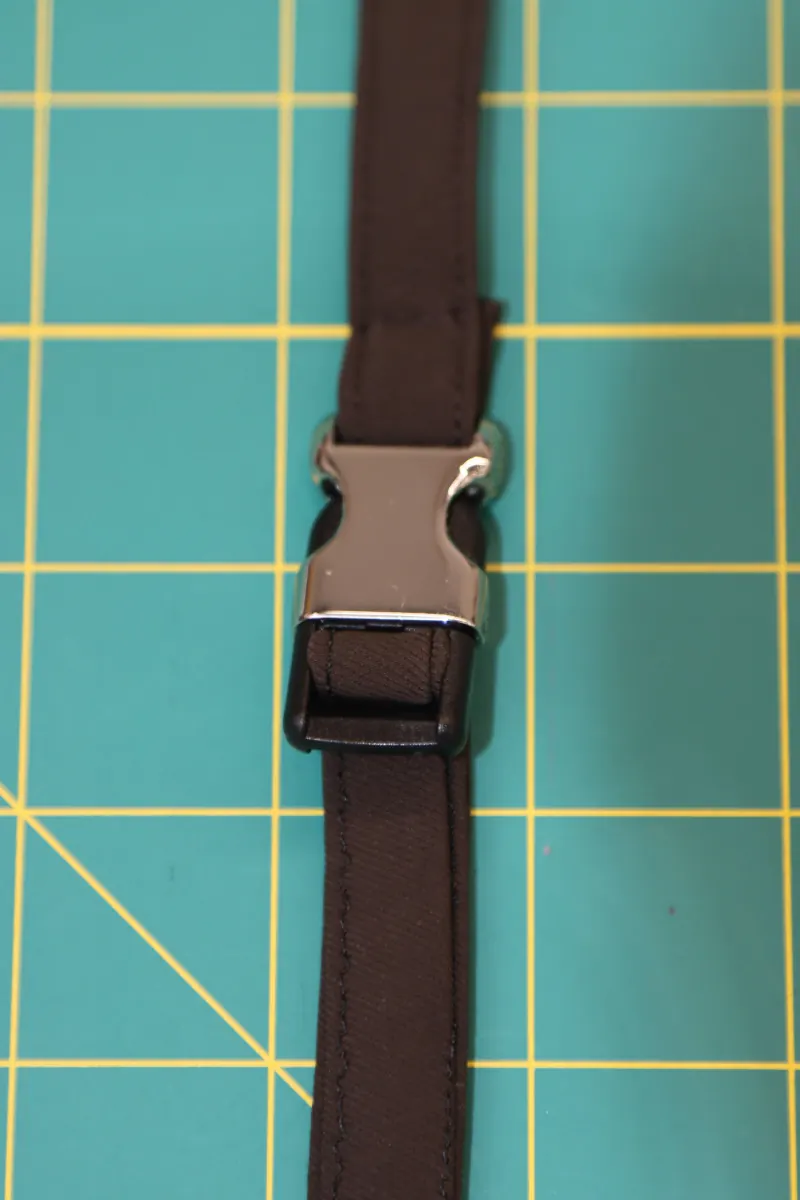
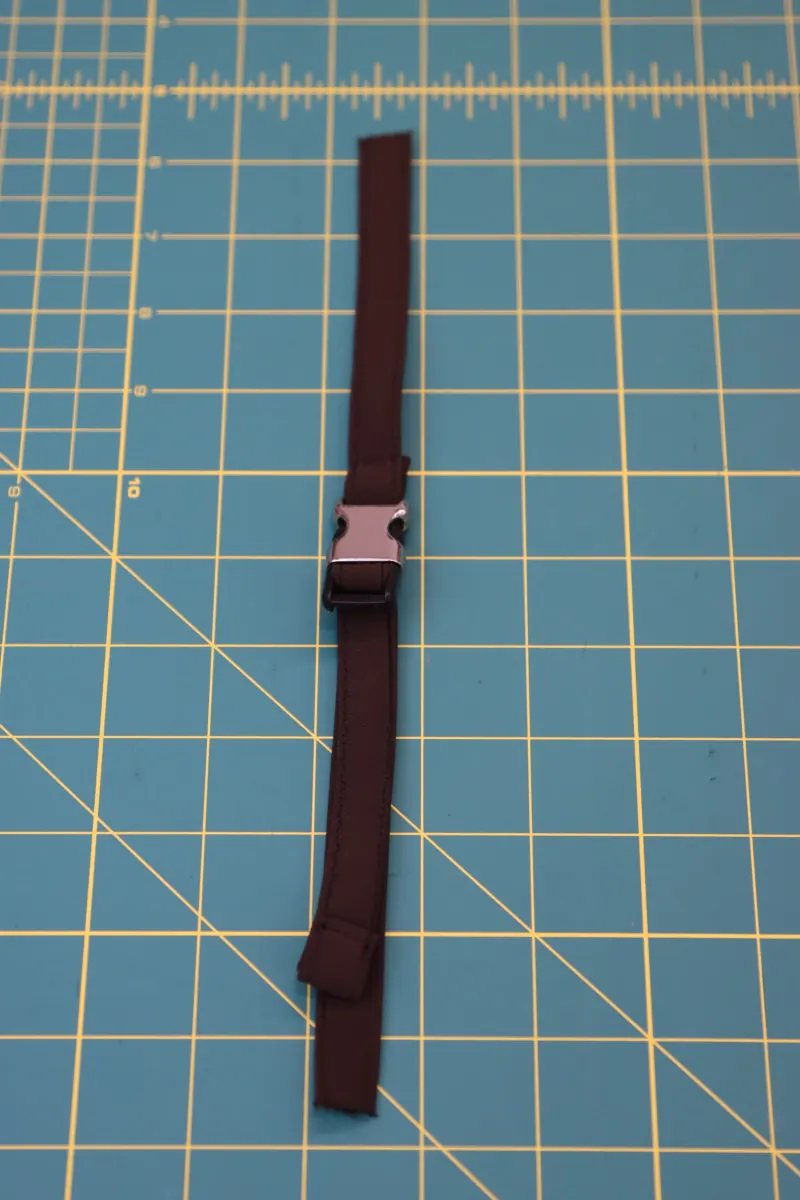
- Thread the shorter piece through the side of the buckle that has only one bar. Fold the end of the strip around the bar and sew it in place.
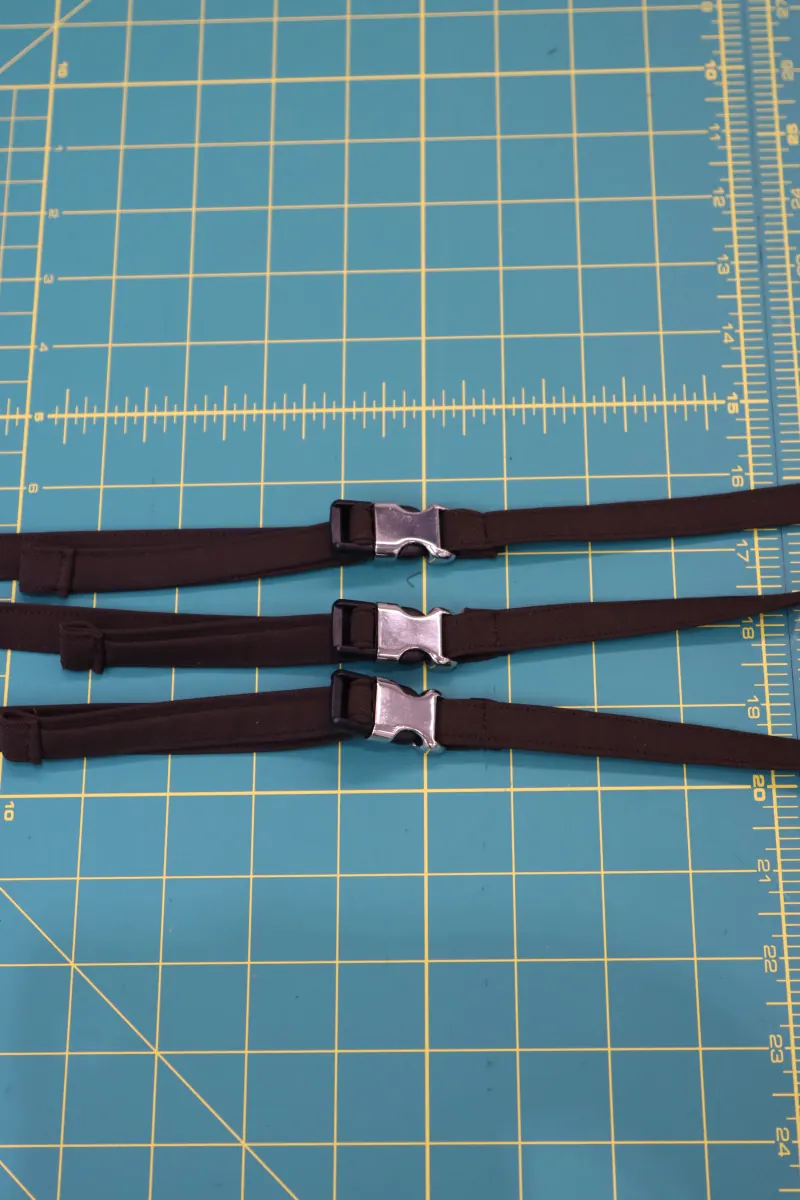
- Thread the longer piece from the back of the buckle through the inner bar, then from front to back through the outer bar. This makes this side of the buckle adjustable. Fold the end of the strip over itself (not around the buckle bar) to finish the raw edge of the strip.
- Repeat all of this 3 times to make 3 adjustable buckle straps.
Step 12 — D-ring straps
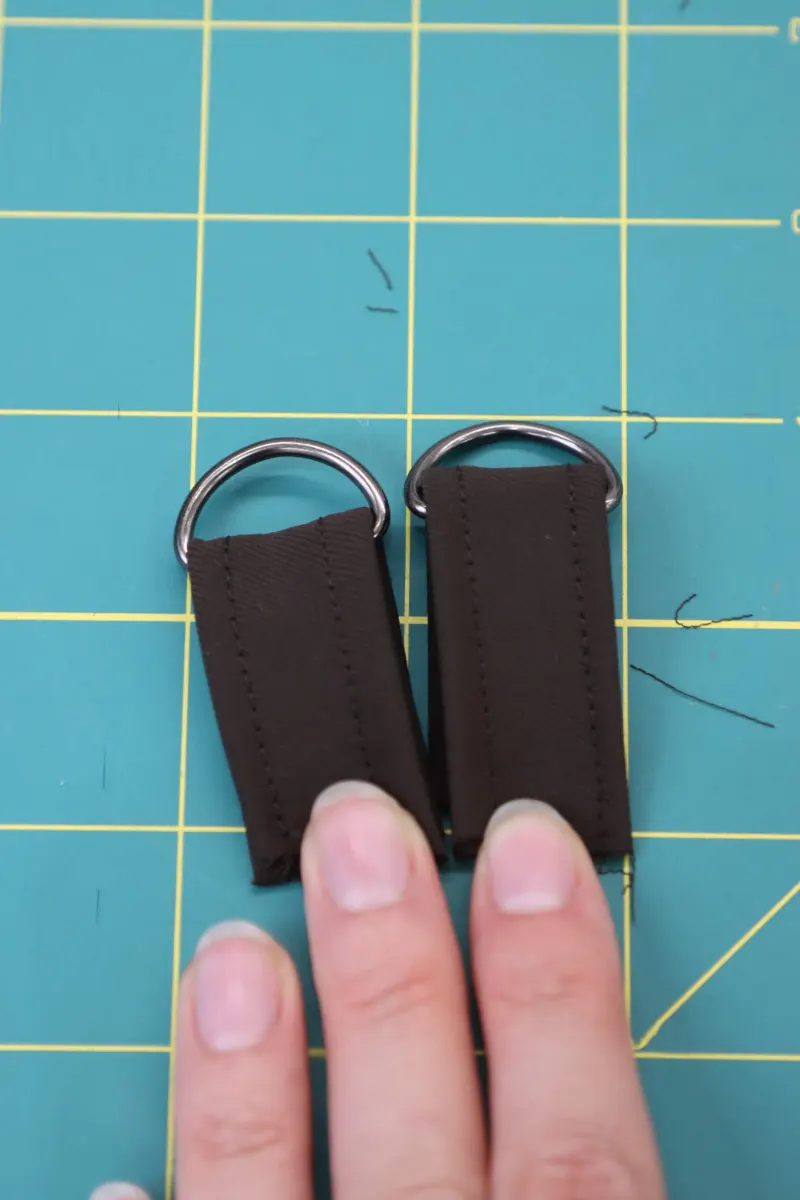
- Remember the fabric strips you made in step 2? Go get them.
- Thread the fabric strips through the D-rings and fold the strips in half.
Step 13 — Assembling the belt
- Before going further, press fusible interfacing onto the wrong side of both belt pieces.
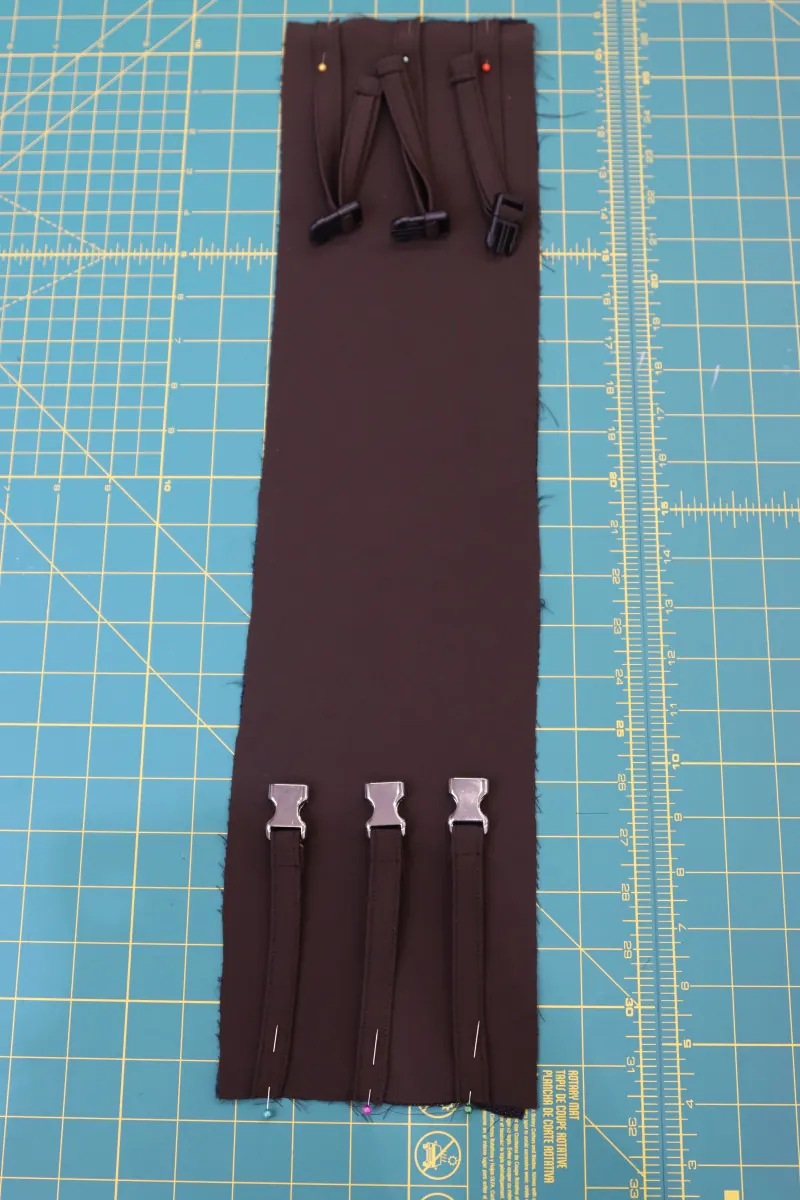
- Pin the male sides (prong sides) of the buckles to one short end of the belt, as shown in photo 13.1.
- Pin the female sides of the buckles to the other short end of the belt, as shown in photo 13.1. Take care not to catch the adjustable strap in the pins. This piece of strap must stay free so you can pull on it to tighten the belt.
- (In the photos, this part of the step was done out of order: do as I say, not as I do.) Pin the raw edges of the folded D-ring straps to the corners of one long side of the belt, perpendicular to the buckle straps.
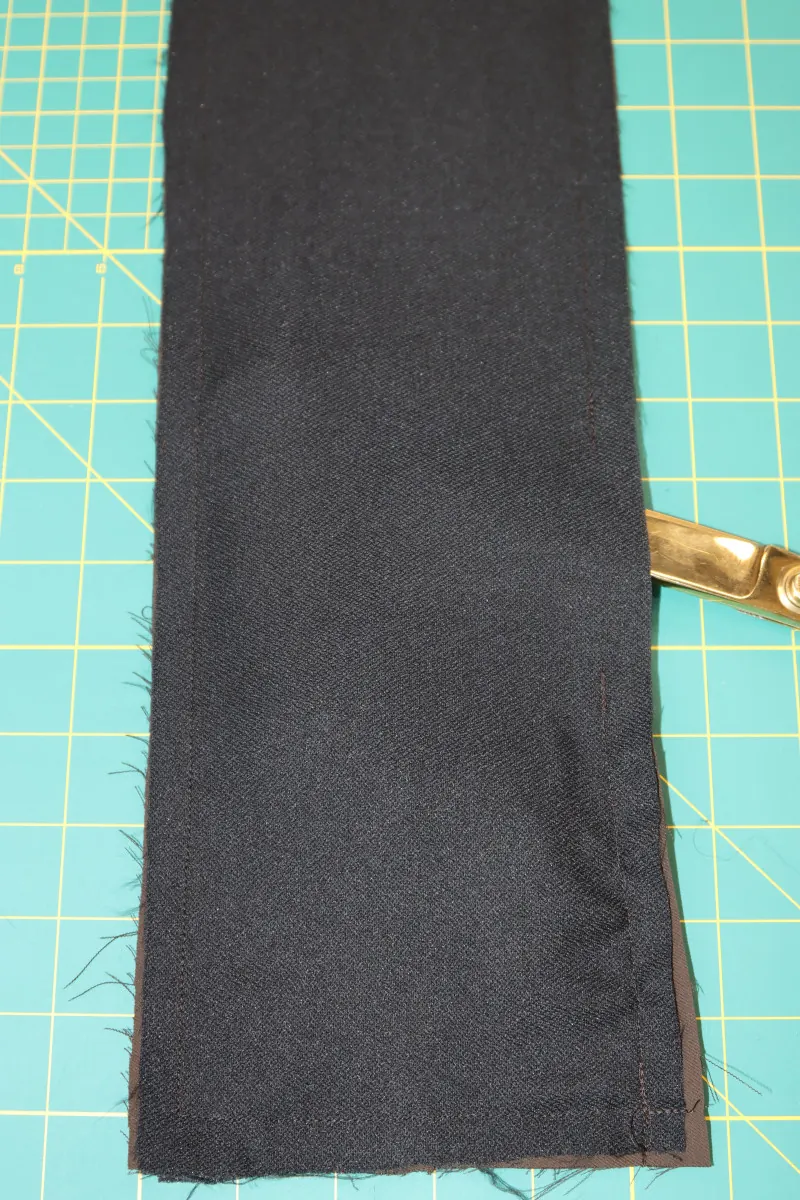
- Place the other belt piece over the pinned straps, right sides together.
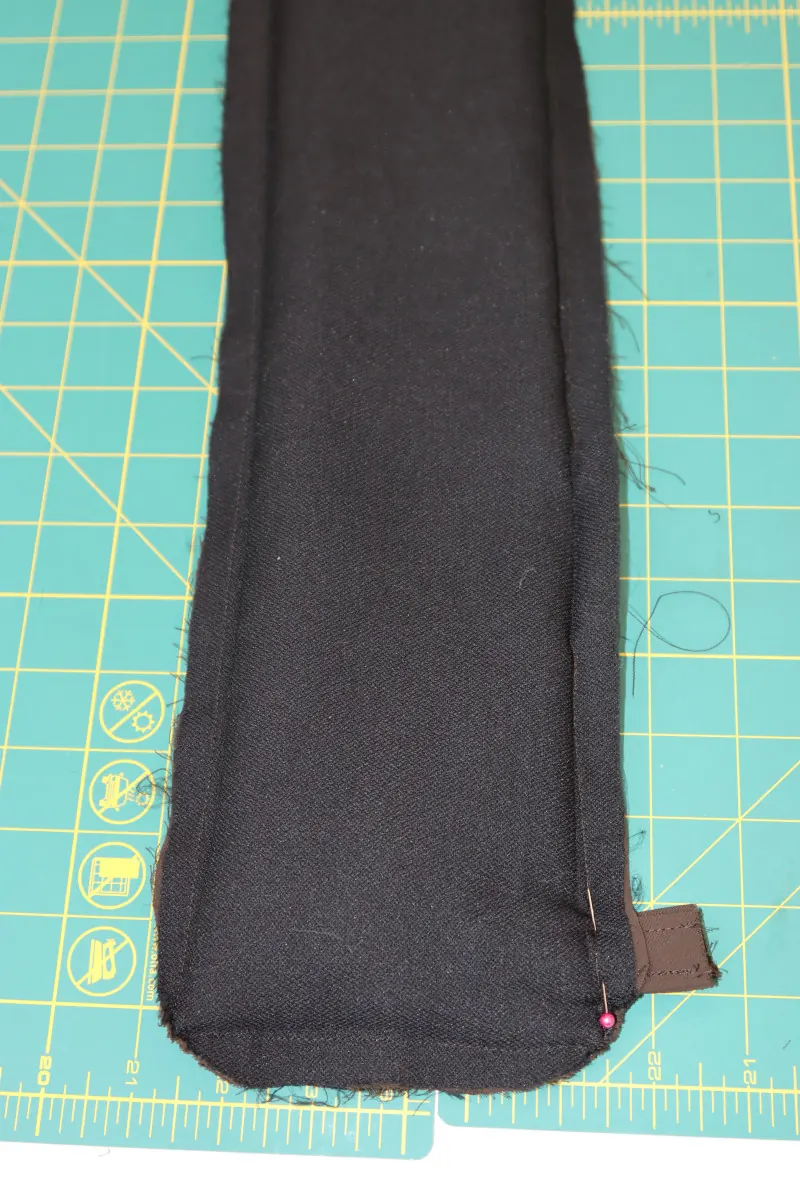
- Pin and sew all around the belt rectangle, leaving a small opening for turning the belt right side out.
- Trim the corners of the rectangle.
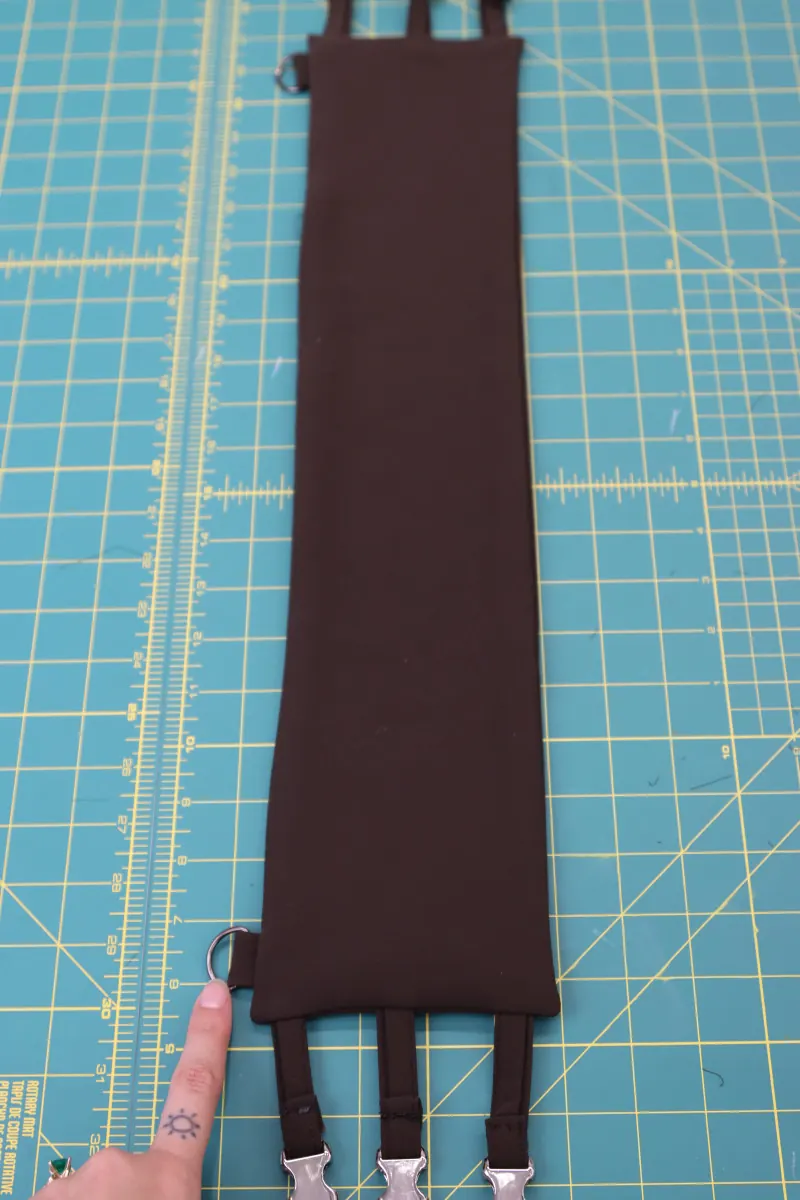
- Turn the belt right side out and press all edges and corners flat.
- Close the opening by hand with a ladder stitch, as for the hem.
Practical tips for a successful trench dress
These common sewing techniques complement the construction. They change neither the order of the steps nor the measurements in this tutorial.
Before you start
- Test your stitching on a double-layer scrap of the same fabric to set stitch length and tension. Also test on the lining, which is more slippery.
- Fusible interfacing: place the glue side (grainy, shiny) against the wrong side of the fabric. Cover with a pressing cloth (a thin cloth) and press the iron down without sliding it, one section at a time. Test on a scrap first: polyester gabardine does not like too hot an iron.
- Transfer all pattern markings to the fabric before removing the paper: back darts, collar and neckline notches, pocket placement, and the "Cut here for Lining" line for the back lining.
- The raw edges of the dress are enclosed between the outer layer and the lining: no seam finishing is needed, except on the pocket bags if your lining frays a lot.
Yardage for sizes other than S
- Once the pattern is assembled and cut to your size, lay all the fabric pieces on the floor over an area the width of your fabric, following the grainline and the "on the fold" pieces. Measure the length used: that is your minimum yardage. Do the same for the lining and interfacing.
- Buy a little more than this minimum, so you can test stitching and interfacing on scraps.
Welt pockets (step 5)
- Make a full test on scraps before working on the dress.
- Shorten your stitch slightly for the welt seams, and backstitch at each end.
- Both seams must be parallel and the same length, stopping exactly at the ends of the marking.
- When cutting the triangles, cut right up to the last stitch of each seam, without cutting it. Stop too early and the corners pucker; cut the stitch and the corner tears.
Armholes and hem (steps 9 and 10)
- Before sewing each armhole, check that the outer layer and lining are not twisted: the side and shoulder seams must line up.
- Leave a hem opening just wide enough to turn the whole dress without forcing it.
- For the ladder stitch, take a small stitch in the fold on each side every time: the stitches disappear into the folds when you pull the thread.
Belt (steps 11 to 13)
- Before cutting the folded strip into two pieces (step 11), thread it through the buckle: it should slide through the bar without puckering.
- Test-close all three buckles before sewing the belt, by wrapping it around your waist.
- Sew slowly over the straps caught between the two belt layers: the bulk is greater there.
Muslin (test garment)
- Cut pieces A, B, C and F from an inexpensive fabric with a similar hand to your real fabric, and baste them together, with no lining or finishes.
- Check: shoulder width and armholes; width at the waist once wrapped and belted (table 2); back length (table 2); pocket placement for your hands; that you can move your arms freely.
- Transfer any changes to the paper pattern before cutting your real fabric.
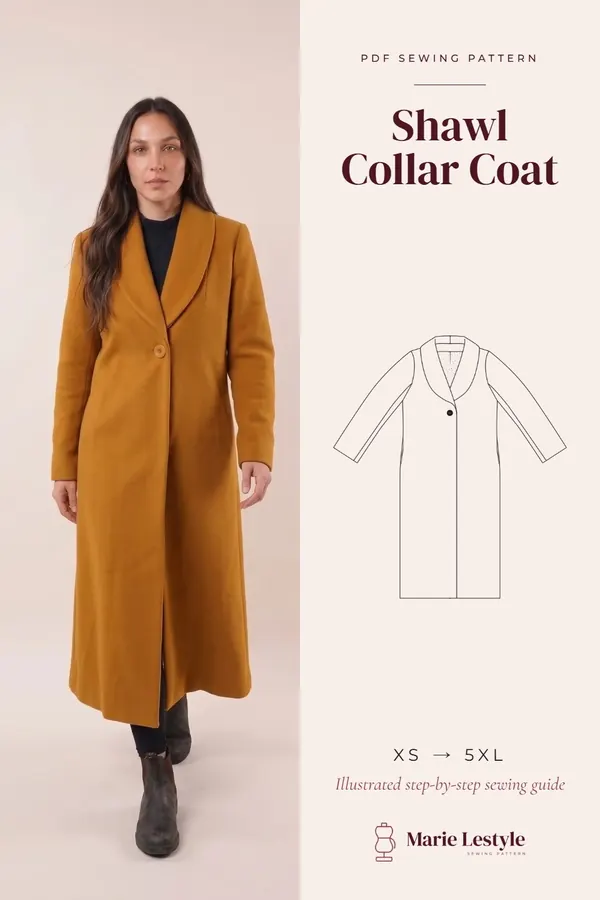
Looking for a project for colder days? Take a look at our shawl collar coat tutorial.
Sewing glossary
Definitions of the sewing terms used in this tutorial, from "armhole" to "welt". Keep it handy while you sew.
| Term | Definition |
|---|---|
| Armhole | Opening in the garment for the arm. |
| Back yoke | Piece set into the top of the back, between the shoulders. |
| Bar | Rod of a buckle that a strap passes through or is attached to. |
| Collar | Piece sewn to the neckline, which folds over with the lapel. |
| Dart | Stitched, tapered fold that adds shape or fits the garment closer to the body. |
| D-ring | D-shaped metal ring, used as a loop or attachment point. |
| Front facing | Main fabric piece that finishes the inside of the front and forms the underside of the lapel. |
| Fusible interfacing | Stabilizer ironed onto the wrong side of a piece. |
| Grainline | Direction of the fabric threads, parallel to the selvage. |
| Ladder stitch | Invisible hand stitch that closes an opening between two folds. |
| Lapel | Part of the front folded outward, below the collar. |
| Loop turner | Tool for turning a fabric strip sewn into a tube right side out. |
| Mirrored | Two pieces that mirror each other: one left and one right. |
| Notch / clip | Notch: small mark on the edge of a piece, to transfer to the fabric; clip: snip into the seam allowance so a curve lies flat. |
| On the fold | The piece is placed against the fabric fold: once cut and unfolded, it is double and symmetrical. |
| Pinking shears | Scissors with a zigzag blade, leaving an edge that frays less. |
| Pocket bag | Pieces that form the inside of the pocket. |
| Point turner | Tool with a pointed but blunt (non-cutting) tip for pushing out corners. |
| Pressing cloth | Thin cloth placed between the iron and the fabric to protect it. |
| Raw edge | Cut, unfinished edge of the fabric. |
| Release buckle | Two-part closure: the male (prong) side snaps into the female side. |
| Right side / wrong side | The good side of the fabric / the inside. |
| Rotary cutter | Round blade on a handle, for cutting fabric on a cutting mat. |
| Seam allowance | Distance between the fabric edge and the stitching line (here 1.27 cm, included in the pattern). |
| Selvage | Finished lengthwise edge of the fabric. |
| Strap | Small sewn strip of fabric that holds a buckle or a ring. |
| Tailor's chalk | Flat chalk for marking fabric. |
| Topstitching | Visible stitching on the right side, parallel to an edge or a seam. |
| Welt | Folded strip that edges the opening of a welt pocket. |
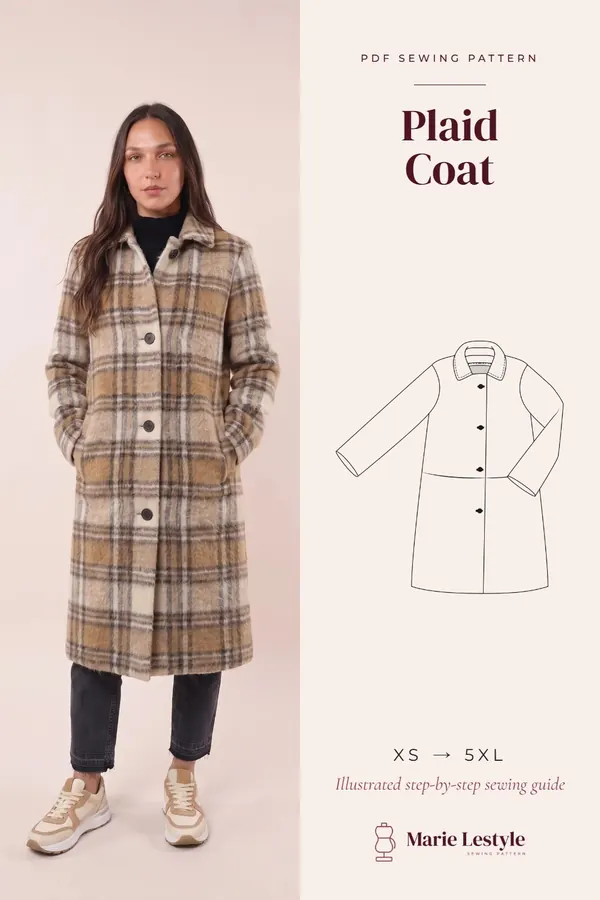
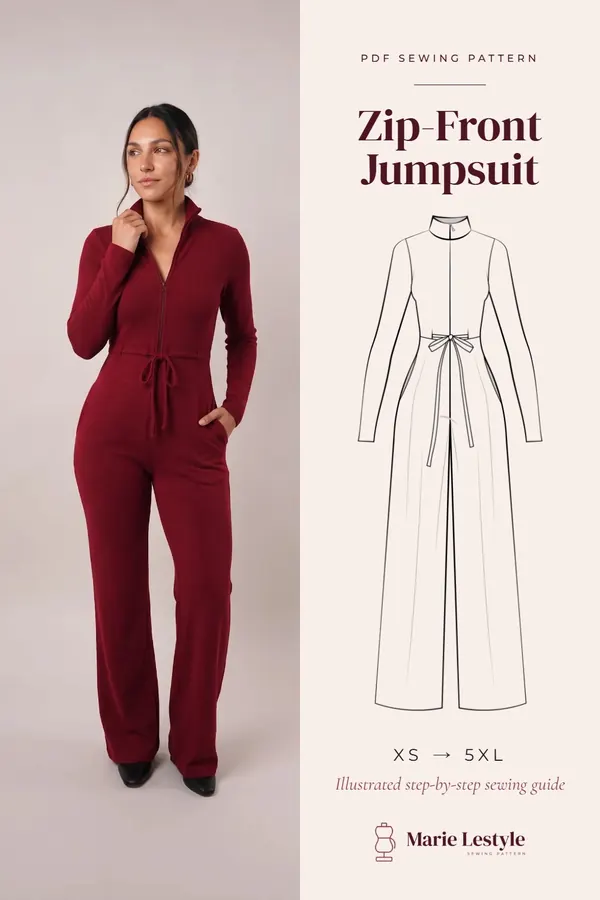
In the PDF pattern, the print sheets are pages 32 to 87. Print them at actual size. You will find the sleeveless trench dress PDF pattern in our shop. For your next project, see our zip-front jumpsuit tutorial.
PDF · XS – 5XL
The PDF pattern for this design : Sleeveless Trench Dress
Every piece to print at home at full size, with this guide as a PDF.
Download the PDF patternPDF pattern sold in the Marie Lestyle shop.
Frequently asked questions : Sleeveless Trench Dress
What sizes does this dress sewing pattern come in?
The sleeveless trench dress goes from XS to 5XL, plus sizes included. The bust measurement runs from 78.7–81.3 cm (31–32") in XS to 142.2–152.4 cm (56–60") in 5XL. Use the two tables in the “Choosing your size” section to pick yours.
How much fabric do I need to sew the trench dress?
For size S: 4 yards (3.66 m) of lightweight polyester gabardine, 4 yards (3.66 m) of cupro lining and 2 yards (1.83 m) of fusible interfacing. For another size, lay all the pieces on the floor over the width of your fabric and measure the length used: that is your minimum yardage, then buy a little more.
What fabric works best for this dress?
The pattern works best with lightweight to medium-weight apparel fabrics. We used a lightweight, fluid polyester gabardine; cashmere, corduroy, denim and suiting are also recommended.
What supplies do I need besides fabric?
For size S: 3 release buckles, 1 pack of 4 black 1.9 cm (¾") D-rings and 2 spools of all-purpose thread, plus hand-sewing needles, a loop turner, a point turner and tailor's chalk.
Are seam allowances included?
Yes, 1.27 cm (½") seam allowances are included in the pattern. Sew with a 1.27 cm (½") seam allowance for all seams, unless a step says otherwise.
Is the sleeveless trench dress lined?
Yes, it is lined in cupro. The raw edges are enclosed between the outer layer and the lining, so no seam finishing is needed, except on the pocket bags if your lining frays a lot.